Key takeaways
- Blur is decided at export: DPI sets how many pixels stand for one inch of paper.
- A file that looks soft at fit-to-window can be perfectly sharp at 100% — check before exporting again.
- If only one block of the page is soft, that block was already an image inside the PDF, and no export setting fixes it.
An exported page is a grid of pixels, and the grid is fixed before you see it: pixel width equals the physical width of the page multiplied by the DPI. An A4 page at 300 DPI comes out 2480 pixels wide; at 150 DPI it is 1240. When the export is narrower than that, the page was rasterised below text quality, and no viewer setting will put the detail back.
Is the Text Blurry, or Is the Page Just Big?
| What you see | What it means | How to confirm it |
|---|---|---|
| Soft at every zoom level | Export DPI is too low for the page size | Read the pixel width in the image properties |
| Soft at fit-to-window, sharp at 100% | The viewer scaled the image down to fit your screen | Zoom to 100% and compare |
| One block of the page is soft, the rest is sharp | That block was already an image inside the PDF | Try to select text inside that block |
| Sharp at 100%, soft at 200% | Normal — the pixels ran out | Nothing to fix |
| Text is sharp but very small | The page is physically large (A3, A1) and was fitted to the window width | Compare pixel width with the page size in millimetres |
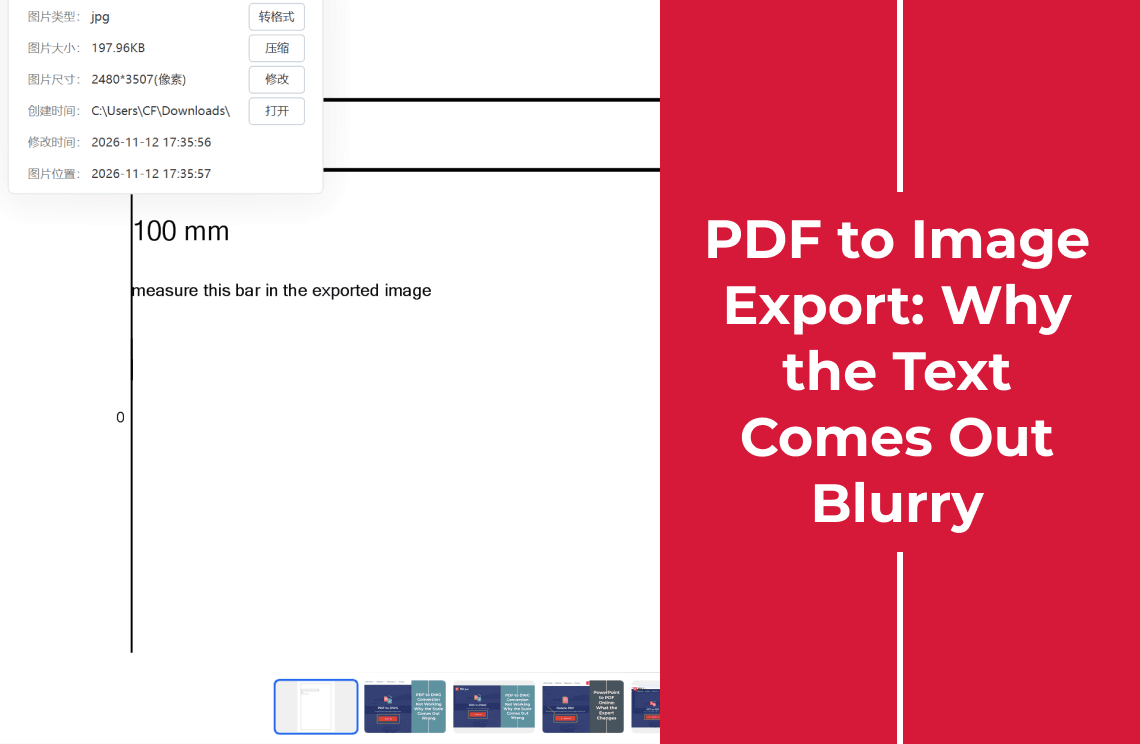
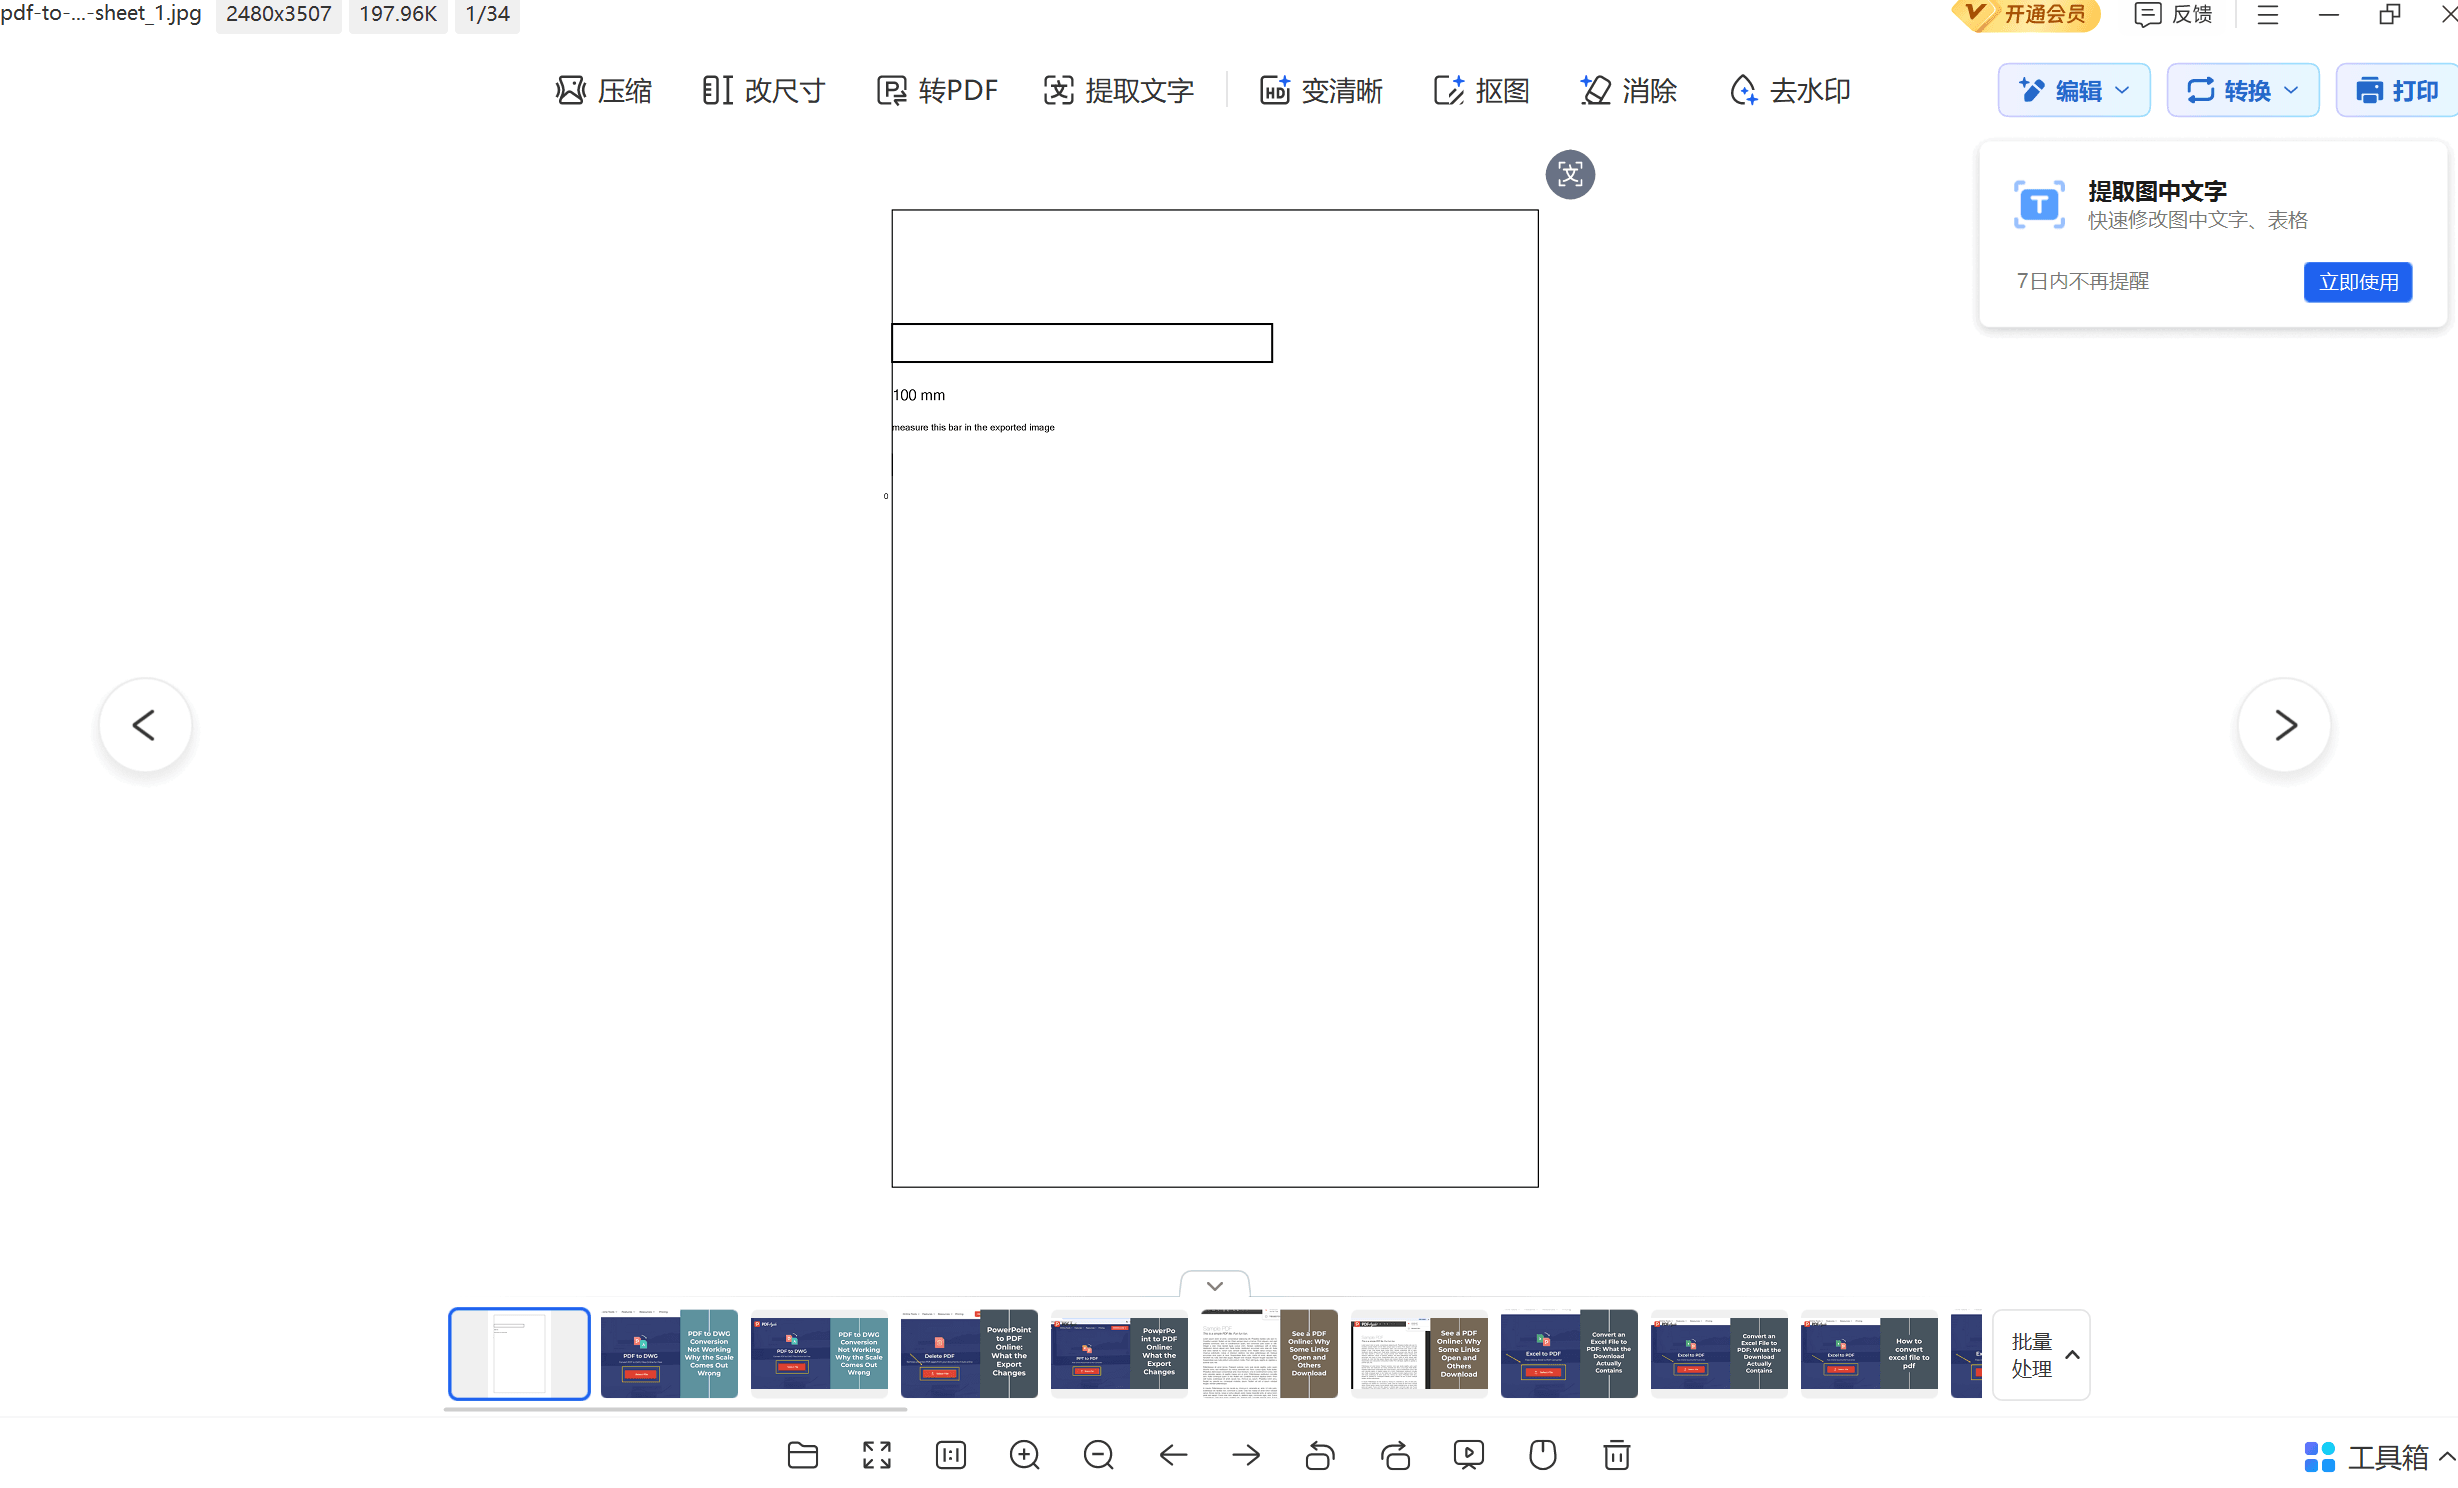
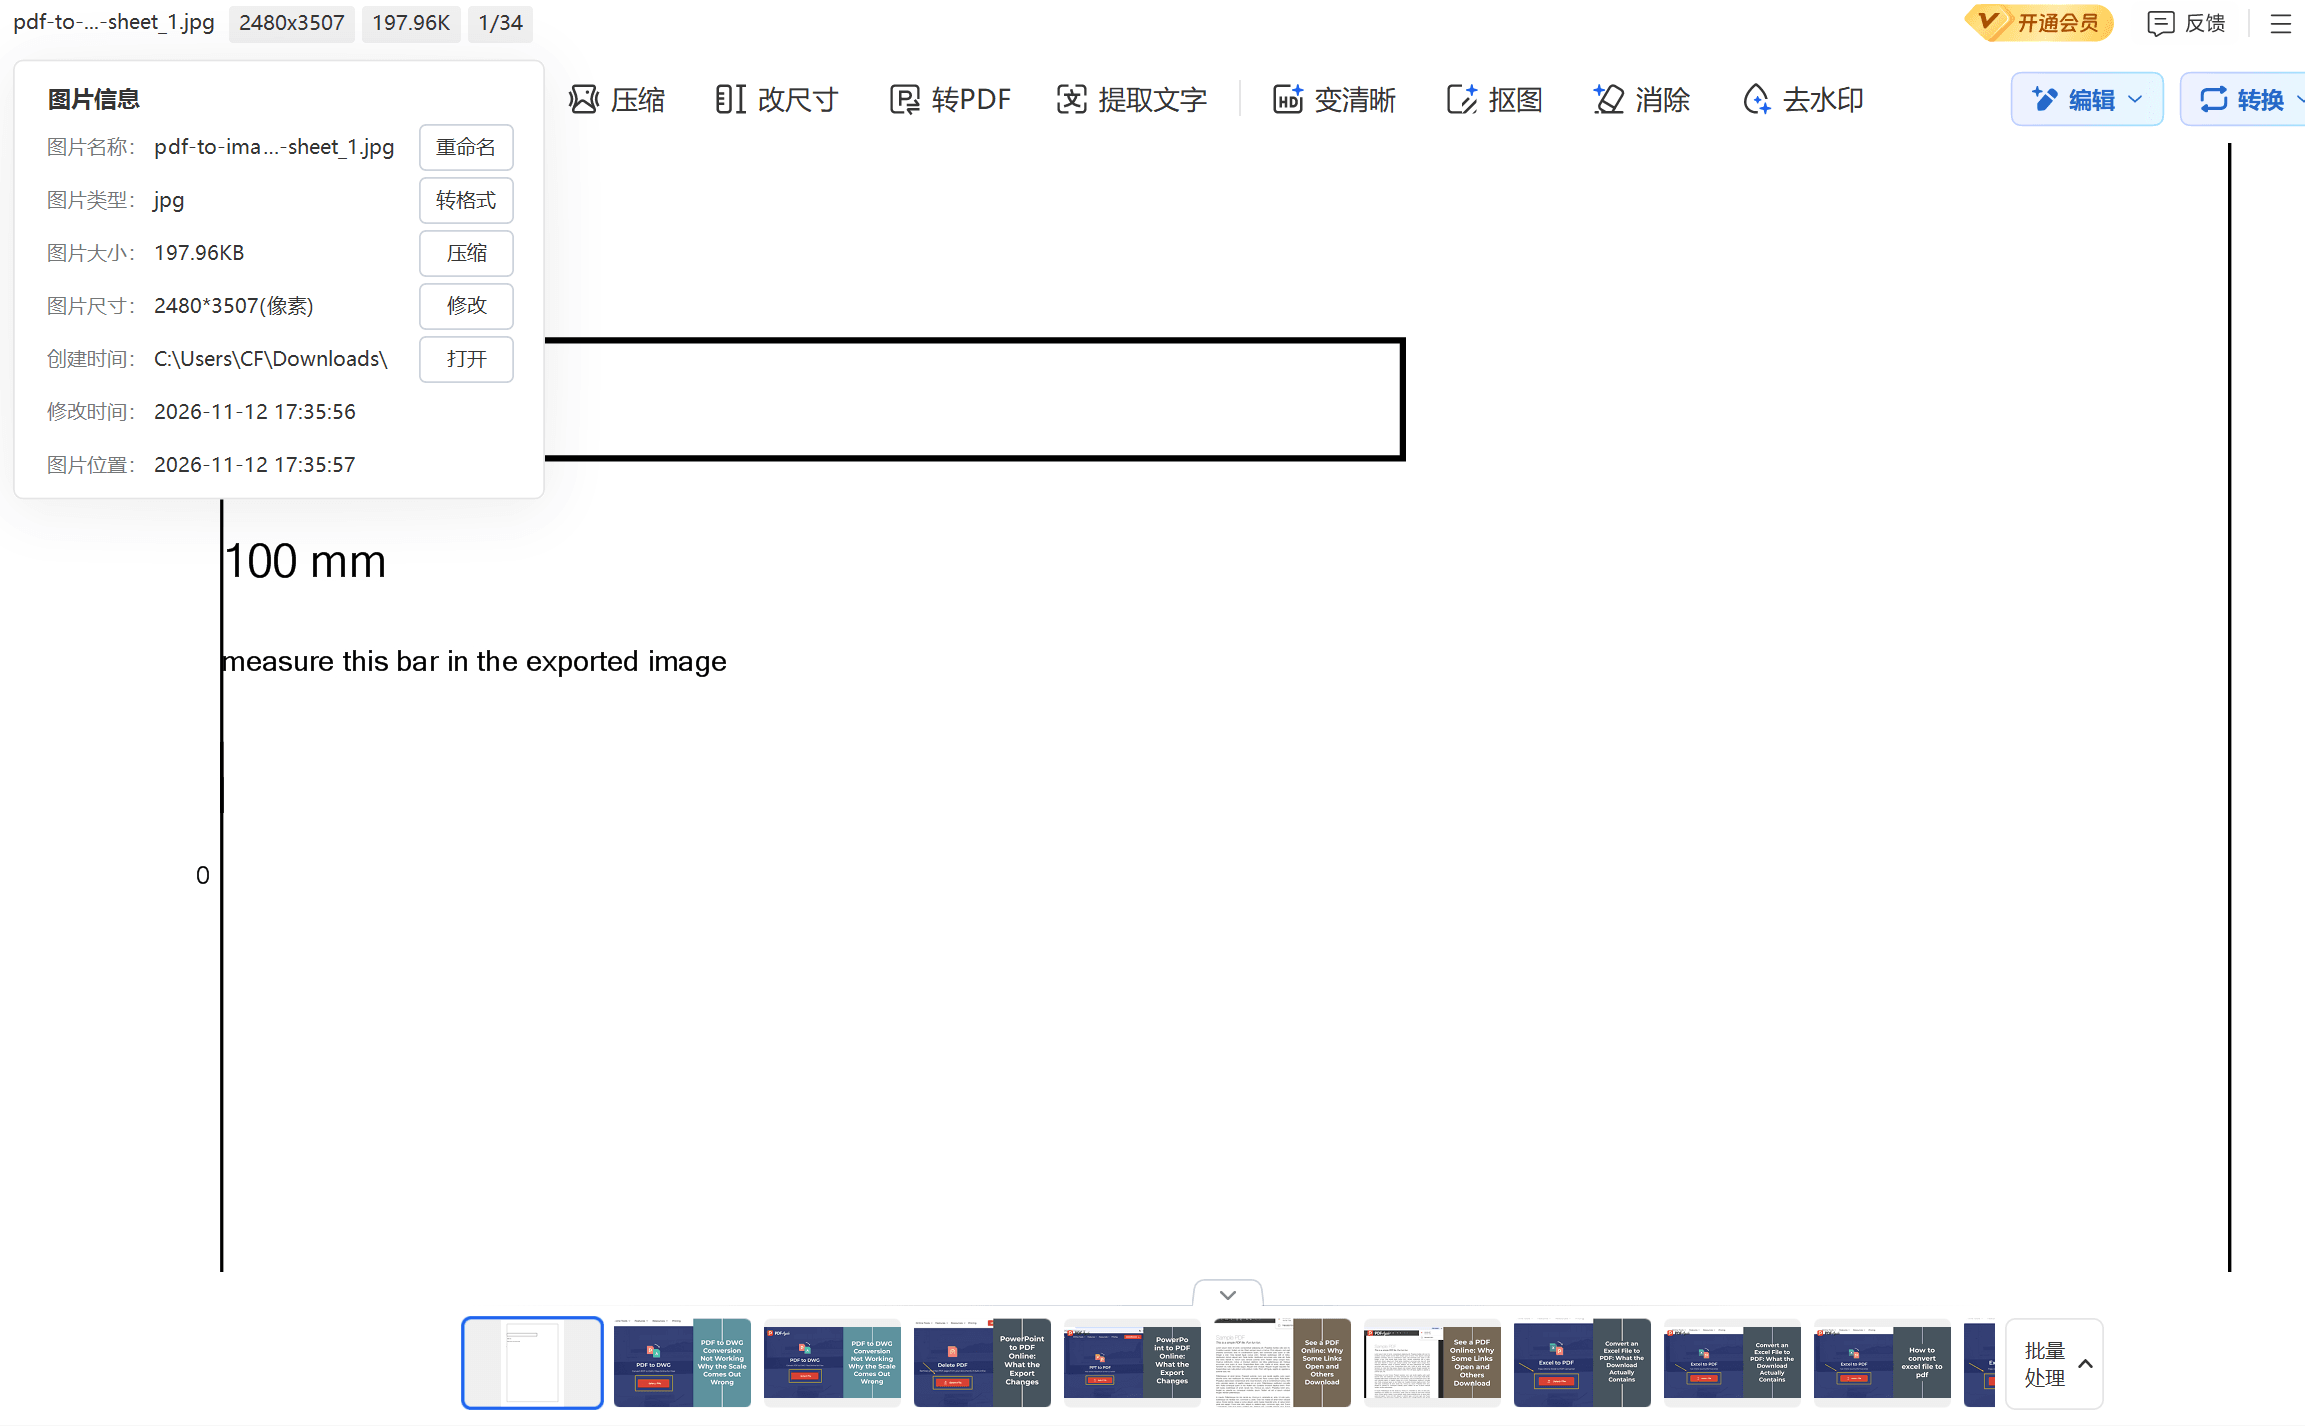
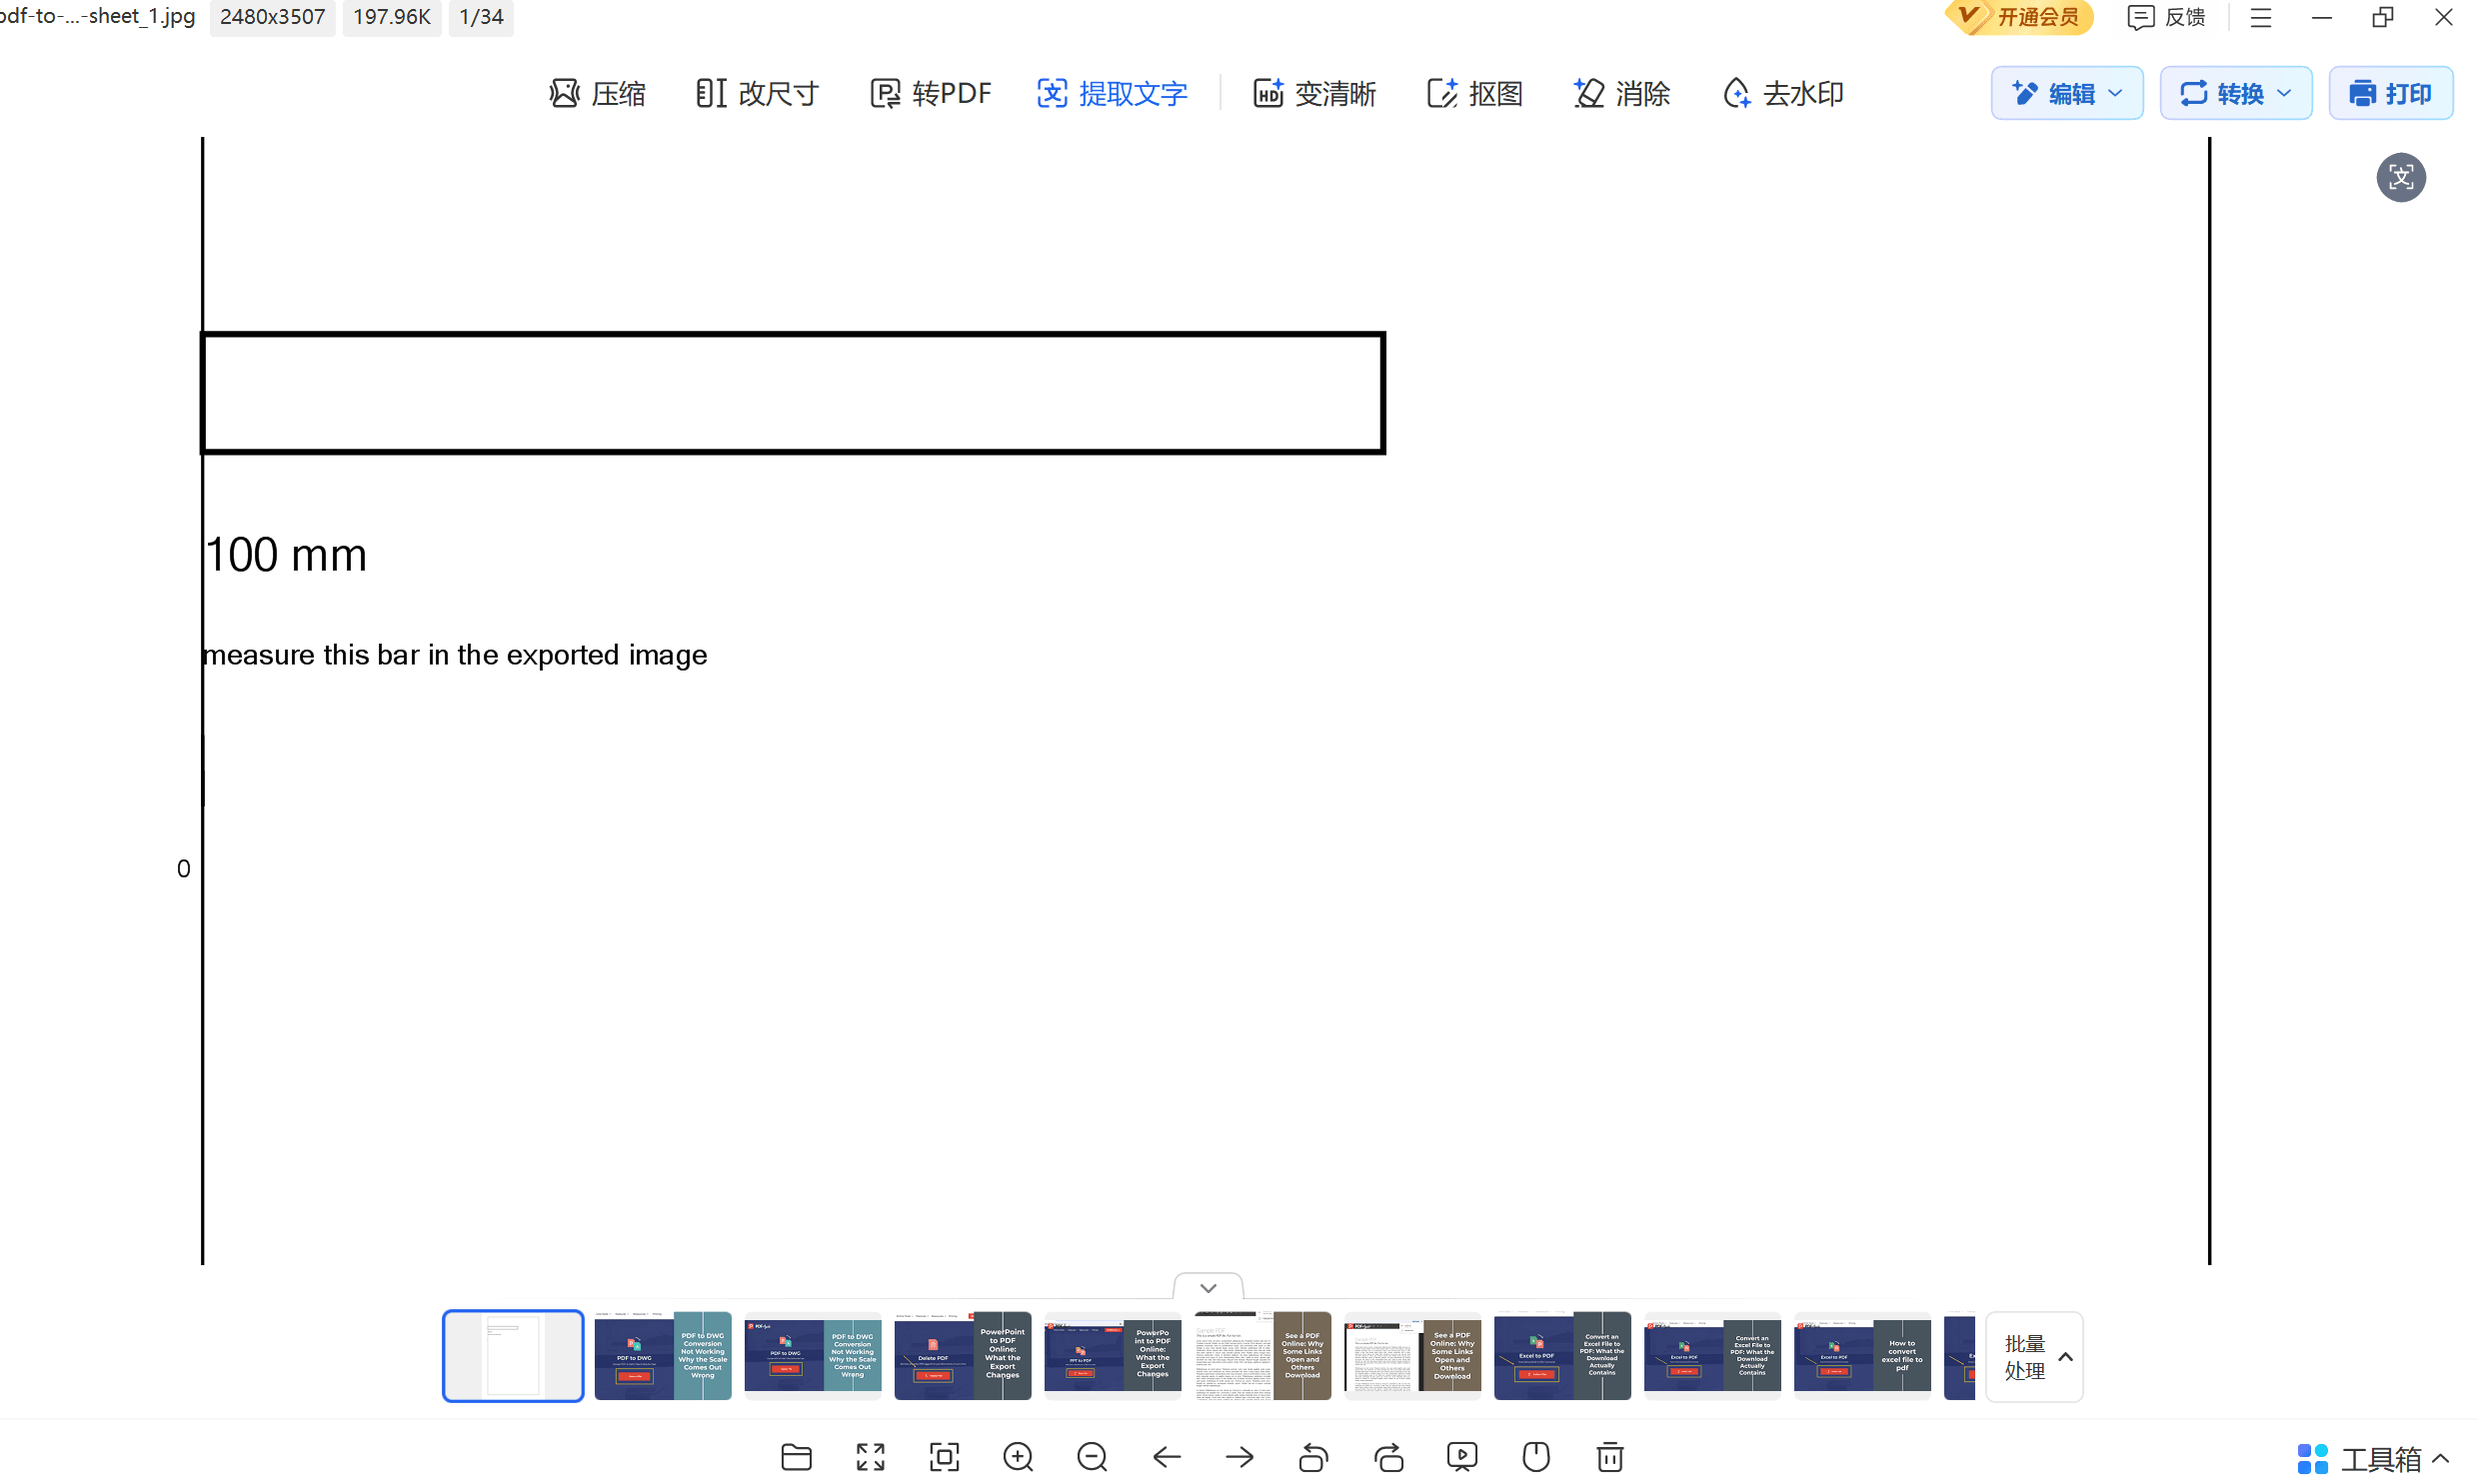
Two of these rows are the same file seen at different zoom levels. The export used for the screenshots below is 2480 × 3507 pixels; fitted to the window its labels shrink to a few pixels and read as grey, and at 100% the same labels are crisp.
Why a Rasterised Page Cannot Be Sharpened Later
A PDF page holds instructions: place this glyph at this position. Exporting to JPG or PNG executes those instructions once and stores the outcome as pixels. After that there is no text in the file — only a picture of text.
That is why sharpening, upscaling and "enhance" filters cannot rescue an export. Interpolation invents values between existing pixels; sharpening raises the contrast of edges that are already there. Neither can recover the shape of a letter that was never sampled finely enough to have one.
The only repair is to go back to the PDF, which still holds the instructions, and export again at a higher DPI. Everything else changes how the blur looks, not how much of it there is.
What DPI Actually Means for Your File
DPI is not a quality slider. It is a ratio between pixels and physical size, and that ratio is what a character's stroke width depends on.
| Page | Width in inches | At 150 DPI | At 300 DPI | At 600 DPI |
|---|---|---|---|---|
| A4 (210 × 297 mm) | 8.27 | 1240 px | 2480 px | 4960 px |
| A3 (297 × 420 mm) | 11.69 | 1754 px | 3508 px | 7016 px |
| A1 (594 × 841 mm) | 23.39 | 3508 px | 7016 px | 14031 px |
Two consequences follow. Doubling the DPI quadruples the file size, because area grows with the square of the linear size. And a large sheet needs a higher DPI number than a small one to give the same characters the same number of pixels — which is why an A1 drawing at 150 DPI looks worse than a letter page at 150 DPI, even though the setting was identical.
For body text of 10 to 12 points, 200 to 300 DPI is the range where strokes stay wider than one pixel. Below about 150, thin fonts break into grey.
How Do You Get a Sharp Enough Export
- Decide what the image is for. On-screen reading needs far less than print, OCR or anything that will be zoomed.
- Export at 300 DPI for print, for OCR, and for anything a client may enlarge. 150 DPI is enough for a thumbnail or a quick preview.
- Choose PNG for text and line art. JPG compression puts halos around characters, and a halo reads as blur even when the resolution is correct.
- Measure the result against the table above before sending it.
If the tool offers only low, medium and high, high is usually 300 DPI. If it offers nothing at all, the output gives you the answer: divide the pixel width by the page width in inches, and you have the DPI it used.
Check It at 100 Percent, Not at Fit-to-Window
Viewers are built to be comfortable rather than honest. They scale the page to the window, and the scaling smooths edges on the way. The same file can look soft on a laptop screen and print perfectly.
The check takes two steps. Open the image at 100% and look at a word in the body text: the edges should be crisp, with no grey fringe. Then go to 200%. Here the pixels really do run out, and slight softness is expected and harmless, because nothing is judged at twice the exported resolution.
If the file is soft at 100% and the pixel width is short for the page size, the export is the problem. If it is soft at 100% and the pixel width is generous, look at the source: the page probably contains an image that was low-resolution to begin with.
What This Cannot Do
- It cannot add detail that was not exported. Upscaling, AI enlargement and sharpen filters change appearance, not information.
- It cannot sharpen a scan inside the PDF. Where the source page carries a low-resolution image, that image is the ceiling for every export.
- It cannot make JPG text as clean as PNG at the same DPI. Compression artefacts around characters cannot be removed afterwards.
- It cannot tell you what DPI your printer wants. That is a property of the print job, not of the file.
- It cannot fix a page that was photographed. Camera blur is in the pixels, and re-exporting only reproduces them.
FAQ
Why does my exported PDF page look blurry?
Either the export was made below about 200 DPI, or you are looking at it scaled to the window. Read the pixel width first, then zoom to 100% before deciding.
Is 150 DPI enough for a PDF to image export?
For a preview, a thumbnail or a screenshot, yes. For text that will be printed or read by OCR, 300 DPI is the safer target.
Why is only part of the page blurry?
Because that part was already a raster image inside the PDF — a scanned page, a pasted screenshot, a photo. Exporting at any DPI keeps it at its original resolution.
Can I convert the JPG back into a sharp PDF?
You can place the image on a PDF page, but the resolution stays what it was. A sharp version exists only if you export from the original PDF again.
Does PNG or JPG matter for text at the same DPI?
Yes. JPG compresses in blocks and leaves grey halos around letters; PNG stores the page losslessly, so the edges stay as exported.
Where to Go Next
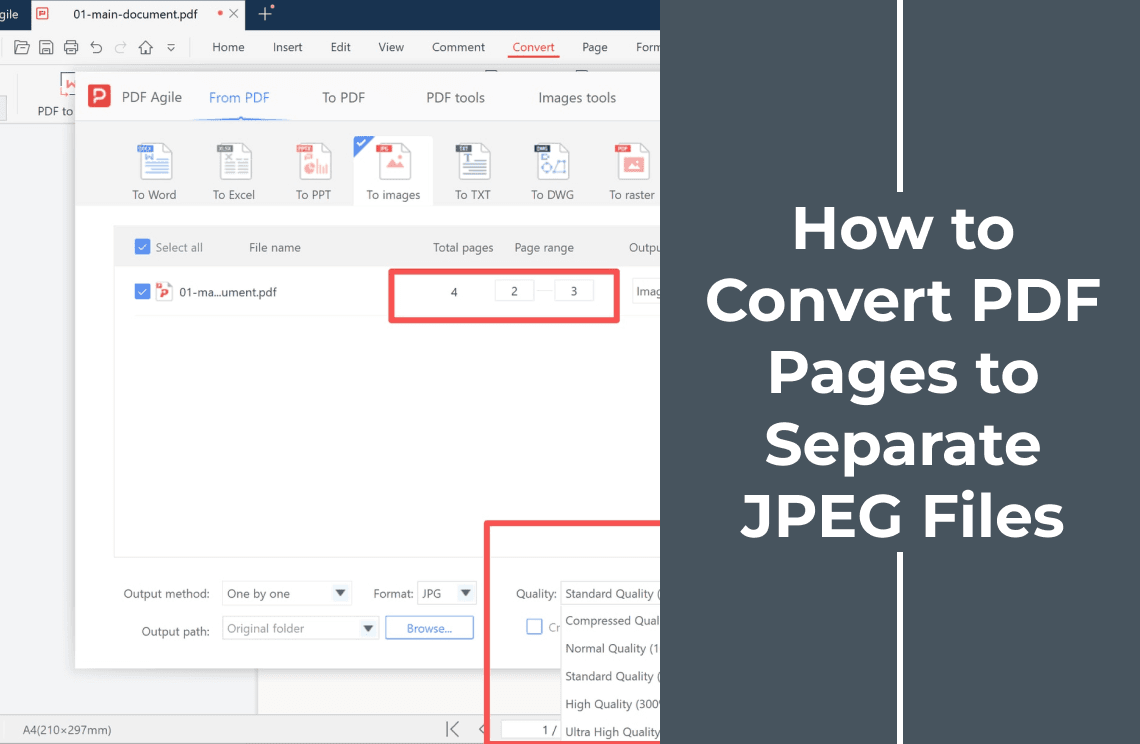
If the target format is fixed by someone else — TIFF for a filing system, for example — converting a PDF to TIFF explains why the browser route stops at JPG and PNG. For one file per page, converting PDF pages to separate JPEG files on Windows covers the batch case. When the image needs a different size rather than more detail, resizing a PDF image is the right job.
The export behind these screenshots is the PDF to image converter; the same page is available as PDF to JPG when the file has to stay small.
One line to keep: the blur was settled at export time by the DPI — measure the pixel width, then export again instead of trying to sharpen.