Outlining letters to your PowerPoint slides can make your text stand out with a bold yet professional appearance. It adds a stylish touch to your presentations for designing eye-catching headings, creating custom logos and enhancing readability.
We will show you how to get outlined letters in PowerPoint using simple formatting tricks in this guide. Learn step by step methods to apply text outlines, adjust their thickness and color and even create a hollow text effect for maximum visual influence.
So, explore these easy techniques to make your text pop with clean outlined designs with us!
Part 1: How to Add an Outline to Text in PowerPoint
Keep an eye on these simple steps to outline your text like an expert:
Step 1: Open Your PowerPoint File
Install PowerPoint and open the presentation where you want to add outlined letters.
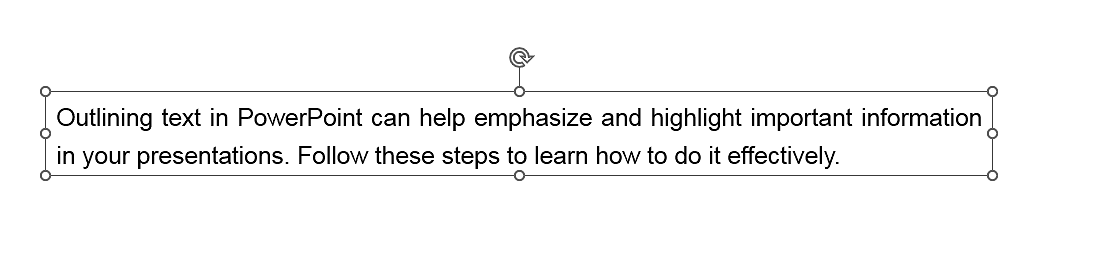
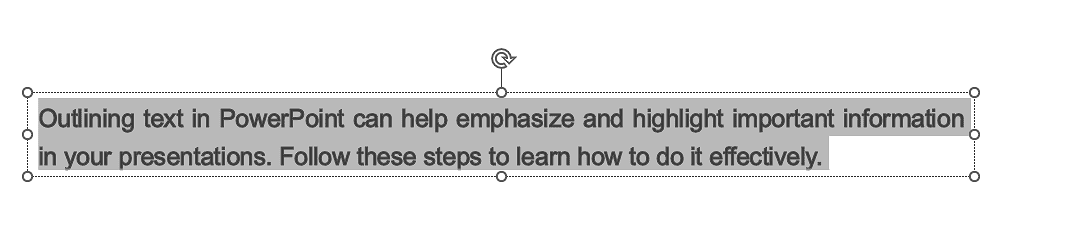
Step 2: Select the Text Box
Tap on the text box containing the words you want to outline.
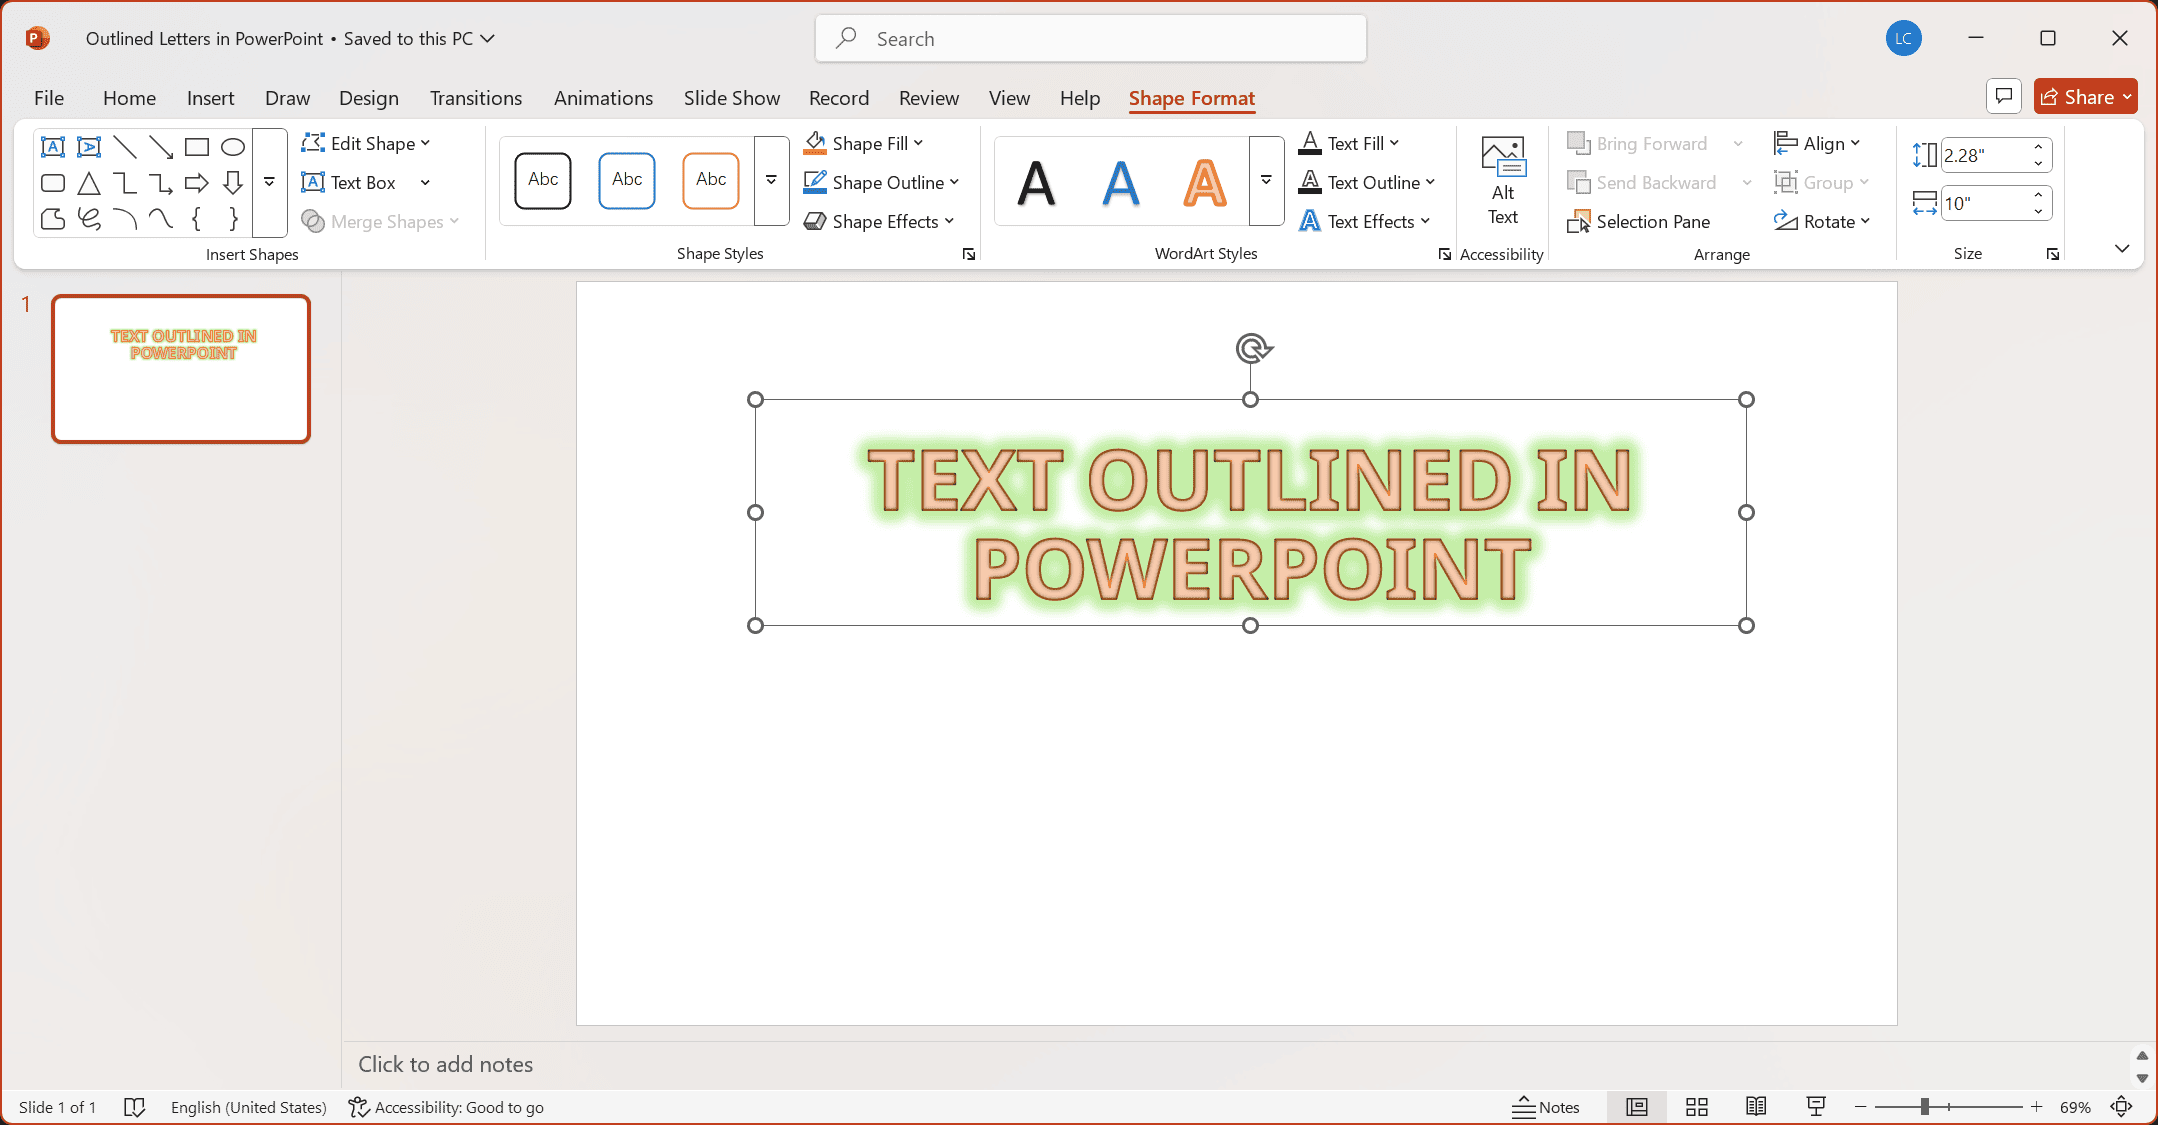
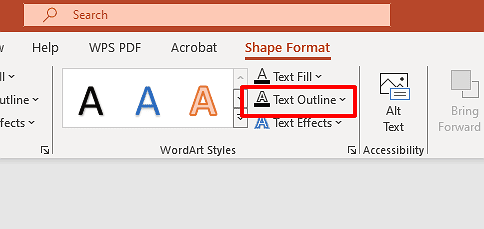
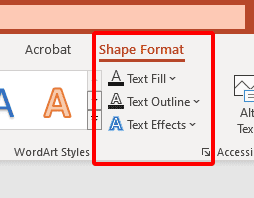
Step 3: Click on the Format Tab
Go to the Format tab under Drawing Tools or Shape Format in newer versions in the top menu.
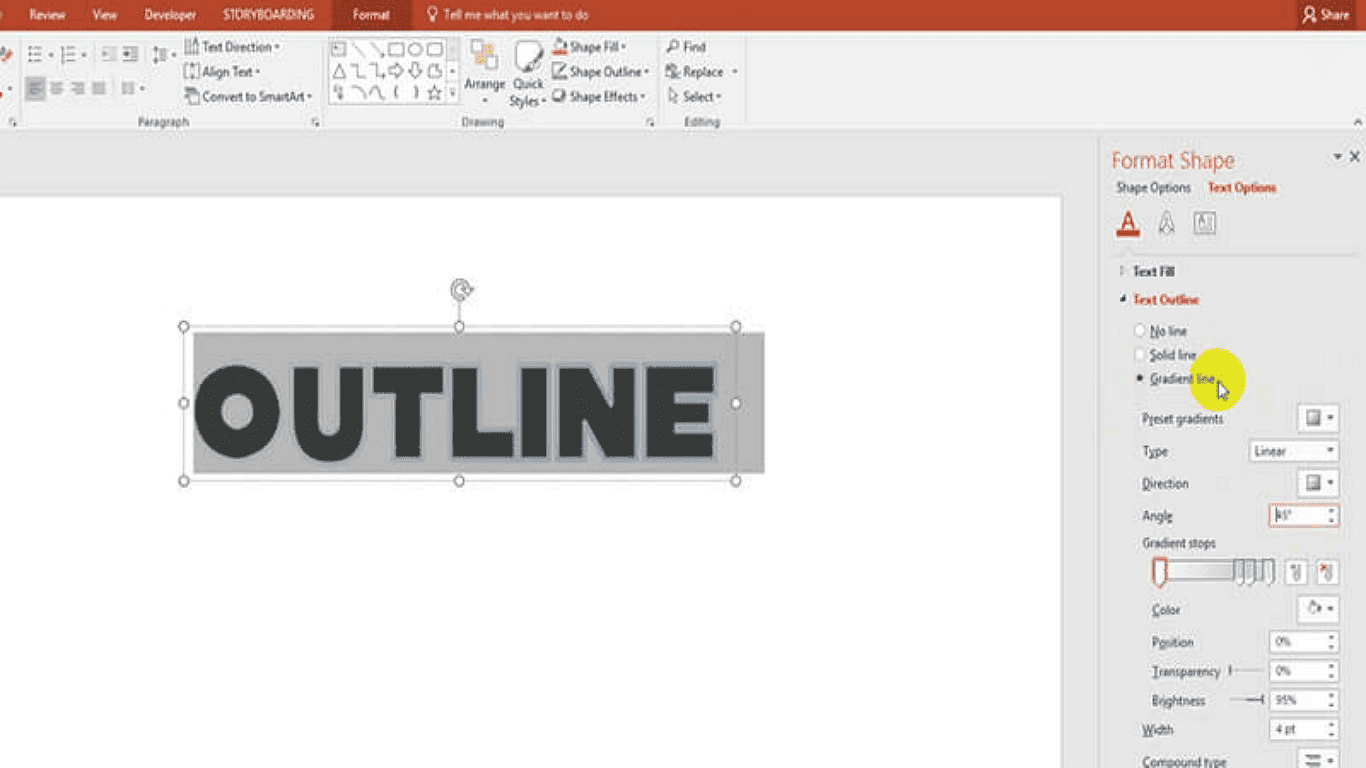
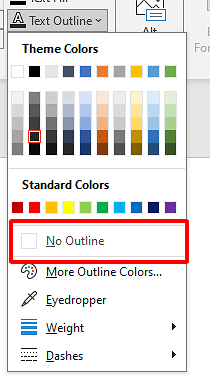
Step 4: Click Text Outline
Locate the toolbar and find the Text Outline button. Then, clicking it will open a dropdown menu with color choices.
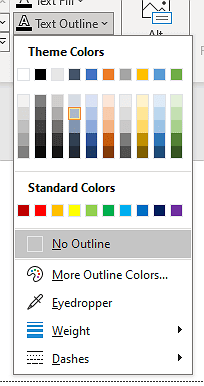
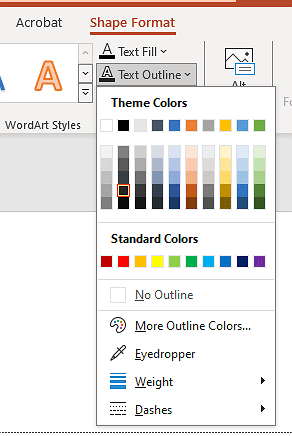
Step 5: Decide on an Outline Color
Pick a color that contrasts well with your text for maximum brightness.
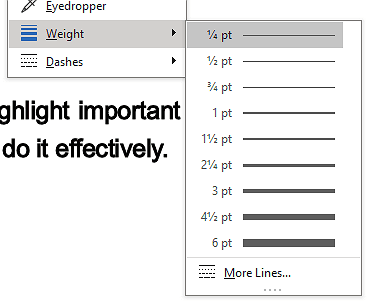
Step 6: Fine tune the Outline Thickness
Go to Weight in the Text Outline menu and select a thicker line style for a bolder effect.
Step 7: Confirm Your Changes
Review the outlined text to ensure it looks clean and professional.
TIPS
- Use high-contrast outline colors for maximum visibility
- Apply outlines only to titles and key points, not body text
- Best for larger font sizes (24pt+) - small text gets blurry
- Test in Slide Show mode to ensure readability from a distance
- Keep outline thickness between 1-3pt for clean results
- Try subtle effects like semi-transparency for modern designs
- Avoid overusing - let outlined elements stand out naturally
- Dark outlines on light text (or vice versa) work best
- Adjust colors to match your presentation's color scheme
- Combine with bold fonts for extra impact
Part 2: Modifying Text Outlines in PowerPoint
Personalize your presentation by fine-tuning text outlines. These steps will guide you through adjusting outline colors and enhancing text appearance.
1. Updating Outline Color:
Step 1: Highlight the Outlined Text
Select the text box containing the outline you wish to modify.
Step 2: Access Formatting Tools
Click on the “Format” tab located in the top navigation bar.
Step 3: Open Outline Settings
Find and select the “Text Outline” button to display customization options.
Step 4: Select Preferred Color
Choose your desired outline color from the available palette or custom options.
Step 5: Verify Adjustments
Examine your text to ensure the new outline meets your expectations.
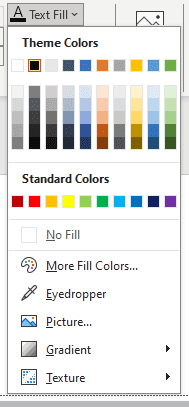
2. Customizing Text Fill Colors:
Step 1: Select the text box containing the text you wish to color.
Step 2: Go to the Format tab in the top menu bar.
Step 3: Find Text Fill Settings to view available options.
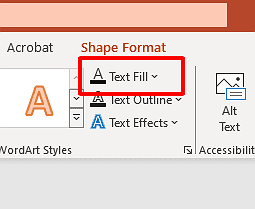
Step 4: Choose from the color palette or select a custom shade for your text.
Step 5: Check Your Results
Examine how the new color appears on your slide.
Pro Tip: Combining thoughtfully chosen fill colors with complementary outlines creates professional-looking text elements. Try various color pairings to discover what works best for your presentation's style and theme.
Part 3: Eliminating Text Outlines in PowerPoint
When you want to simplify your text appearance by removing outlines, these steps will help you achieve a clean, minimalist style.
Removing Text Outlines:
Step 1: Select the Outlined Text
Click on the text box containing the outline you wish to remove.
Step 2: Access Formatting Tools
Go to the 'Format' tab in the top navigation panel.
Step 3: Open Outline Settings
Find and click the 'Text Outline' dropdown button.
Step 4: Select 'No Outline'
Choose this option from the menu to eliminate the outline.
Step 5: Verify the Result
Check your text to confirm the outline has been successfully removed.
Conclusion
Getting outlined letters in PowerPoint is a simple yet powerful way to transform your ppts. Remember that consistency is key for polished presentations. You can use outlines strategically to highlight critical points while maintaining a professional aspect. Attractive outline color and thickness can pop your text without making slides overpower. You might also enjoy exploring more productivity tricks in our collection of Excel tutorials finding these PowerPoint tips helpful. These resources can help you work smarter across Microsoft Office from data formatting to advanced formulas.