No doubt, clear and well placed captions can transform your slides from good to great for highlighting key visuals or ensuring convenience. While PowerPoint provides flexible captioning tools, choosing the right approach depends on your content type and workflow needs.
In this walkthrough, we'll explore two proven techniques: the classic text box method for static images (perfect for most users) and the powerful STAMP solution for video captioning. As someone who regularly converts presentations to polished PDFs, I've found tools like PDF Agile invaluable for maintaining quality during format changes—but more on that later.
Method 1: Simple Text Box Captions (The Beginner-Friendly Approach)
This hands-on technique puts you in full creative control. Though it requires manual work, I consistently recommend it for one-off slides because it works universally—no matter which PowerPoint version your team uses.
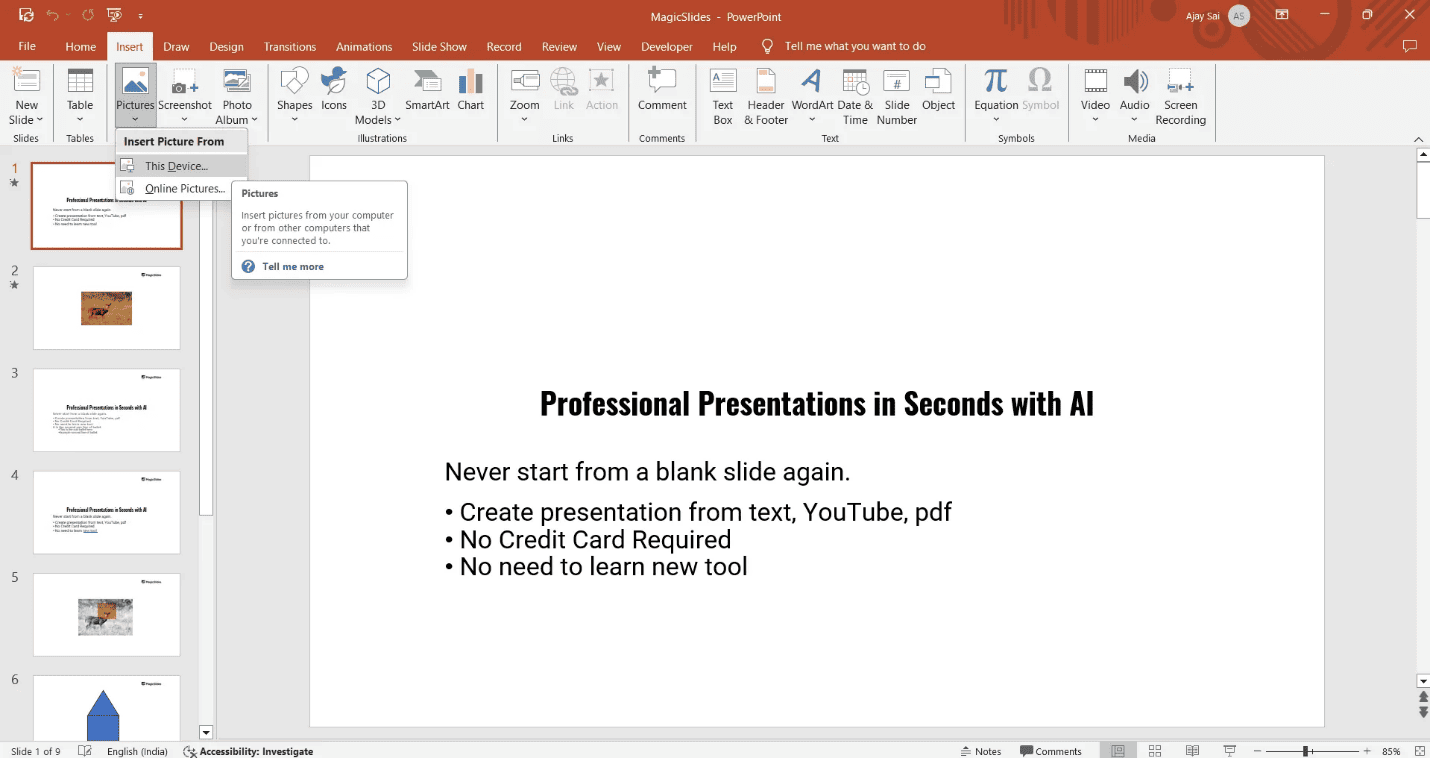
Step 1: Insert Your Image
Start by opening your target slide in PowerPoint. Head to the Insert tab and click Pictures to browse your local files—I typically use "This Device" for full-quality imports. For stock imagery, the "Online Pictures" option integrates seamlessly with Bing's search (just mind the licensing). Once placed, drag the corners to resize; I like to hold Shift while dragging to maintain proportions.
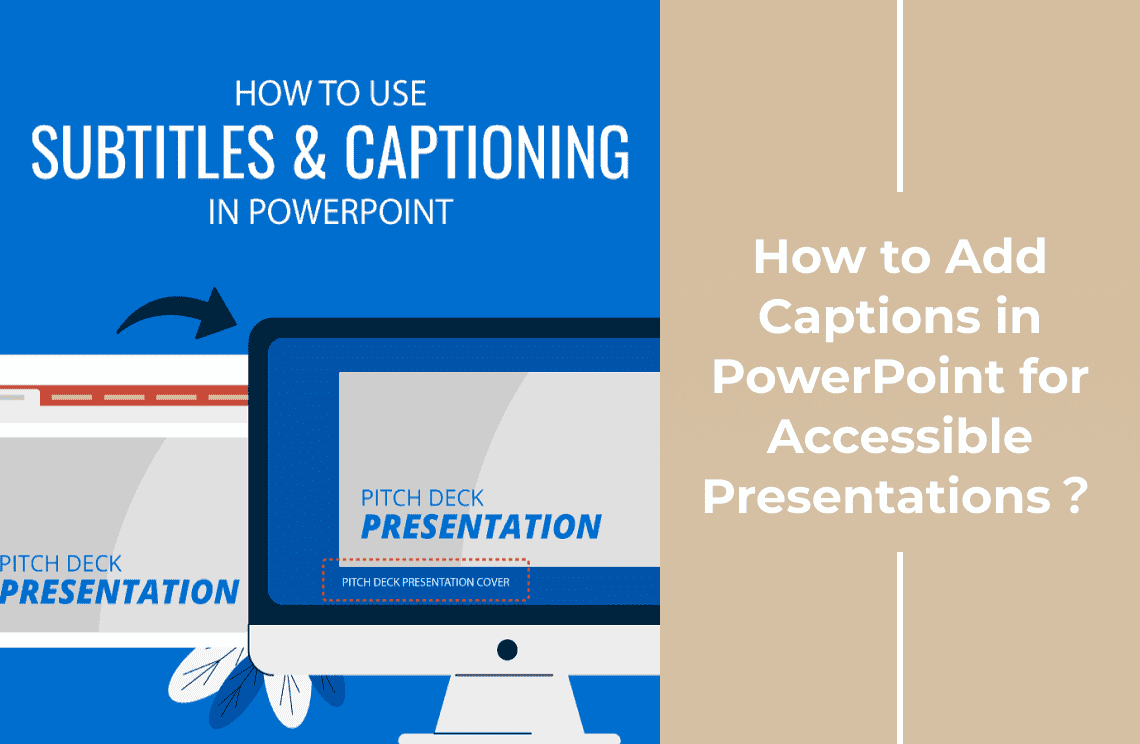
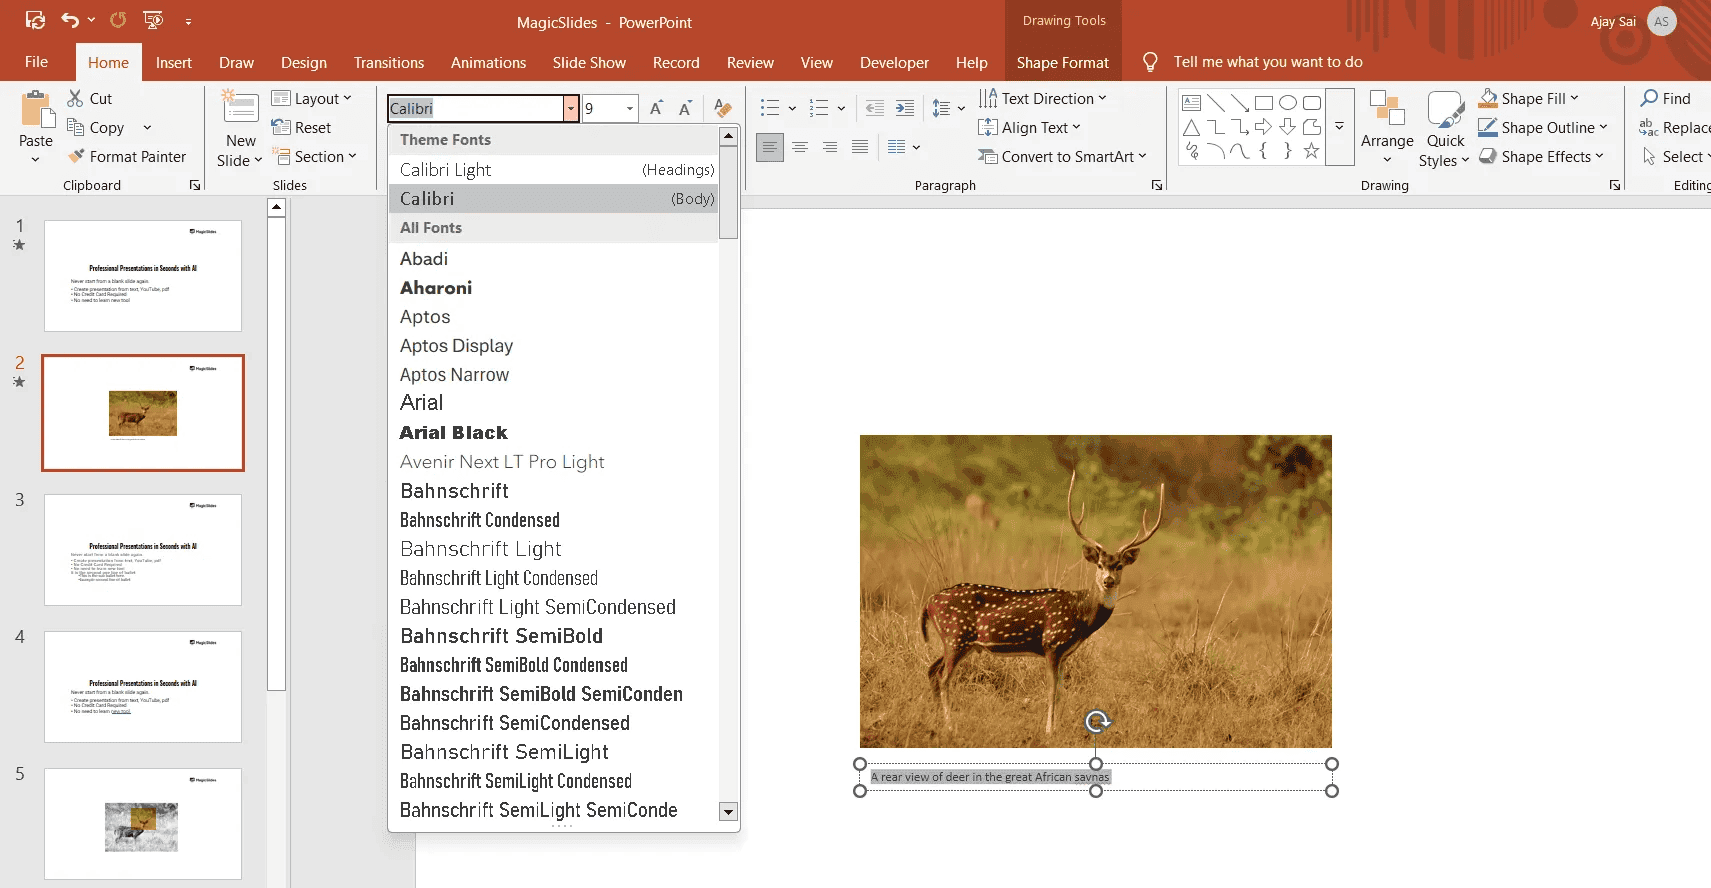
Step 2: Insert a Text Box for the Caption
Go back to the Insert tab and click Text Box. Click and drag below or beside the image to create the text box, then type your caption. Keep it concise—1-2 lines work best for readability.
Step 3: Style Your Caption Like a Pro
Now the interesting part; making your caption look sharp! Simply highlight the text and head to the Home tab where you'll find all your formatting tools. I recommend choosing a clean, readable font and setting the size between 12-14pt for optimal visibility. For that extra polish, center-align your text and try making it bold - you'd be surprised how much difference this small tweak makes. If your caption still feels cramped, bump up the letter spacing just a hair (around 0.5pt usually does the trick).
Step 4: Lock It All Together (Optional but Recommended)
Here's a handy trick I use constantly: grouping. Hold down Ctrl (or Cmd on Mac) and click both your image and caption to select them together. Right-click and hit "Group" - now they'll stay perfectly aligned no matter how you move them around the slide. This is especially useful when you need to reposition multiple elements at once without messing up your carefully crafted layout.

Step 5: Save and Review
Review the slide to ensure the caption is legible and properly positioned. Save your presentation (Ctrl + S) to preserve all changes. For accessibility, verify the text contrasts with the background (e.g., dark text on light backgrounds).

Done! Your image now has a neat, professional caption.
Why Use This Method
- Simple and straightforward for beginners.
- Gives full control over caption placement and styling.
- Works in all versions of PowerPoint.
| Pros | Cons |
| Easy to learn and apply | Manual adjustments are needed if the image moves |
| Fully customizable text | Not linked to the image (unless grouped) |
| No extra steps or plugins | Slightly slower for bulk images |
Method 2: Adding Captions & Subtitles in PowerPoint 2010 with STAMP
Step 1: Install the STAMP Add-in
Start by verifying your PowerPoint version through File > Help > About PowerPoint to determine whether you need the 32-bit version or 64-bit version of STAMP. Run the setup process and confirm successful installation by checking PowerPoint's Add-ins section under File > Options.
Step 2: Upload Media for Transcription
Access your STAMP account through the service's web portal and navigate to the upload section. Select Direct Upload to submit your video file, then specify your preferred processing speed. The system will notify you via email when your automated captions are ready for download.
Step 3: Download Caption Files
Within your STAMP account dashboard, locate the processed file under My Files and initiate a download request. Choose the PPT XML format option specifically designed for PowerPoint integration, then save the generated file to a memorable location on your local drive.
Step 4: Import Captions into PowerPoint
Insert your video file into the presentation using the Insert > Video command. With the video selected, access the Playback tab and click Add Captions followed by From File to import your downloaded XML caption file. Use the built-in tools to fine-tune caption timing if necessary.
Why Use This Method?
- Automates captioning for videos within PowerPoint
- Ideal for professional presentations with video content
- Ensures accurate synchronization of subtitles with audio
| Pros | Cons |
| Professional-quality captions | Requires a third-party tool |
| Saves hours of manual work | Only works with video content |
| ADA/accessibility compliant | Learning curve for first-time users |
This method delivers broadcast-quality captions but requires more setup than basic text boxes. So we have added specific troubleshooting tips.
Troubleshooting Common Issues
1. STAMP Not Showing in PowerPoint?
- Fix 1: Restart PowerPoint after installation.
- Fix 2: Reinstall STAMP (ensure correct 32/64-bit version).
- Fix 3: Enable it manually:
File > Options > Add-ins → Manage COM Add-ins → Check STAMP.
2. Captions Not Syncing Properly?
- Fix 1: Re-export the XML file from STAMP.
- Fix 2: Adjust timing in Playback tab > Captions > Edit.
- Fix 3: Ensure video and audio are clear (poor quality can misalign captions).
3. XML File Won't Import?
- Fix 1: Confirm the file is PPT XML (not SRT/VTT).
- Fix 2: Check for corrupt files—re-download from STAMP.
- Fix 3: Update PowerPoint (2010+ required).
4. Captions Missing After Saving?
- Fix: Embed the video (don't link externally) before adding captions.
FAQs
Q1: Which caption method should I use - text boxes or STAMP?
Text boxes work best for simple image captions when you need full design control. STAMP is the better choice for professional video captions that require automatic synchronization.
Q2: Can I add captions directly to images without text boxes?
No, PowerPoint requires text boxes for captions. For accessibility, you can use Alt Text by right-clicking the image, but this won't display as a visible caption.
Q3: Why isn't STAMP showing up after installation?
First, restart PowerPoint. If it's still missing, go to File > Options > Add-ins and manually enable STAMP under COM Add-ins. Make sure you installed the correct 32-bit or 64-bit version.
Q4: Can I use these captions in YouTube videos?
Text box captions only work within PowerPoint. STAMP captions can be exported as SRT files that work with YouTube and other video platforms.
Q5: Does STAMP require internet access?
You'll need internet to upload videos and download captions, but you can edit imported captions offline in PowerPoint.
Wrapping Up
Clear captions make your presentations more engaging and accessible. Whether you're training teams, delivering lectures, or creating marketing decks, these techniques ensure your message reaches everyone effectively. Just like these PowerPoint hacks save time, tools like PDF Agile can speed up your document workflow. Need to convert a presentation to PDF? Edit handouts? Compress files for email? PDF Agile handles it all in clicks.