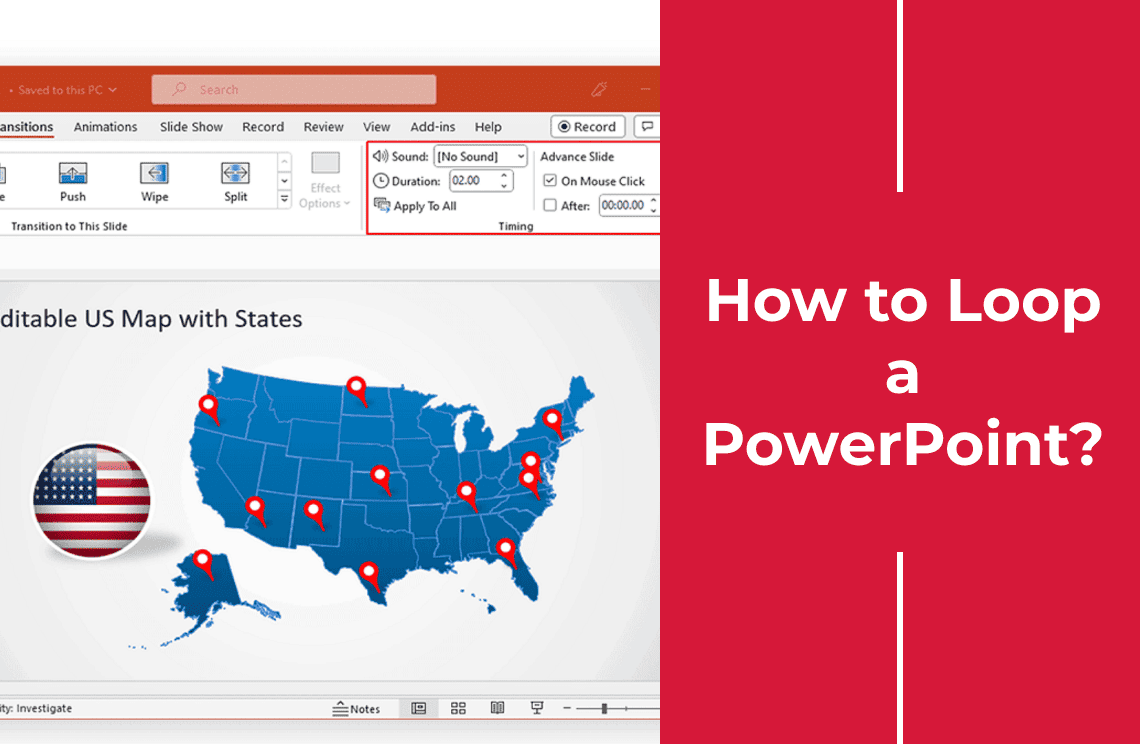
Building a clear and visually appealing timeline in PowerPoint can be radical for presentations showcasing project milestones, company history or event agendas. Are you wondering how to create a timeline in PowerPoint without spending hours on manual designs. Follow this guide showing simple yet professional methods to design a polished timeline in moments. You will learn step by step techniques to make your timeline stand out using built-in PowerPoint tools or leveraging customizable templates. Thus, no design expertise required for you.
Get ready to streamline your next presentation!
Method 1: Creating Timeline Using PowerPoint Smart Art Function
Step 1: Create a Simple Timeline Graphic
Initiate with a new or existing PowerPoint file and insert a fresh blank slide first.
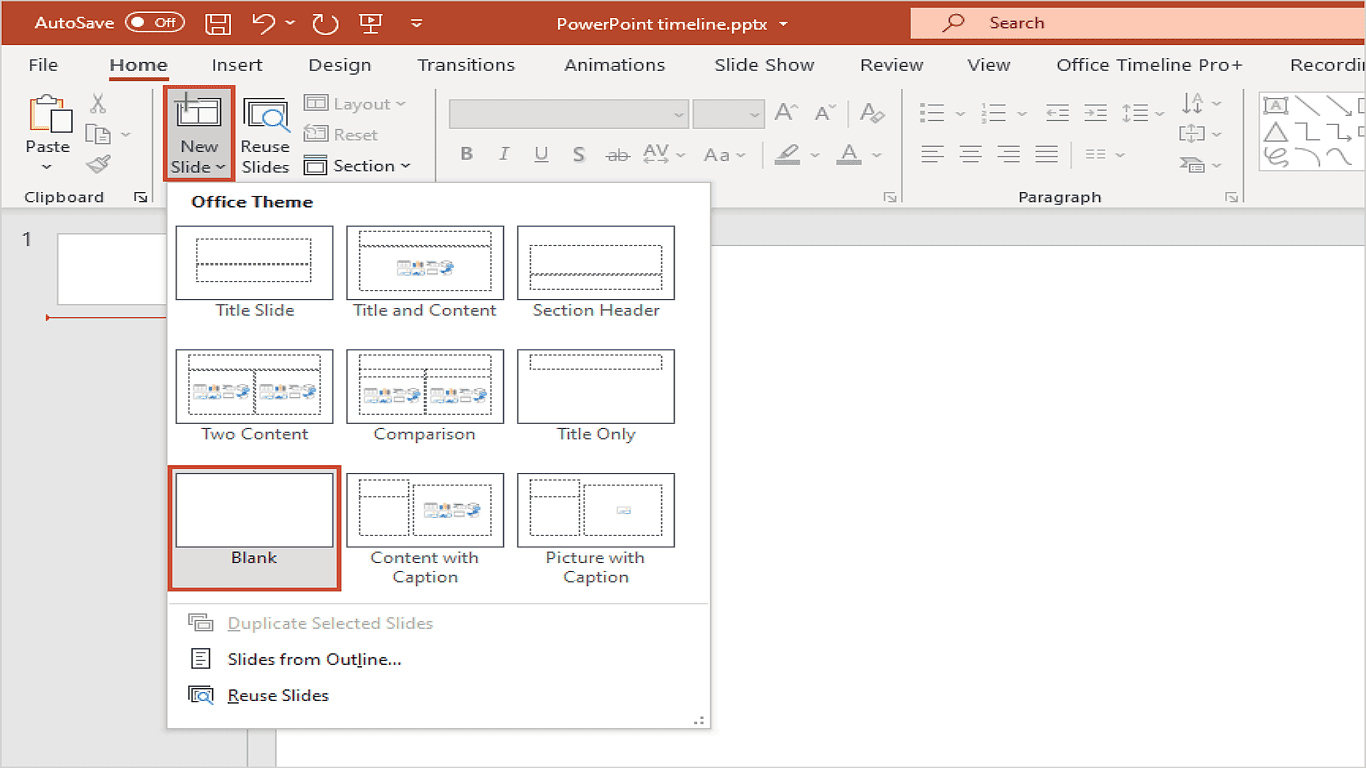
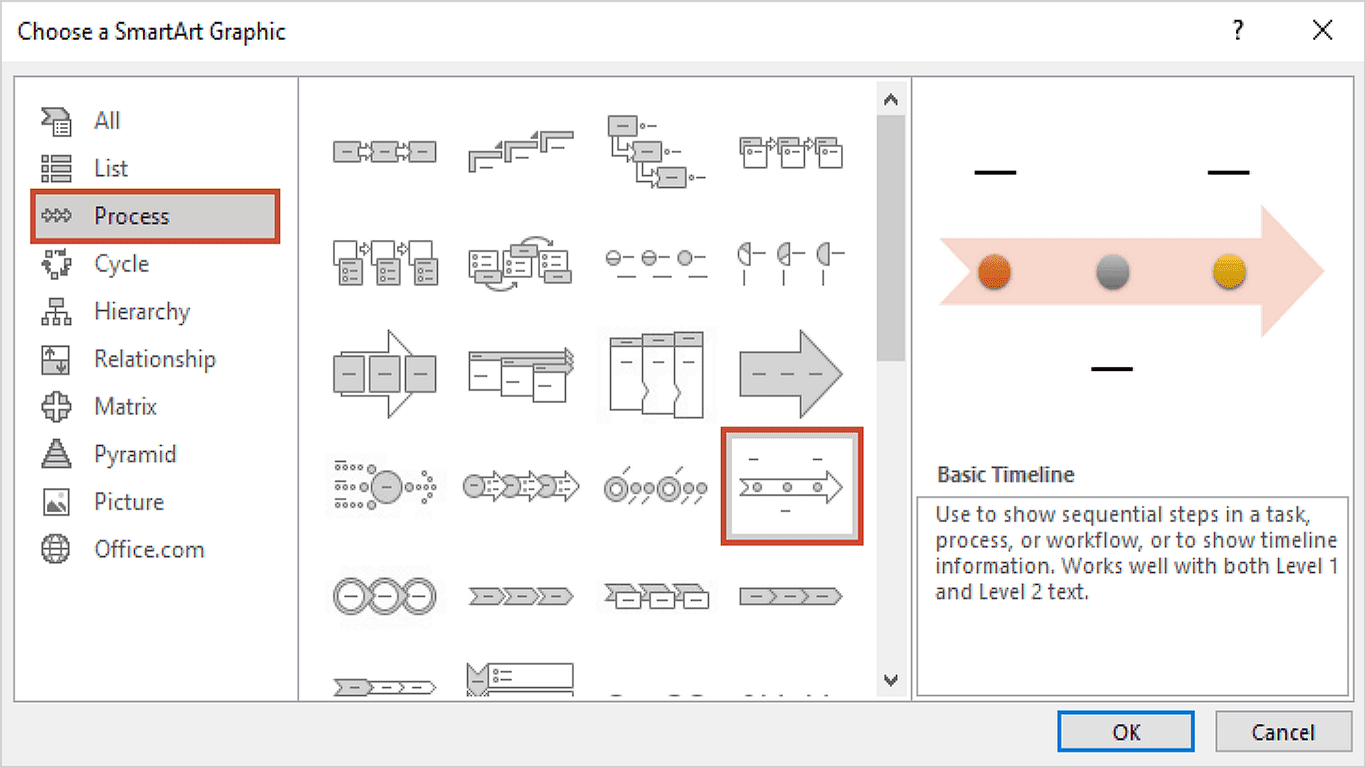
Select the Insert tab from the top menu and choose SmartArt from the Illustrations set.

When the selection window appears, browse to the Process category to view timeline-style graphics. The Basic Timeline option works well for most projects needing clear milestone displays.
Step 2: Enter Your Timeline Information
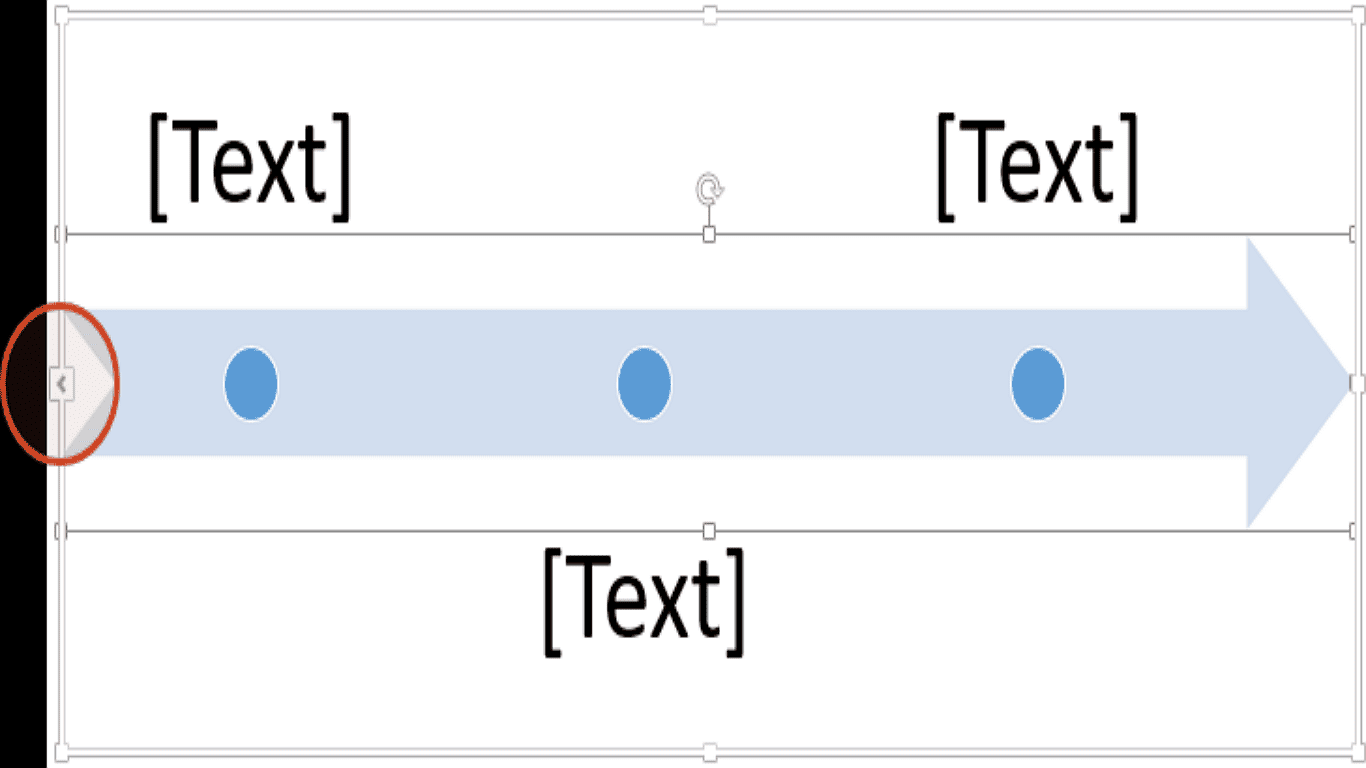
PowerPoint's default timeline template includes three placeholder milestones. While you can edit these directly by clicking the [Text] boxes, managing additional milestones becomes cumbersome. Instead, use the Text Pane for easier editing and expansion.
To access the Text Pane, click the small arrow icon on the left edge of your timeline graphic.
This reveals a sidebar where you can efficiently:
- Type your milestone dates and details
- Press Shift+Enter to separate dates from descriptions
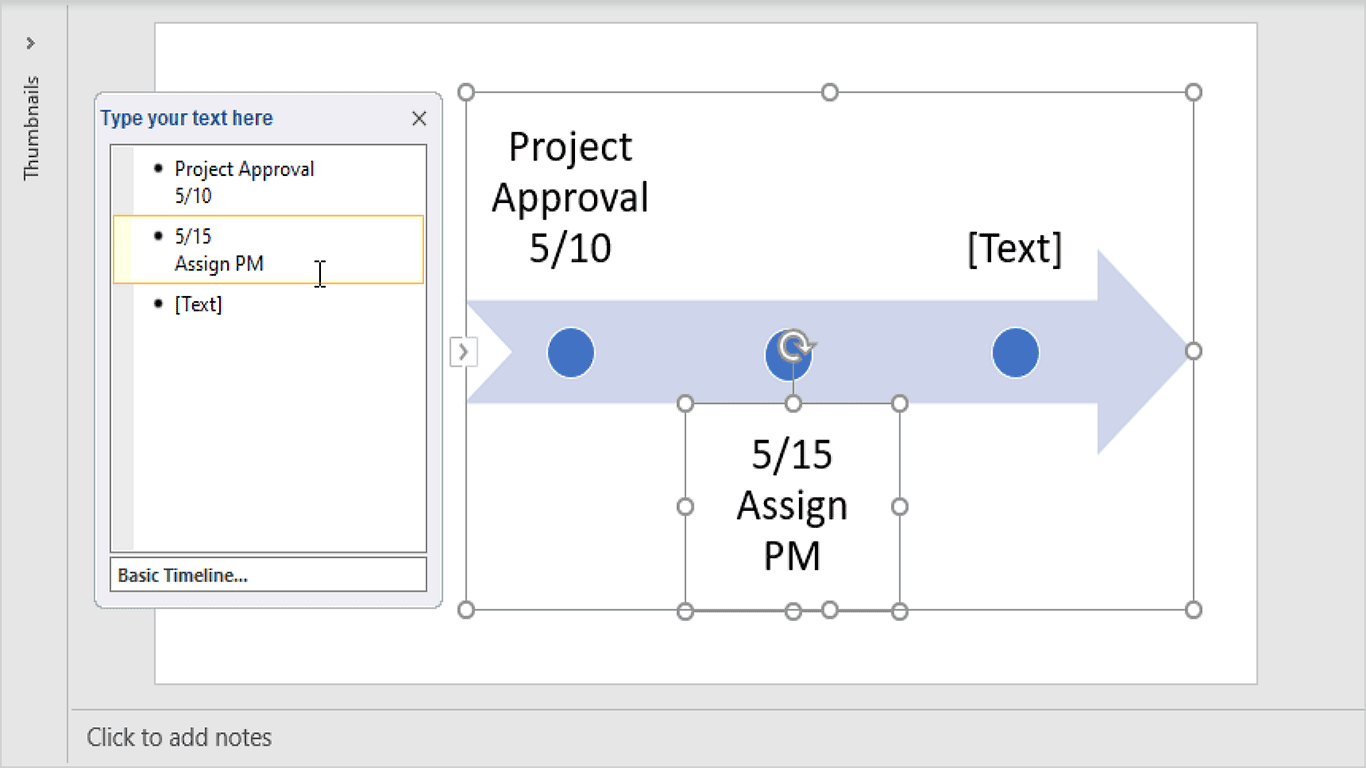
- Add new milestones by pressing Enter after existing items
As you input information, PowerPoint instantly updates the visual timeline. This method ensures cleaner formatting and simpler modifications compared to direct graphic editing.
For complex timelines with numerous entries, consider copying/pasting from an existing document into the Text Pane to save time. Remember that each new line creates another milestone marker in your sequence.
Note: PowerPoint spaces milestones equally, ignoring actual date gaps since it treats them as text. While you can drag items to adjust spacing, this often causes layout issues when adding more events. We recommend keeping the default spacing.
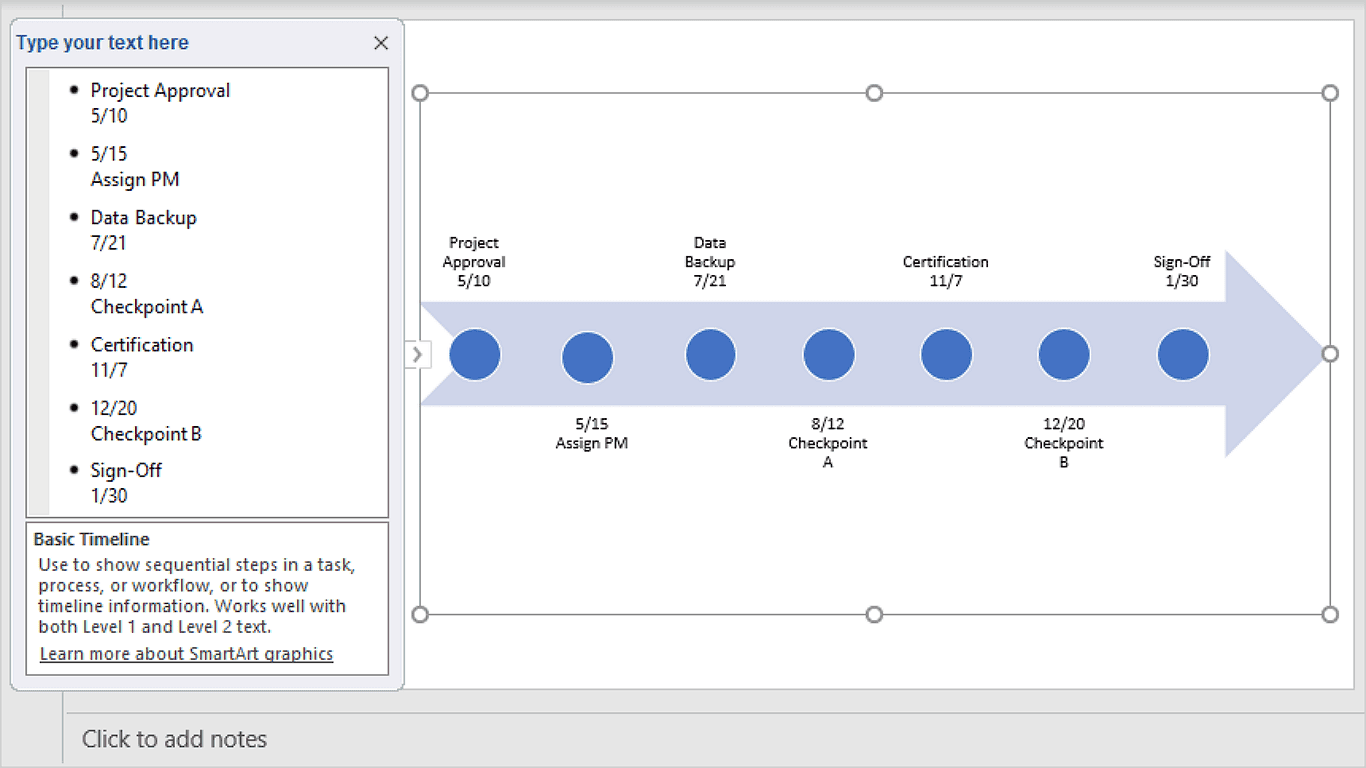
To include additional milestones, press Enter after any Text Pane entry. Text size decreases with each addition. For best results, limit your timeline to 5-7 milestones. Consider specialized tools for accurate date-based spacing.
Don't manually resize text in your timeline - it'll mess up the layout. Instead, enlarge the entire graphic box. PowerPoint will scale up the text automatically while keeping everything aligned.
Just grab a corner handle and drag to resize. The text will grow proportionally. Stick to 5-7 milestones for best results - if you need more detail, try splitting across slides or using timeline software.
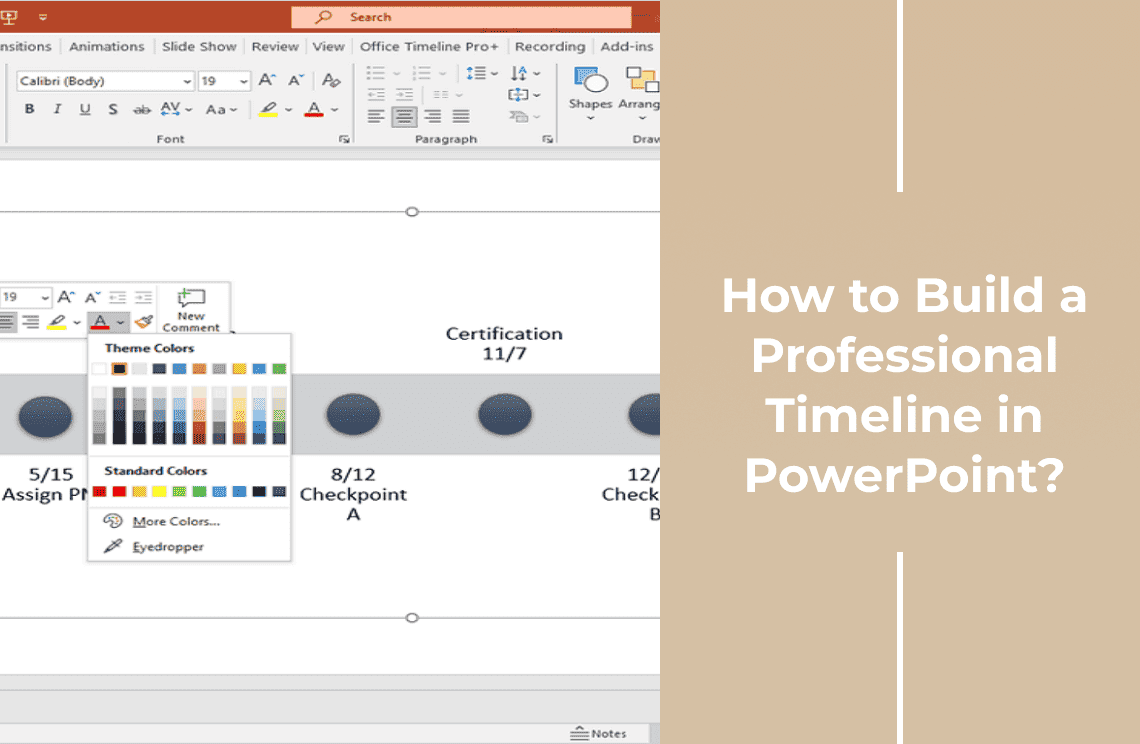
Step 3: Personalize Your Timeline Design
You can enhance your PowerPoint timeline's appearance by modifying its visual style.
Access the SmartArt Design tab to explore different style options. Our demonstration uses a deep color palette (selected from Change Colors) along with the Intense Effect style to emphasize the milestone markers. These adjustments help create a more distinctive and professional look.
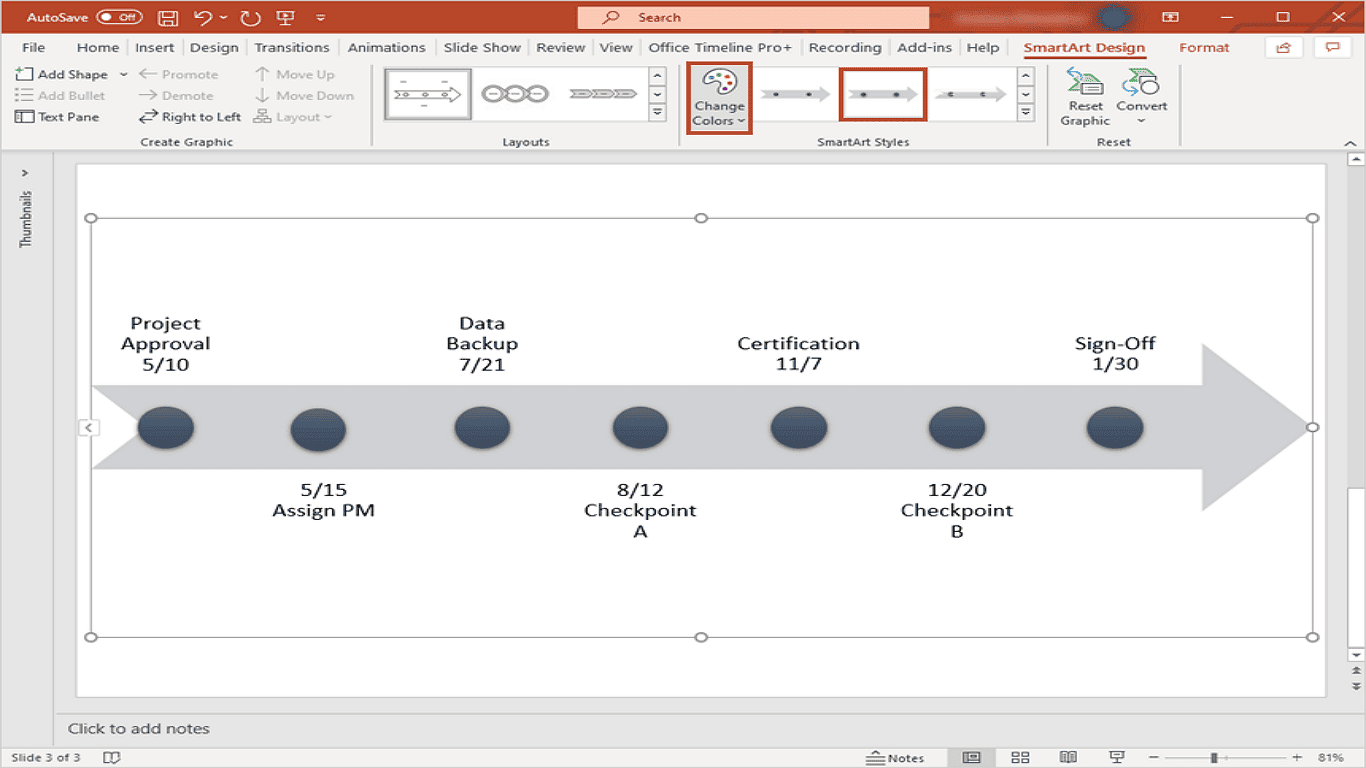
The styling tools allow you to experiment with various combinations until you achieve your preferred aesthetic while maintaining clarity.
For targeted customization, right-click any element to modify it individually. Use Shape Fill to highlight key milestones or adjust Font Color to distinguish dates from descriptions.
For advanced edits, double-click items to access detailed formatting options. Stick to 2-3 colors from your presentation palette for consistency. Keep adjustments subtle to maintain a clean, professional look while emphasizing important information.
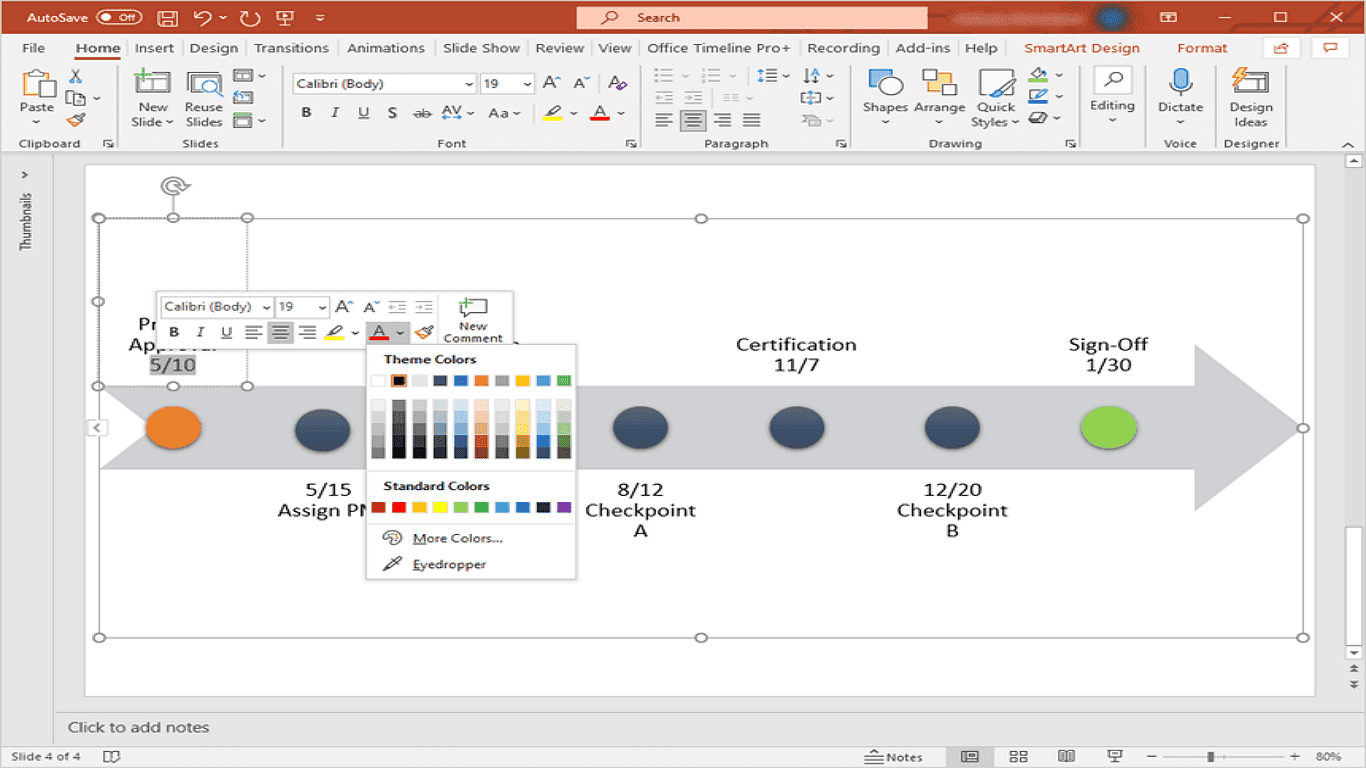
The right-click menu offers quick styling, while Format Shape provides precise control. Focus on clarity through restrained customization rather than drastic changes that may disrupt your timeline's layout.
To polish your timeline, drag the arrow narrower and align circles closer to their text. This strengthens visual connections between milestones and descriptions.
Takes some tweaking, but improves flow significantly. Use arrow keys for precision when needed. Small adjustments make big differences in clarity.
![]()
Aim for clean spacing where each element naturally guides the eye. Test different layouts until you achieve balanced alignment throughout the timeline.

Modify sizes to emphasize key events or switch shapes for visual variety. Keep changes subtle to maintain a clean, professional look while drawing attention to important data points.
These quick tweaks help create a more polished timeline without disrupting your overall layout. Stick to simple adjustments for the most effective results.
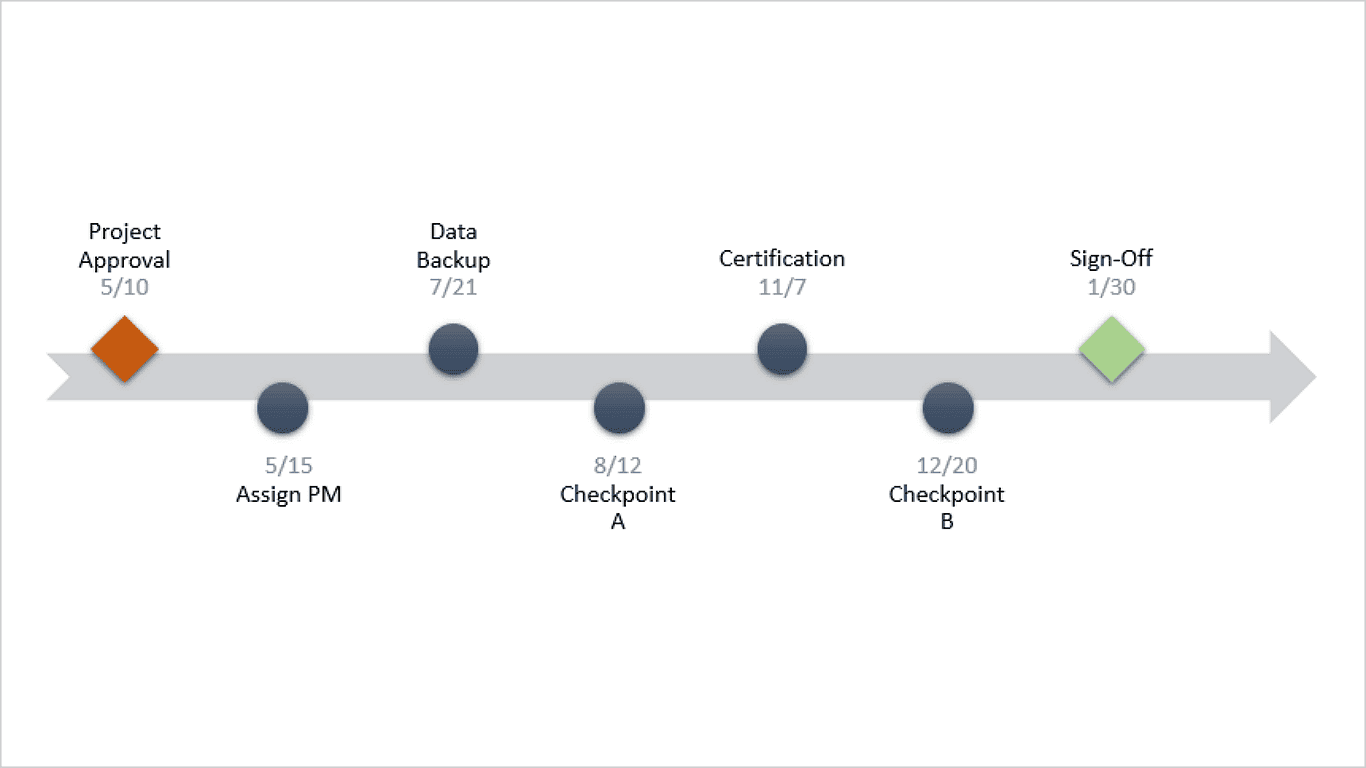
After exploring different layouts and measurements through the Format tab, our timeline has been revised to this new version!
These are the key steps for building a timeline in PowerPoint from scratch.
Method 2: Downloading Templates from Sites like SlidesGo, SlidesMania, and SlidesCarnival
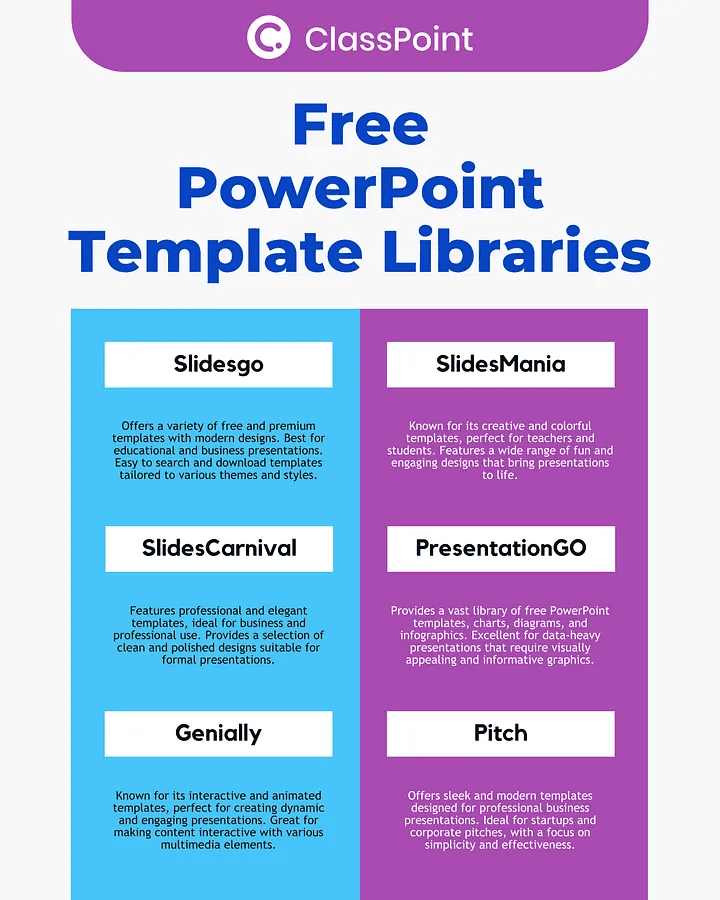
If you want to skip manual design work, online template libraries offer countless ready-made PowerPoint slides. These platforms let you quickly find and download polished designs—often for free—helping you work faster while maintaining a professional look. Slidesgo is one of the best options, and here’s how to use it:

1. Visit Slidesgo.
2. Search for “timeline” and browse the available templates.
3. Click on a design to preview it, then hit “Download” if it suits your needs.
4. Select PowerPoint as your preferred format.
5. Please open the file and tailor it to your presentation.
The process is nearly identical across most template sites, so you can experiment with different sources.
Method 3: Creating an Animated Timeline with Morph Transition
Use PowerPoint's Morph feature to build dynamic timelines.
1. Start with a blank slide and add eight rounded rectangles - four in a top row, four aligned below. Format the top row with picture fills (right-click > Format Shape > Picture fill). Cover these with the bottom rectangles, adding text to each and grouping them.
2. Duplicate the slide four times. On each duplicate, tilt and reposition one rectangle to reveal the image beneath (first rectangle on slide 2, second on slide 3, etc.).
3. Finally, select all slides and apply the Morph transition for smooth animation. This creates a professional, self-playing timeline that reveals points sequentially.
Key steps:
- Arrange 8 rectangles (4 top, 4 bottom)
- Add images to the top row
- Cover with bottom rectangles + text
- Duplicate slides
- Reposition one rectangle per slide
- Apply Morph transition
The result is an engaging visual presentation of your timeline points.
Final Words
Creating professional timelines in PowerPoint doesn’t have to be time-consuming or frustrating. Whether you use built-in tools like SmartArt, customizable templates from sites like Slidesgo, or dynamic Morph transitions, you now have everything you need to build clear, visually appealing timelines with ease.
For more productivity tips—especially for Excel users looking to streamline their workflow—check out Excel Tips & Tricks on PDF Agile’s blog. It’s a great resource for mastering data visualization and presentation efficiency.
Now, go impress your audience with timelines that are as polished as they are impactful!