Tired of flat, boring slides? Curved text instantly upgrades your PowerPoint game—perfect for logos, infographics, and titles. Here are 3 foolproof ways to bend, arch, or circle text like a designer (no Photoshop needed!)
Method 1: Create Curved Text Using PowerPoint's Built-In Tools
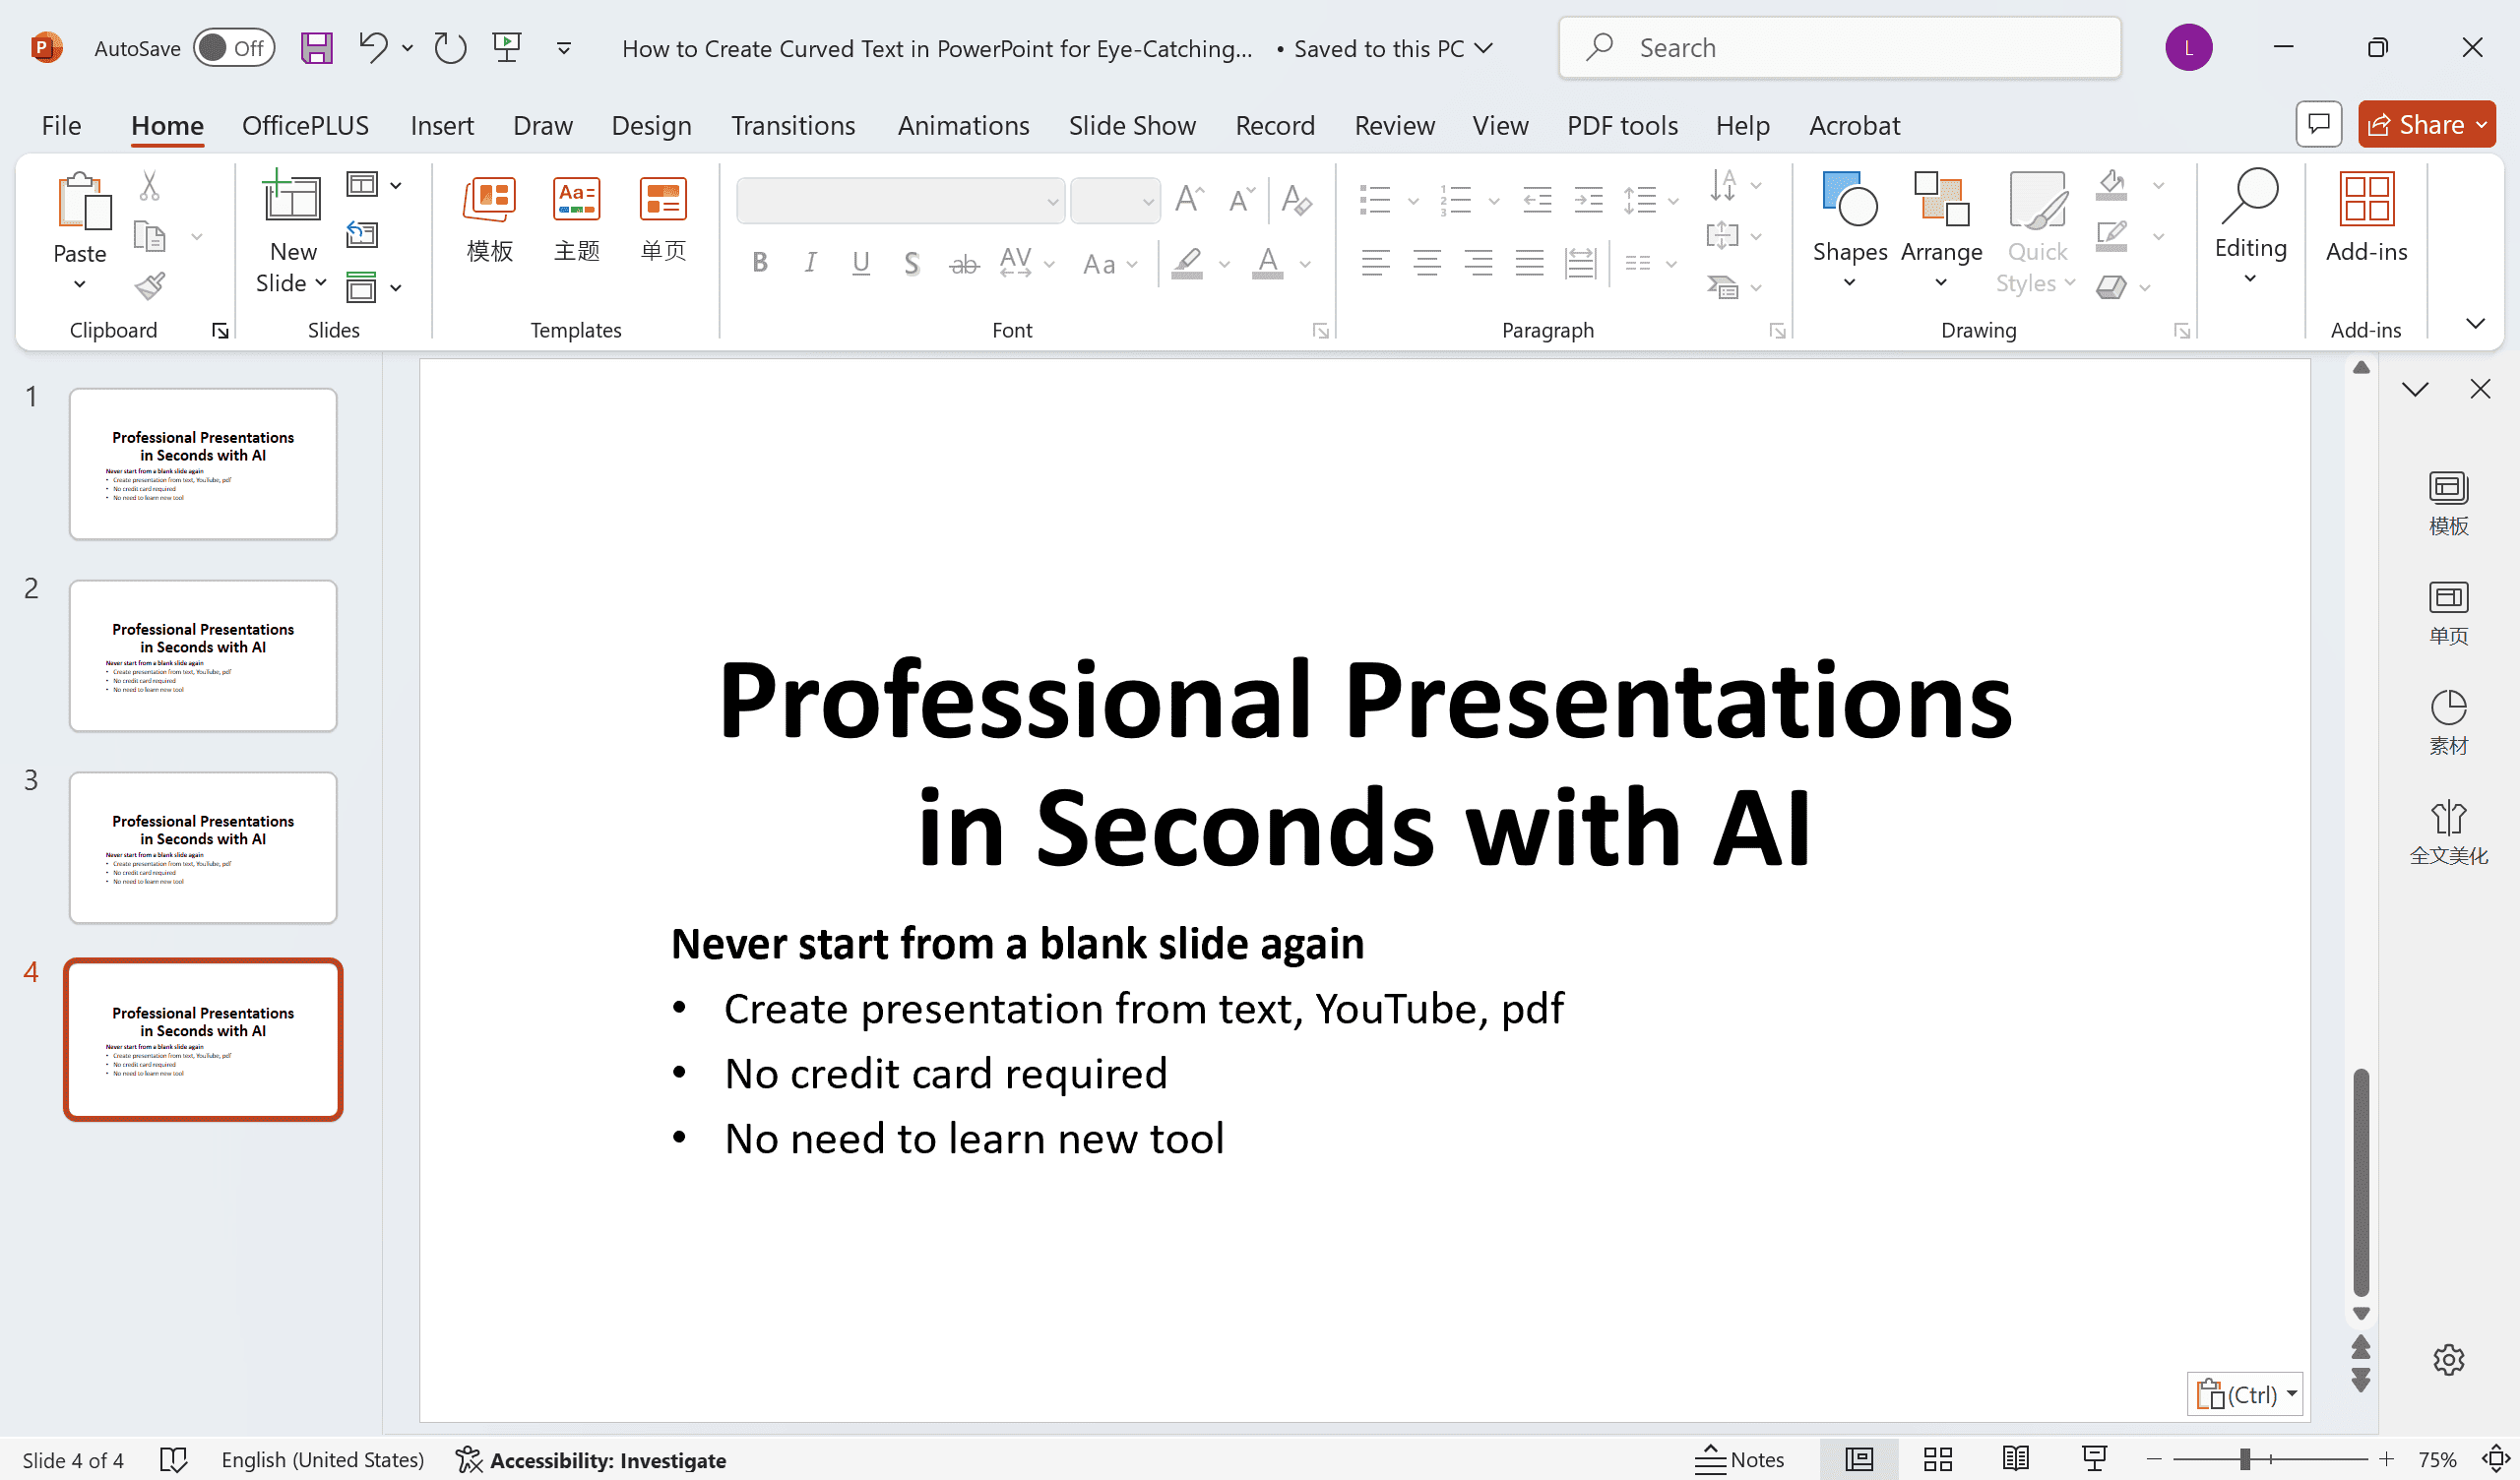
Step 1: Launch PowerPoint
Start by opening PowerPoint on your computer. Windows users can find it through the Start Menu or taskbar shortcut, while Mac users should look in Applications or use Spotlight search (Cmd+Space). For professional results, we recommend starting with your company template if you have one - this ensures brand consistency from the very first step.
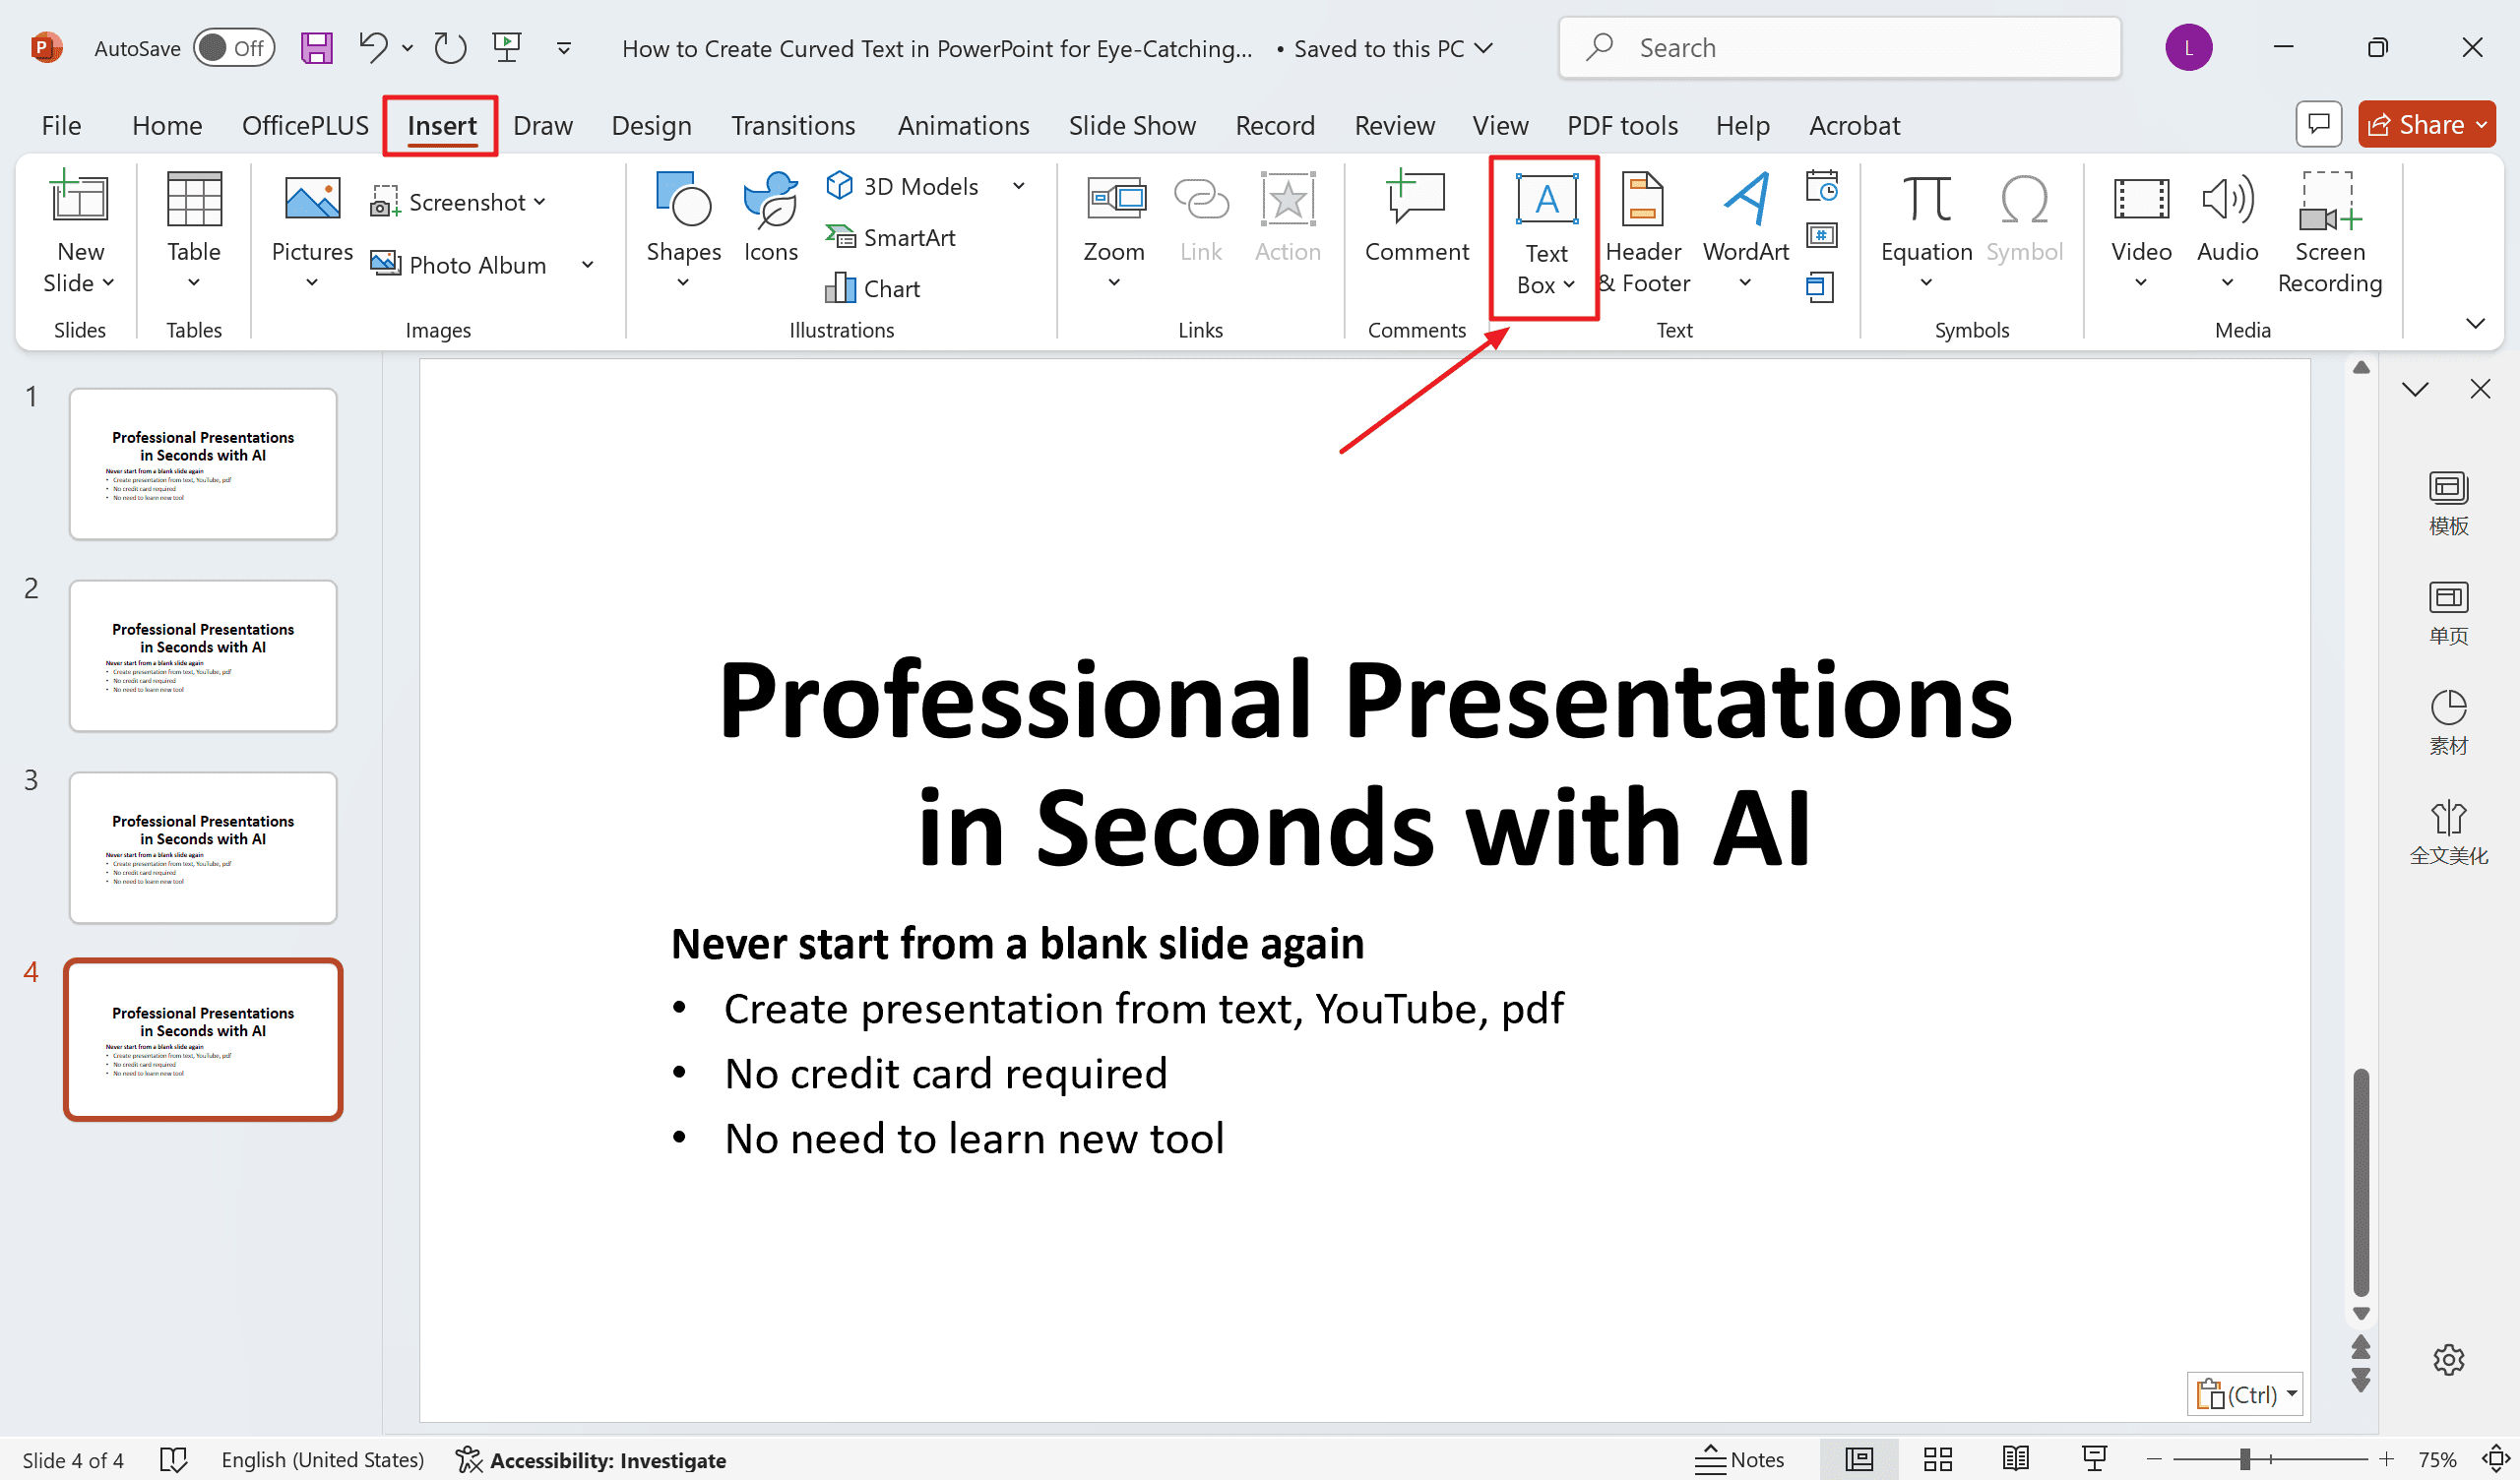
Step 2: Insert Text Box
Navigate to the Insert tab at the top and select Text Box (or use the handy Alt+N+X shortcut). Click anywhere on your slide and type your desired text - something like "SUMMER SALE" works great for practice. You'll want to adjust your font and size using the Home tab options - we suggest bold choices like Arial Black at 32-44pt for maximum impact.
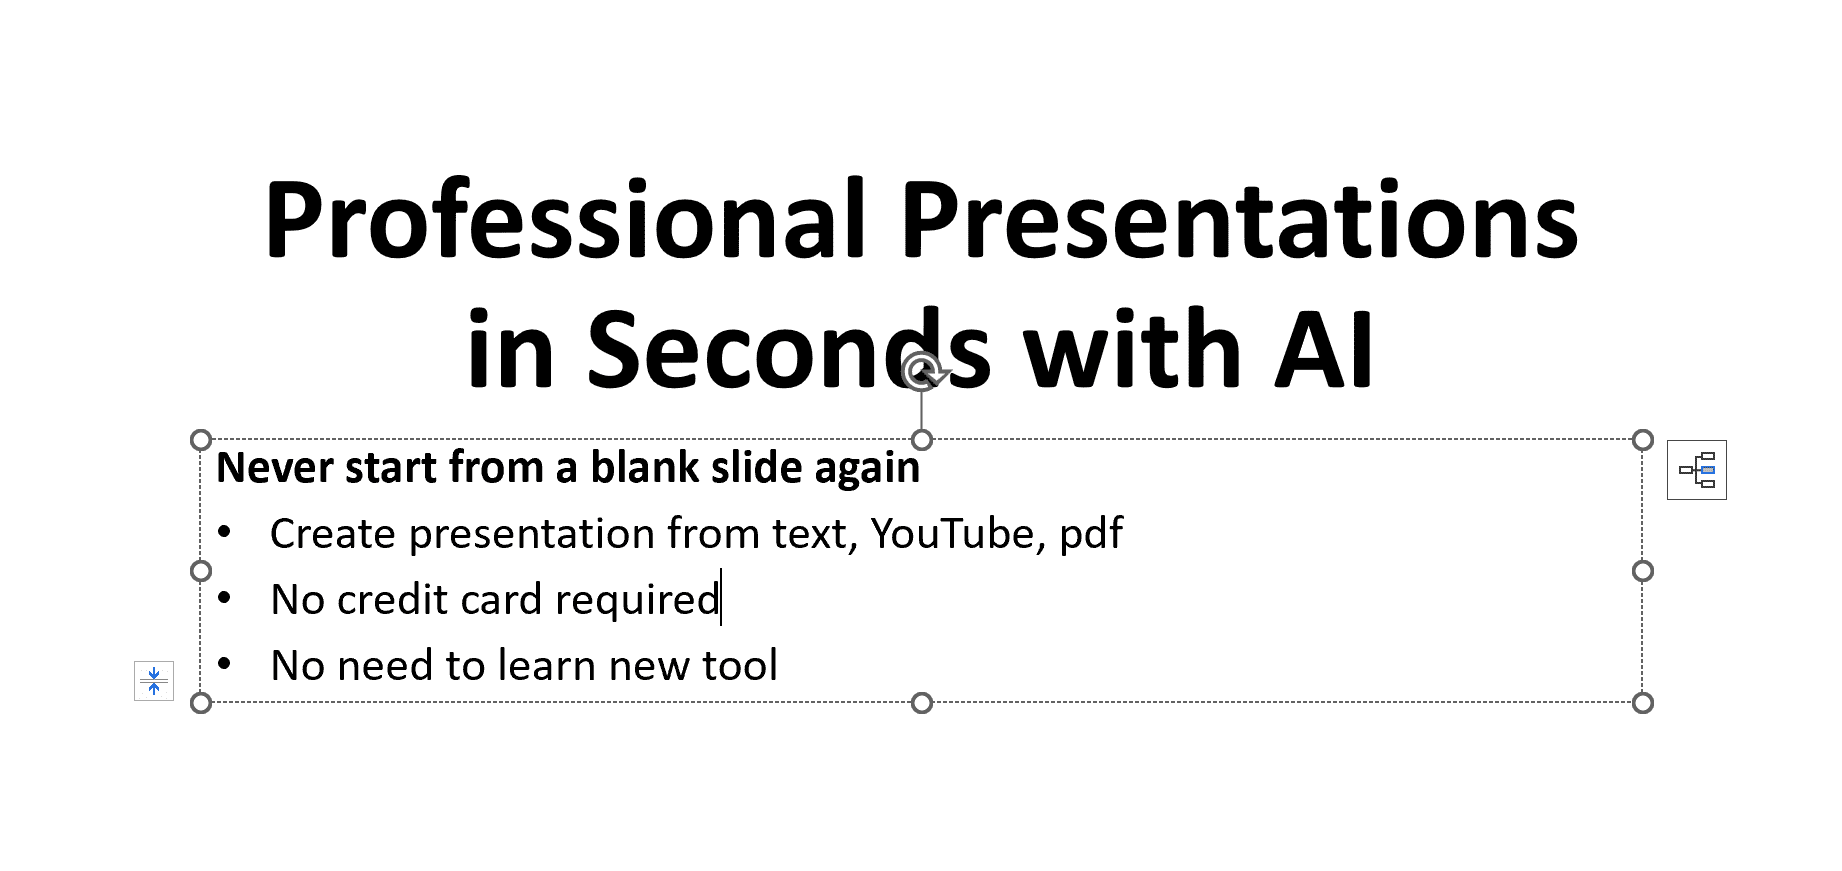
Step 3: Select Text
There are two ways to select your text depending on your needs. Clicking the text box border highlights everything at once, which is perfect for full transformations. If you only need to curve specific words, simply click and drag to make your partial selection. Remember: shorter phrases of 2-4 words curve most attractively.
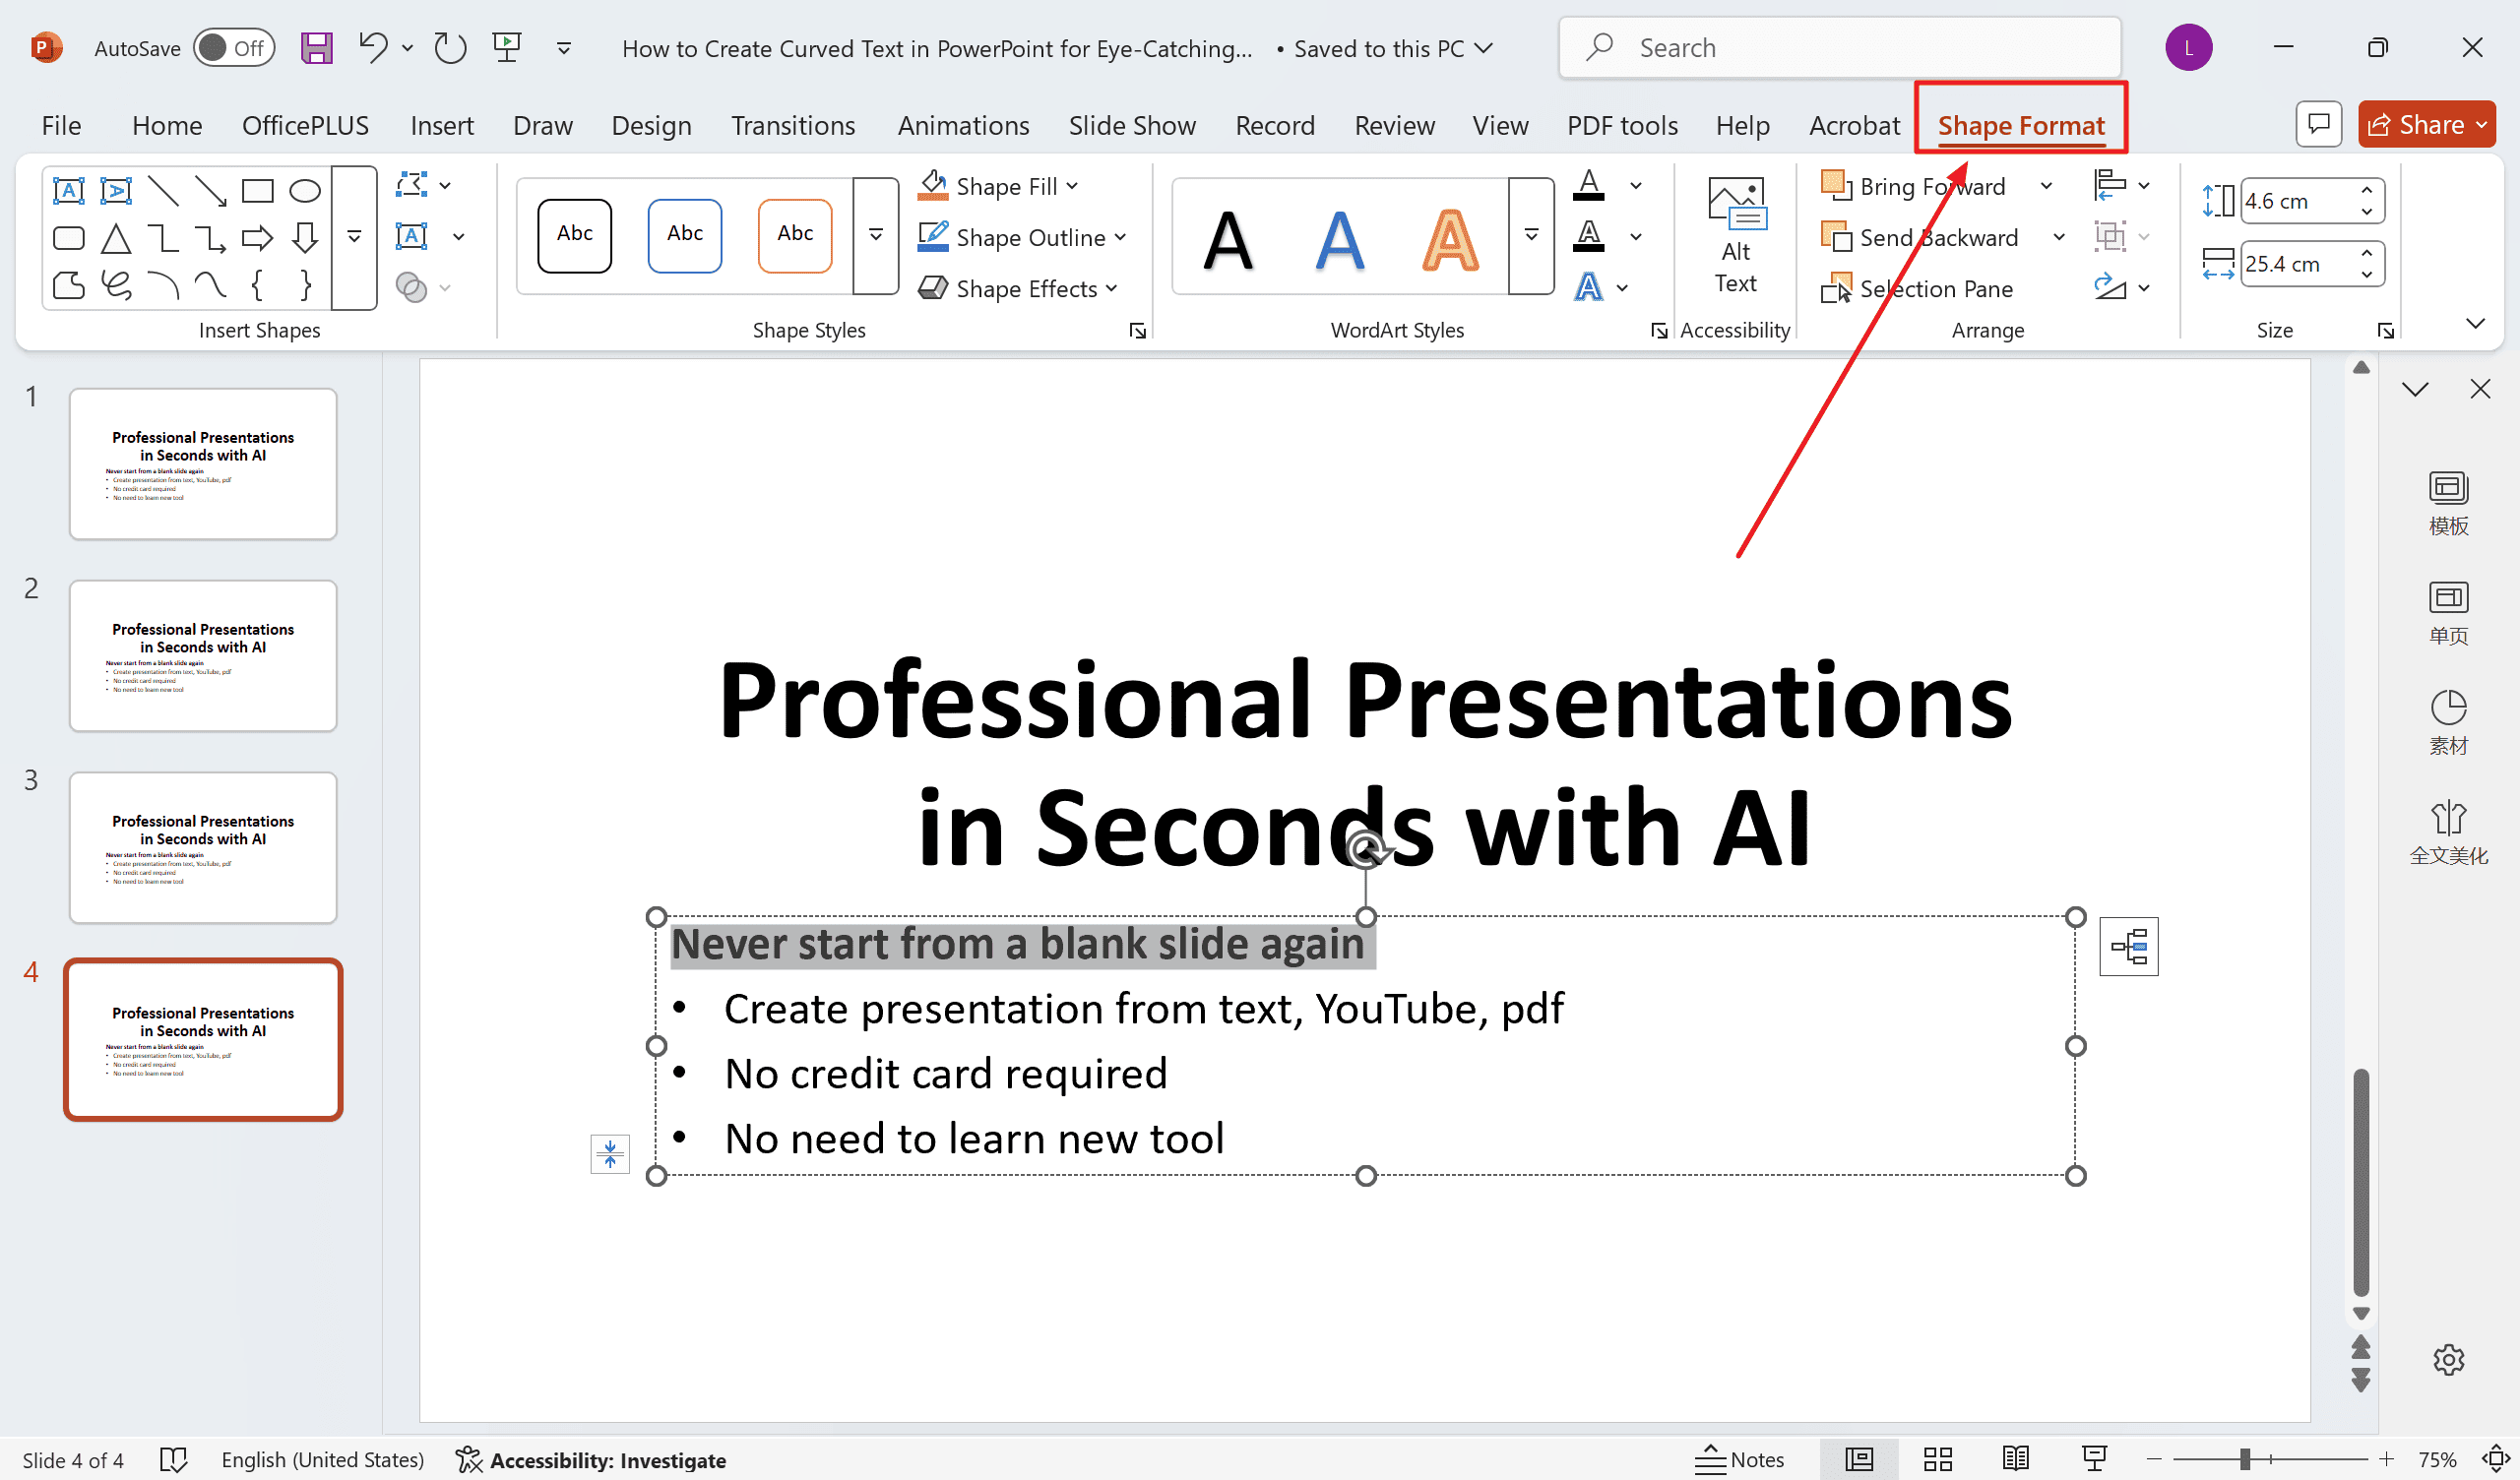
Step 4: Access Format Options
Look for the Format tab that appears under Drawing Tools when your text is selected. If you don't see it, don't panic - just right-click your text box and choose Format Shape instead. This is also a good time to double-check that your text is properly highlighted before moving forward.
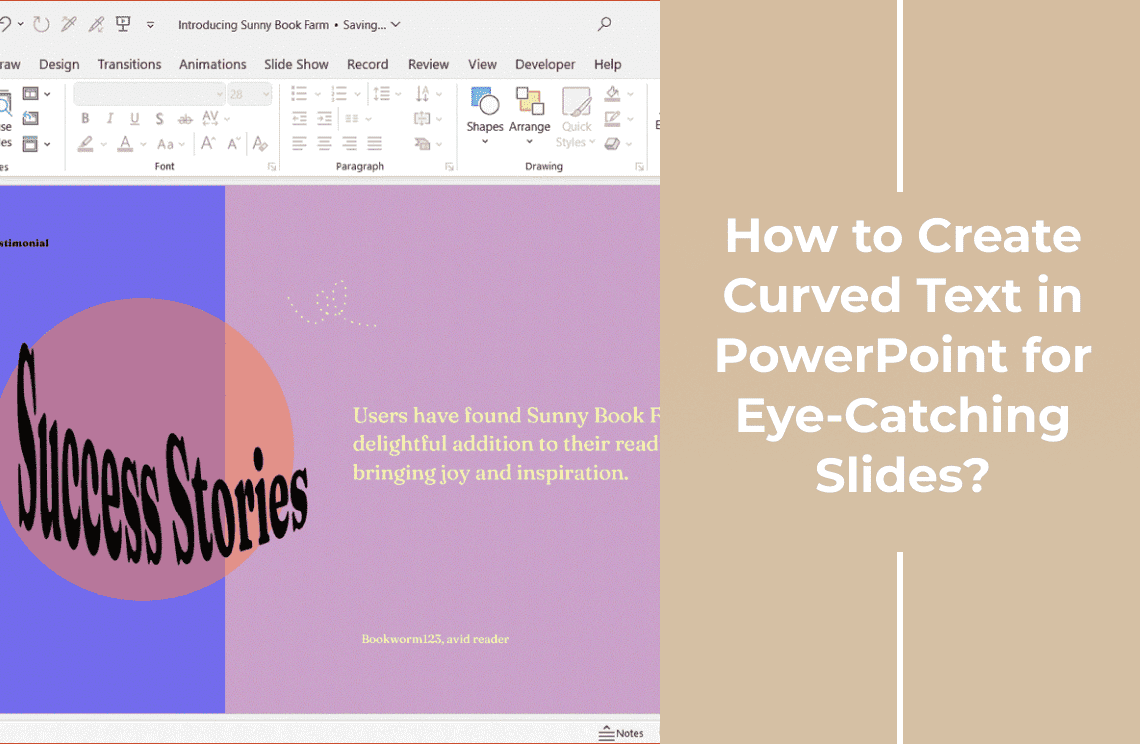
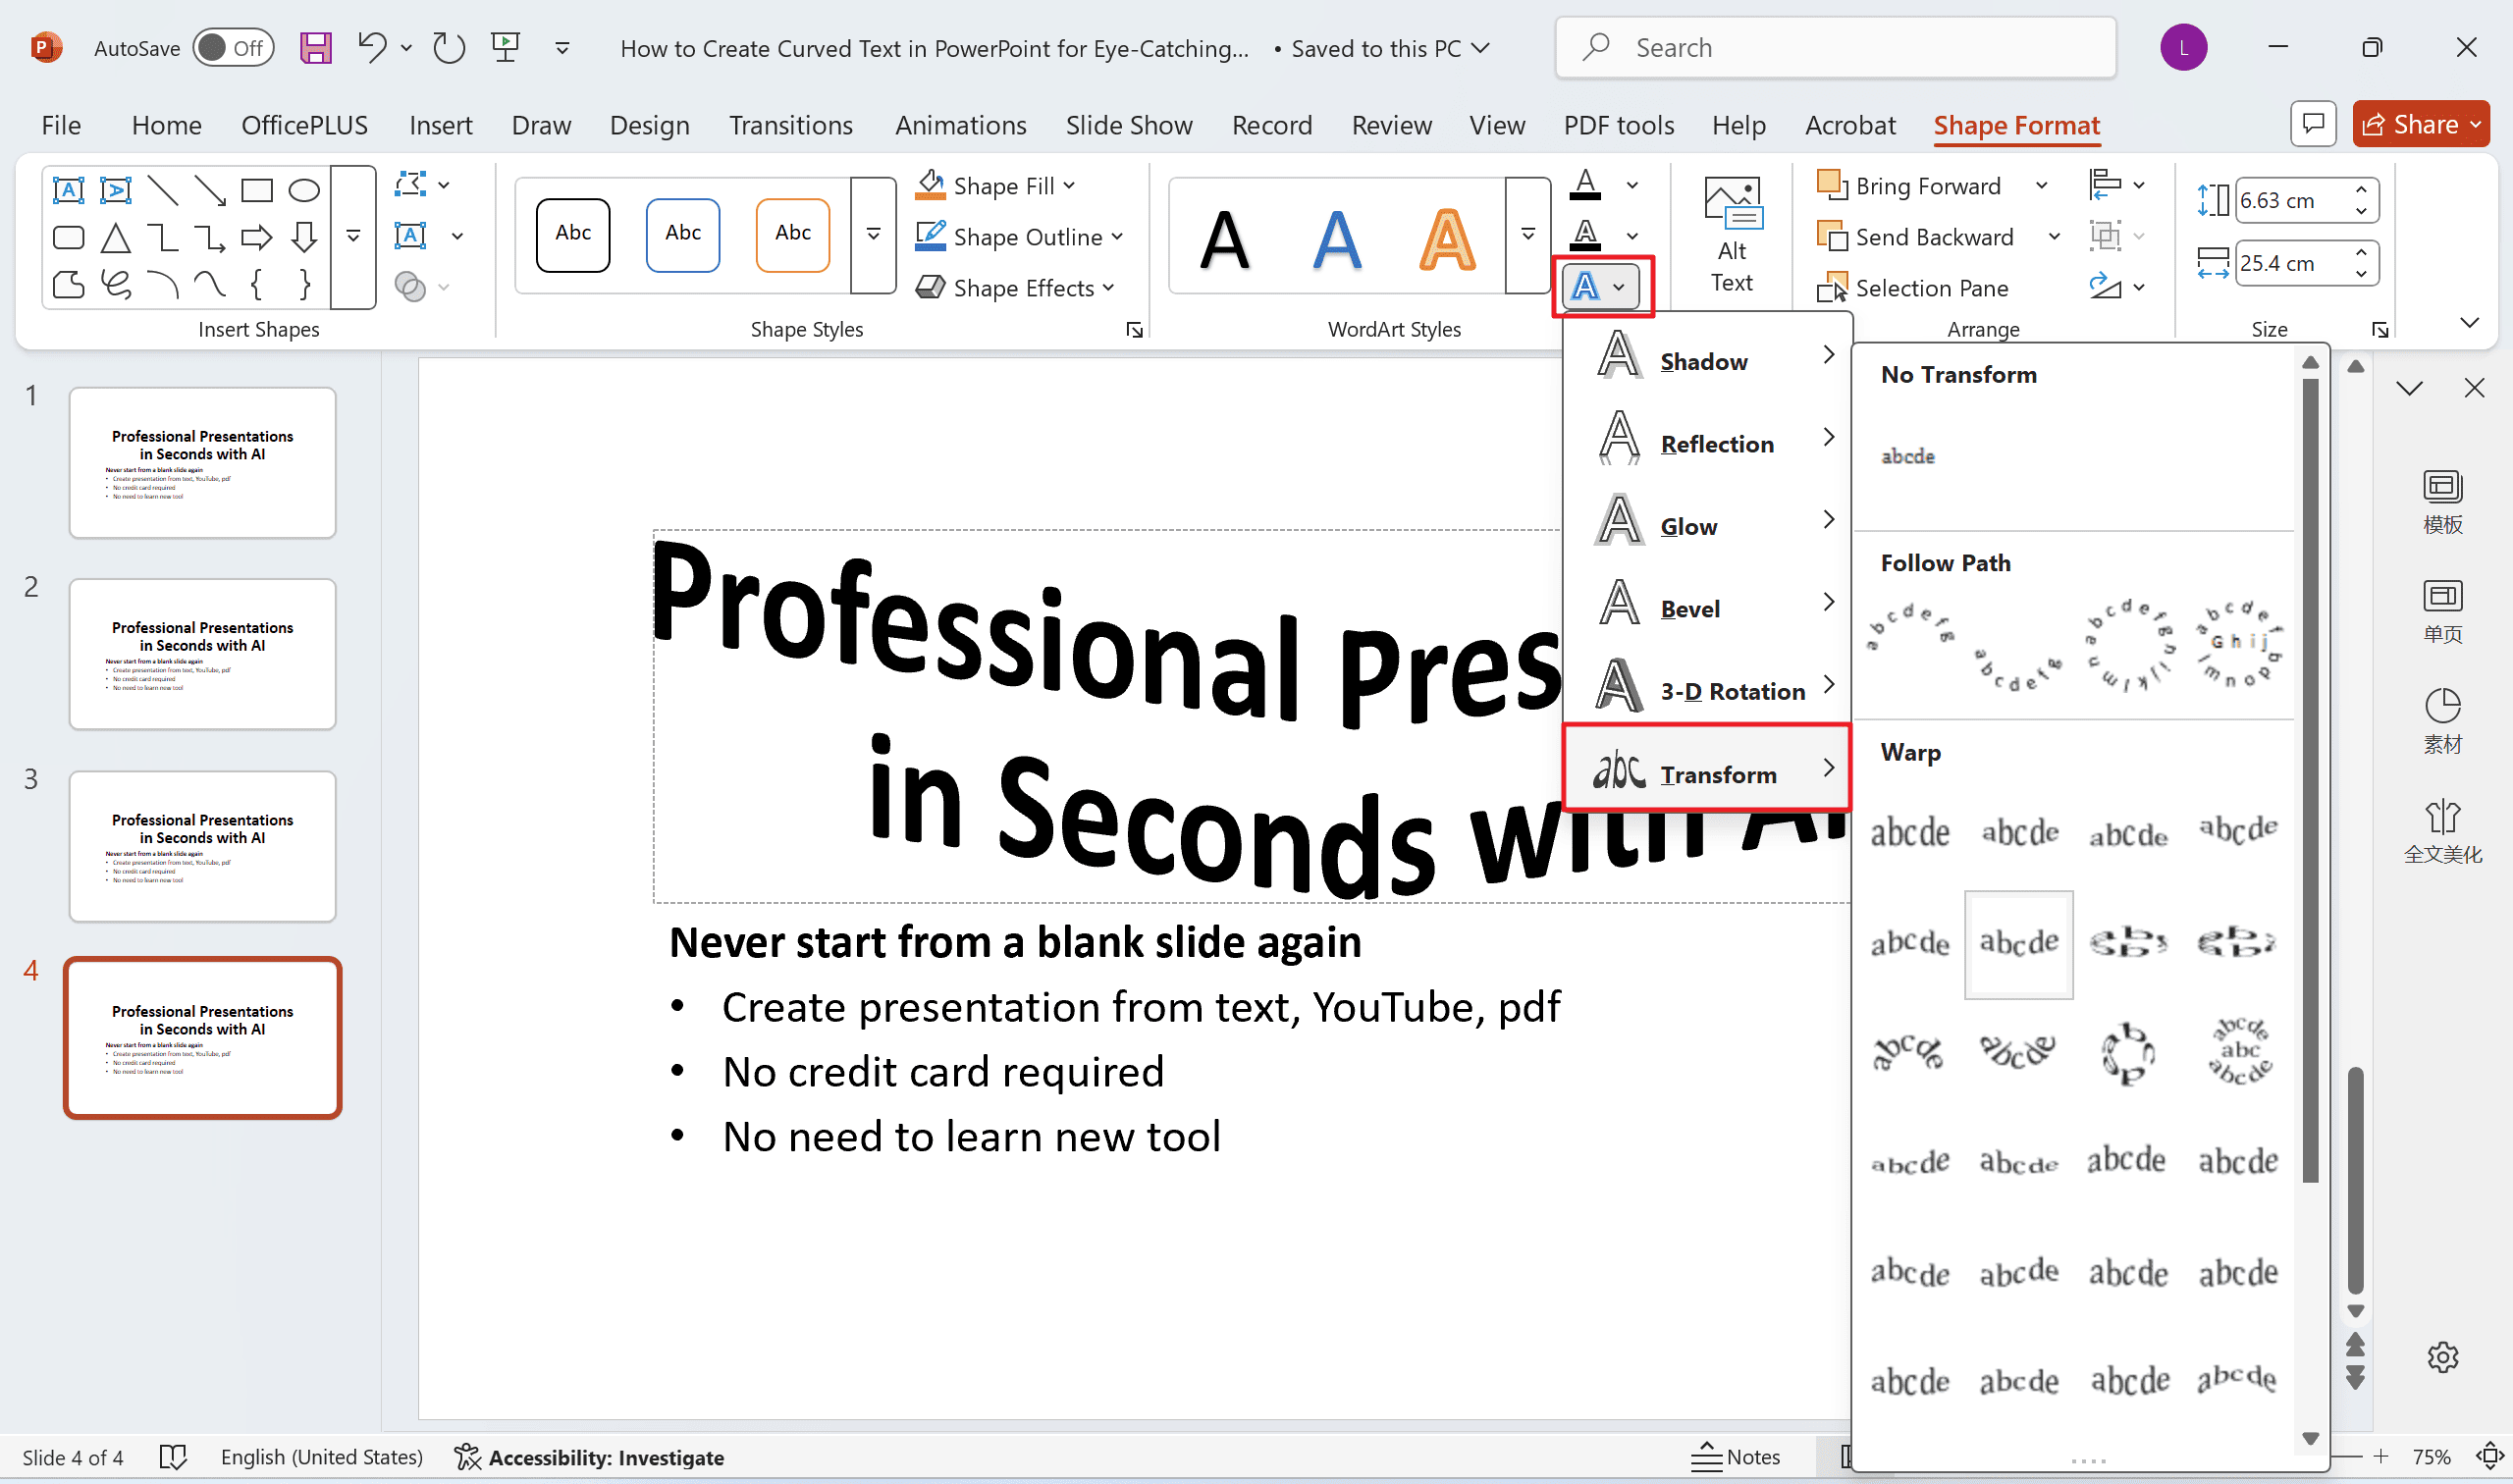
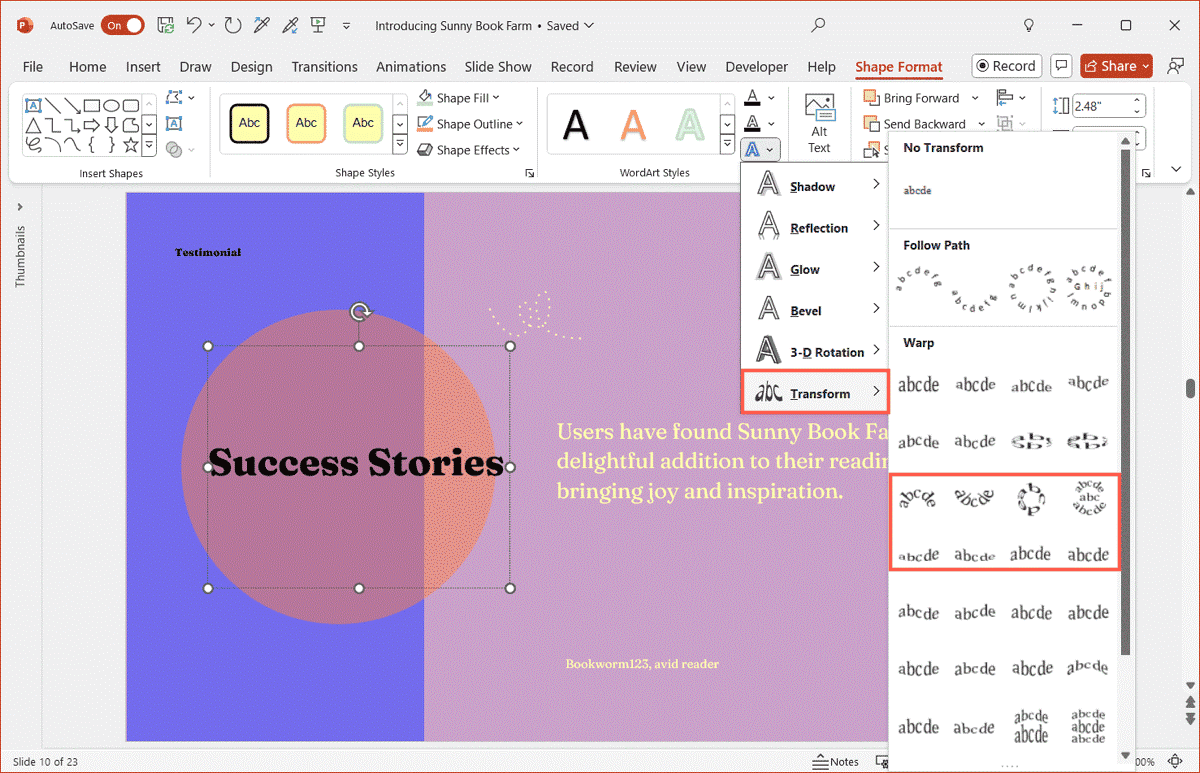
Head to Text Effects in the Format tab, then select Transform from the dropdown. You'll see various curving options - "Arch Up" creates classic U-shapes perfect for headers, while "Circle" forms complete loops. The "Follow Path" options offer more subtle curvature for elegant designs. Your text will automatically wrap to the curve shape, giving you an instant preview.
For logos, combine with WordArt Styles (Format → Quick Styles) to add 3D depth.
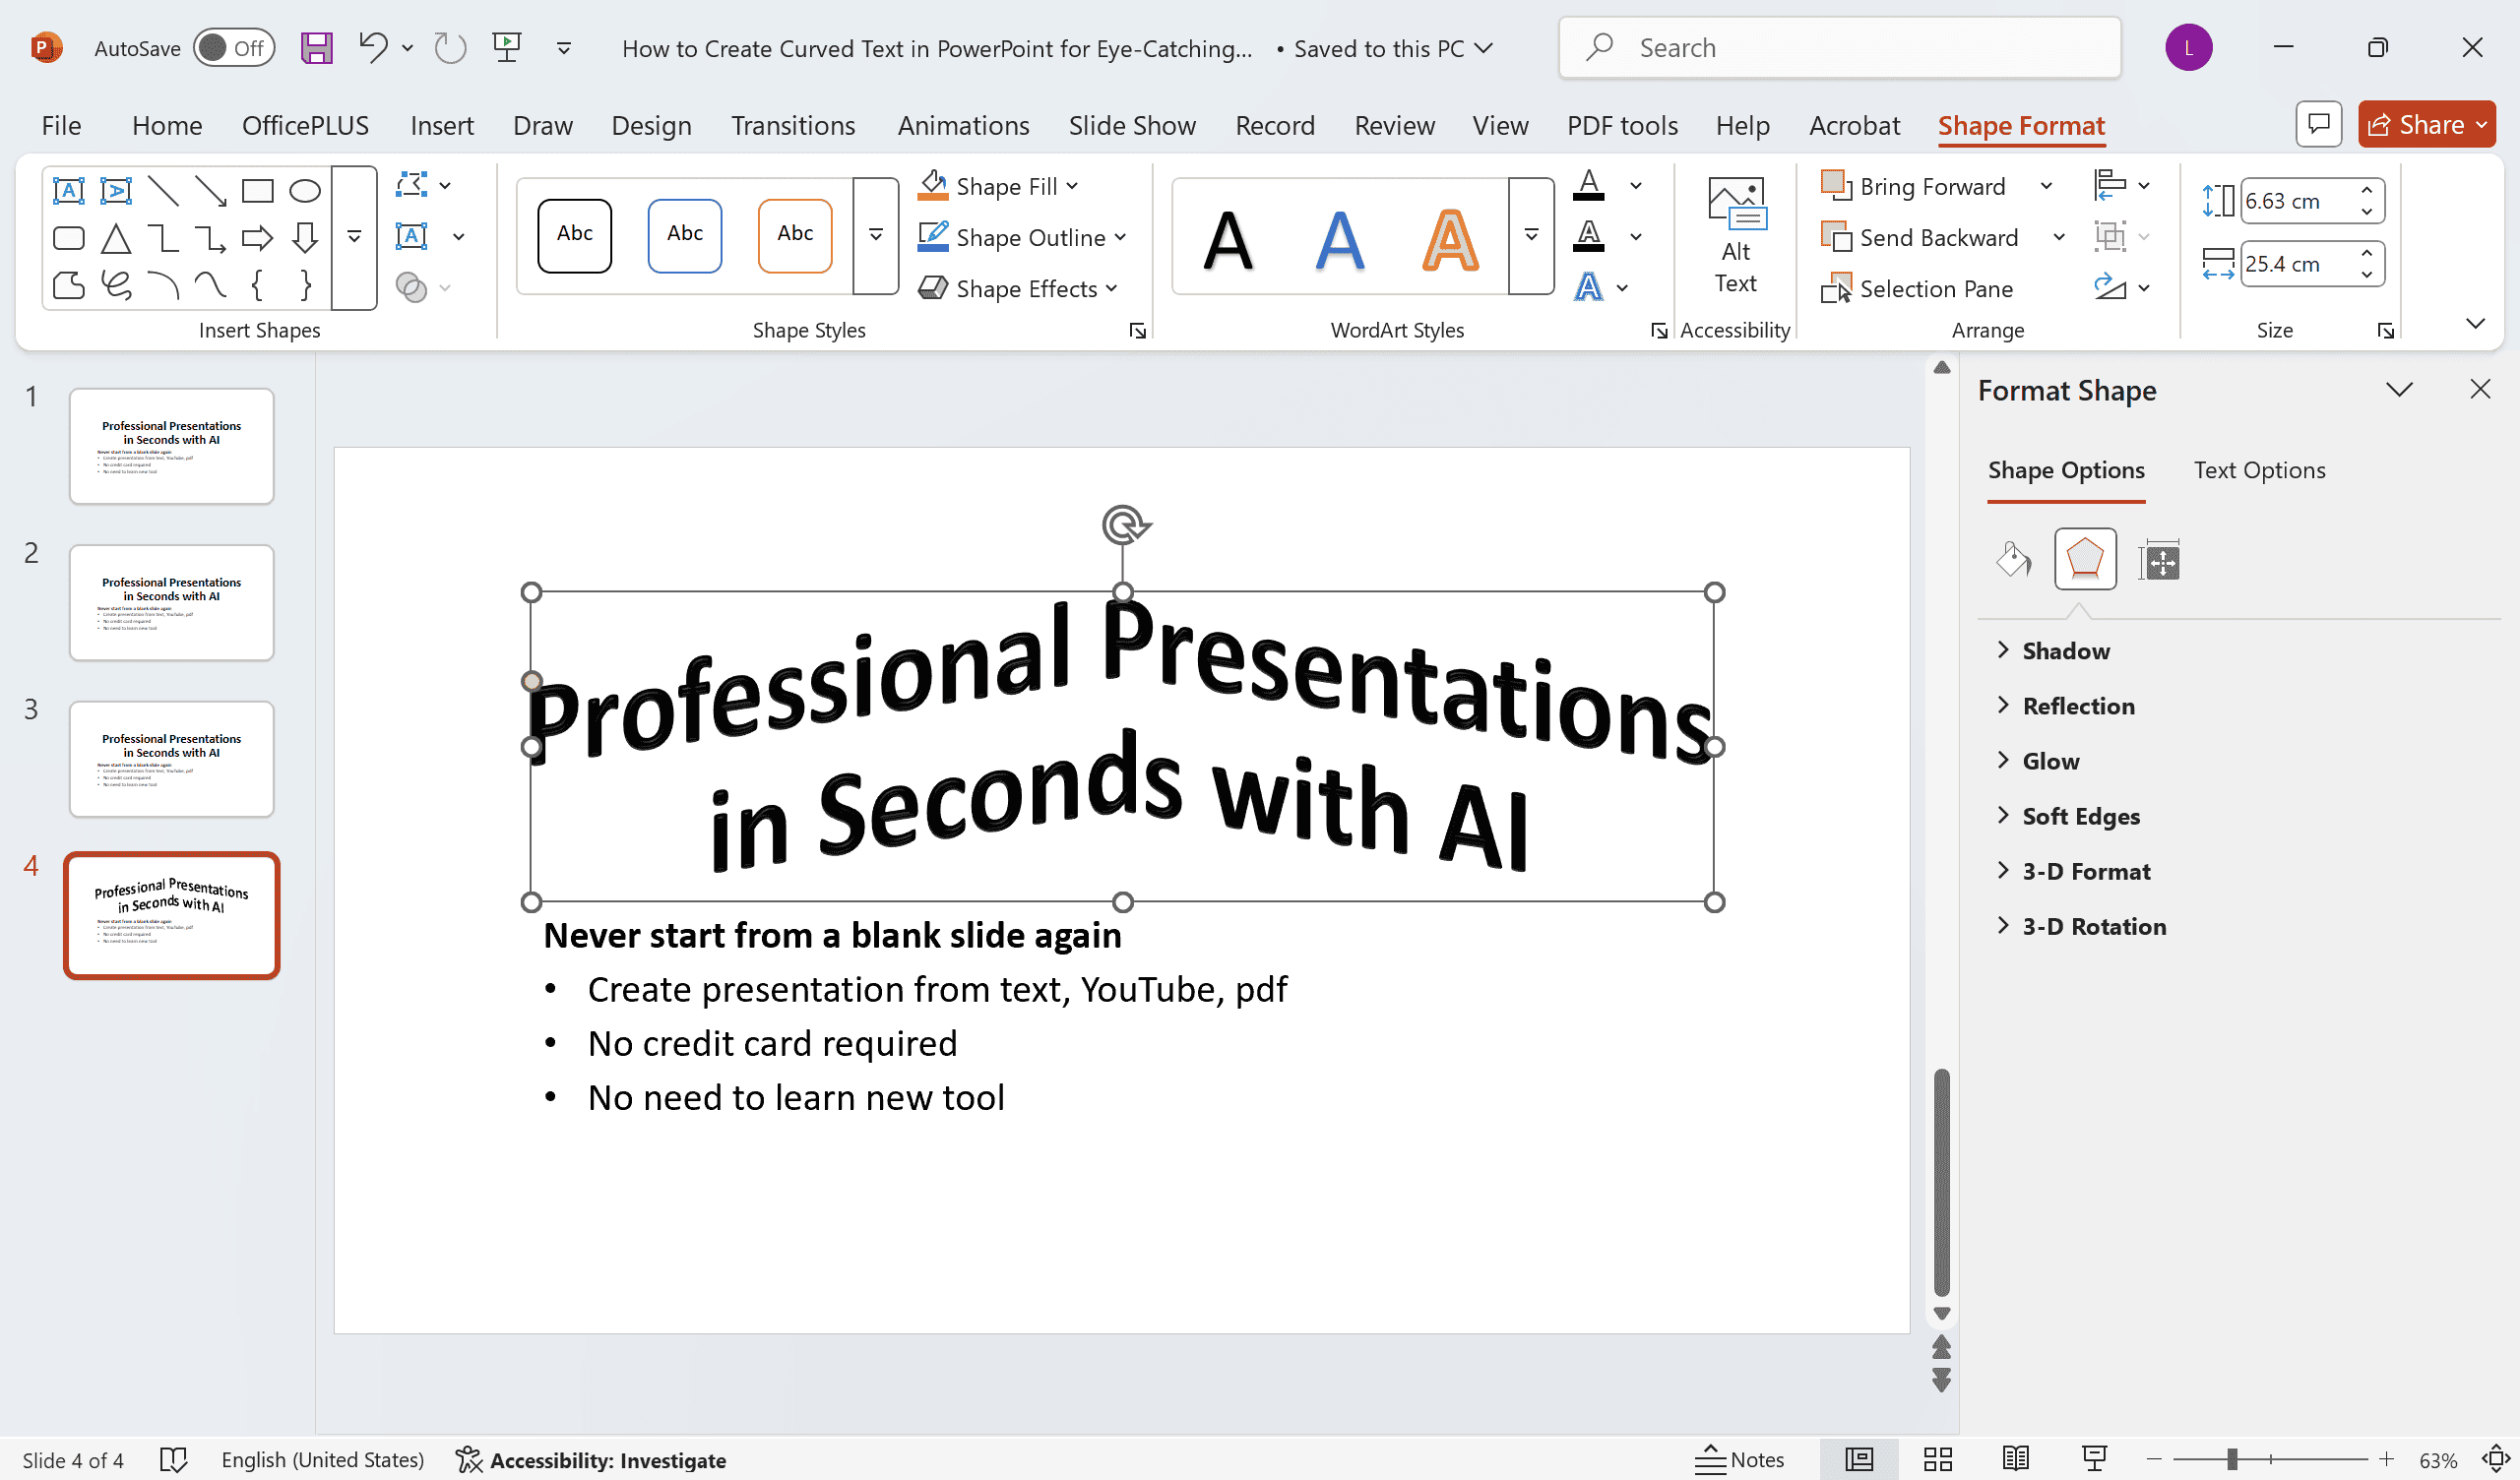
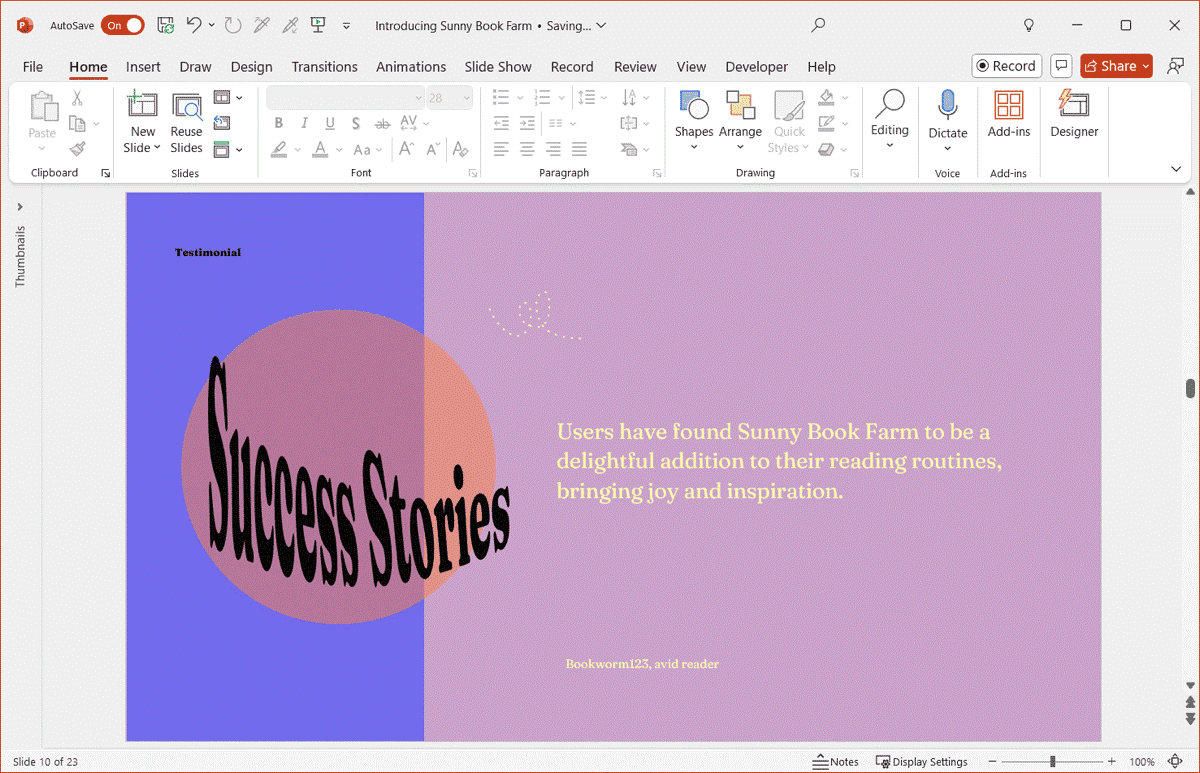
Now for the polishing touches. Use the yellow diamond handle to adjust curve intensity - drag inward for tighter bends or outward for gentler arcs. The rotation handle (top circle) lets you tilt the entire curve to your preferred angle. If letters look distorted, try slightly reducing font size or expanding your text box width.
Design Hack: Hold Shift while dragging to constrain proportions.
Step 5: Professional Customization
Elevate your design with final styling touches. Switch to premium fonts like Montserrat Black in the Home tab, and choose colors that contrast beautifully with your background. For added depth, explore the Format options to add text outlines or subtle shadows. If you're feeling creative, try animating your curved text with spin or arc motions from the Animations tab.
Method 2: Wrap Text Around Shapes Using "Follow Path"
Step 1: Set Up Text & Shape
Begin by inserting your base shape from the Insert → Shapes menu. For perfect circles or ovals, hold Shift while dragging your shape.
Next, create a separate text box near your shape and enter your content - short phrases like "Project Timeline" work best. Opt for clean, bold sans-serif fonts like Montserrat Bold that curve elegantly.
Step 2: Apply and Perfect the Curve
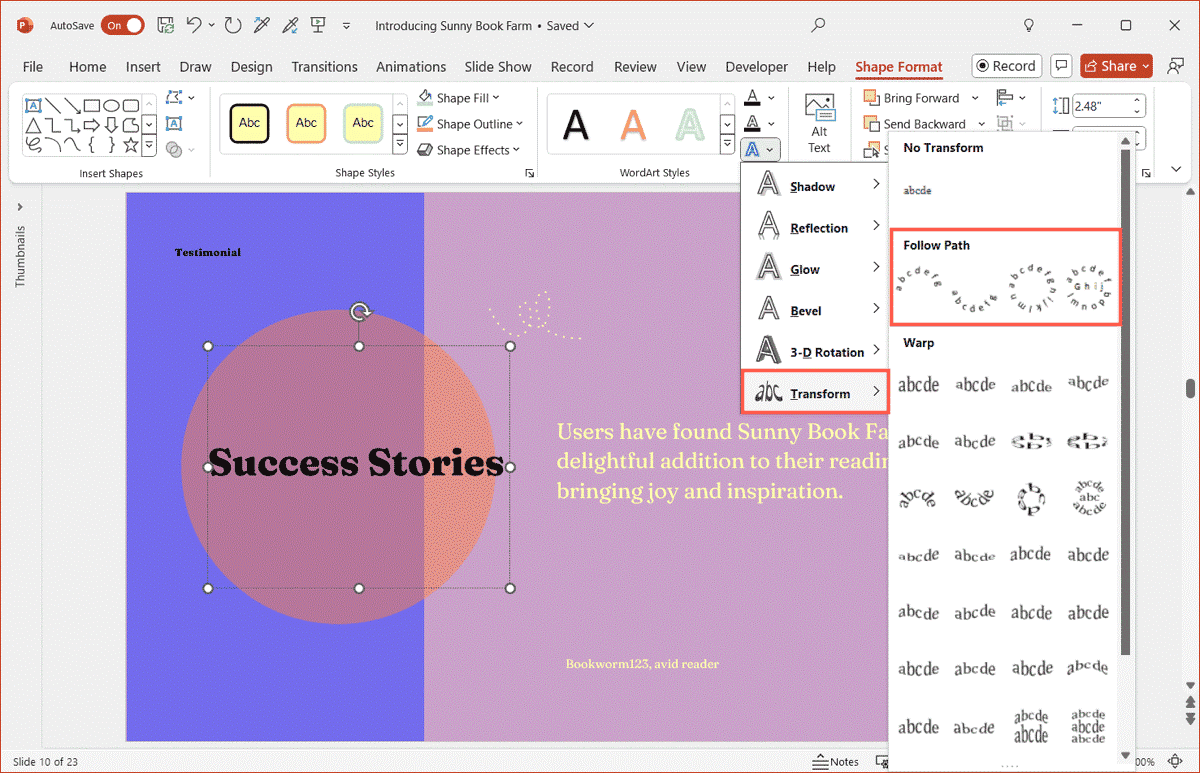
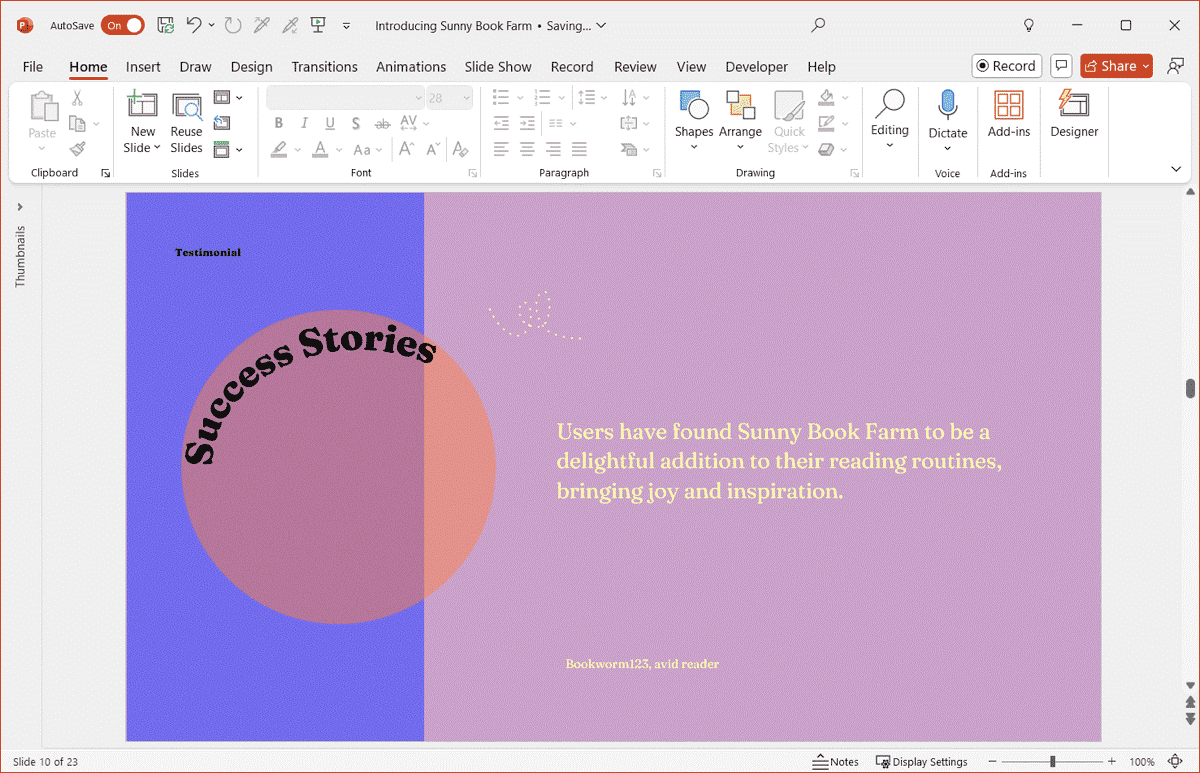
With your text selected, navigate to Format → Text Effects → Transform. Under the "Follow Path" section, choose between Arch Up/Down for open curves or Circle for complete loops around your shape.
Method 3: Advanced Text Warping for Custom Effects
1. Prepare Your Canvas
Start by inserting a container shape from the Insert → Shapes menu if desired - creative shapes like clouds or starbursts work particularly well. For better visibility during text placement, set your shape to 20% transparency through Shape Format → Fill options. This creates a subtle guide that won't compete visually with your text elements.
2. Apply Warp Effects
Create your text element either inside the shape or as a separate text box. Navigate to Format → Text Effects and select Transform to access the Warp options. Experiment with different effects: Arch variations create elegant banner-like flows, while Curve options produce wavy or fisheye distortions. Take advantage of the live preview feature by hovering over each effect before committing.
3. Precision Adjustments
Precisely control your warp effect using the adjustment handles. The yellow diamond modifies distortion intensity, while the white circle handles proportionally resize your text box. For optimal results, pair these effects with thick, bold fonts like Impact or Bebas Neue that maintain readability when warped. Remember to test different font weights as subtle changes can dramatically affect your final composition.
Before Finalizing
1. Lock Aspect Ratio: Right-click text box → Size and Position → Lock Aspect Ratio
2. Export with PDF Agile to:
- Preserve warp effects in PDFs
- Compress without quality loss
Final Words
Creating curved text in PowerPoint is a simple yet effective way to make your slides stand out and capture your audience's attention. In this blog, we explored three easy methods to achieve this effect, each offering its own level of customization and flexibility. Adding curved text can elevate the visual appeal of your presentation while using WordArt, the Transform text effect or drawing a custom path. Use these techniques to find the one that best suits your design needs and take your PowerPoint slides on top.