Whether you run a small business, manage a rental property, or handle sales, providing a professional receipt is a fundamental part of financial accountability. A receipt book template simplifies this process, ensuring every transaction is properly documented and legally sound.
This guide will walk you through what a receipt book template is, what information it must contain, and how to use it effectively for professional record-keeping.
1. What is a Receipt Book Template?
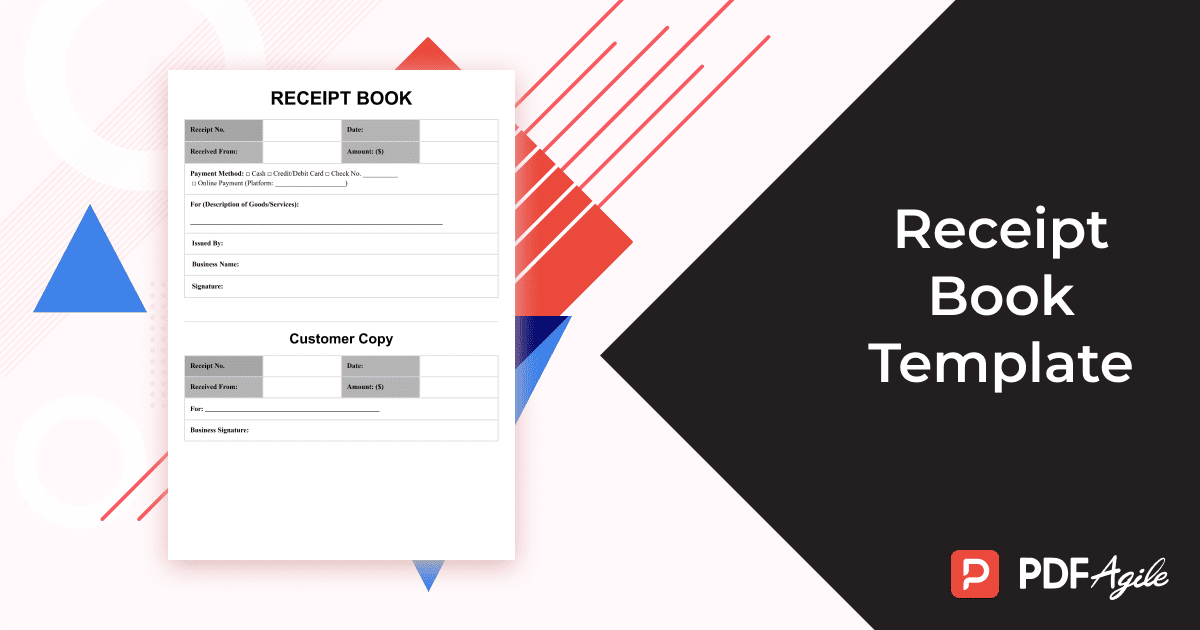
A receipt book template is a standardized, pre-formatted document designed to record the essential details of a financial transaction between two parties (the seller and the payer).
Unlike an invoice, which is a request for payment, a receipt confirms that the payment has been made and the goods or services have been successfully delivered or exchanged.
Key Benefits of Using a Receipt Book Template:
- Consistency: Ensures every receipt looks professional and contains all necessary information.
- Legal Protection: Provides essential documentation for tax purposes, audits, and dispute resolution.
- Time Savings: Eliminates the need to create a new layout for every sale or payment.
- Organized Records: Helps streamline bookkeeping, as all transactions are recorded in a uniform format.
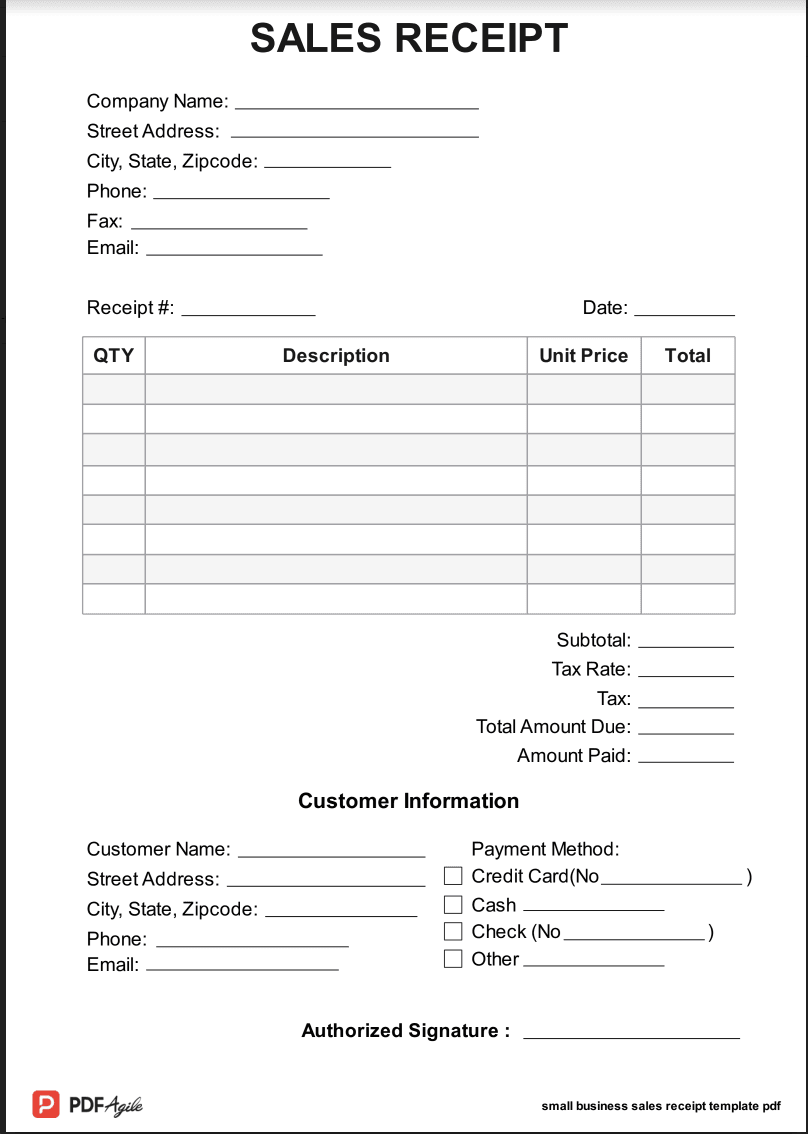
2. What Information Is Included in a Receipt Book Template?
A legally sound and effective receipt must contain several mandatory fields to be useful for both the payer and the receiver.
Essential Components of a Receipt Book:
| Component | Description | Why It’s Mandatory |
| Receipt Number | A unique, sequential number for tracking and reconciliation. | Prevents duplicate entries and simplifies financial audits. |
| Date of Transaction | The specific date the payment was received. | Establishes the official timing of the revenue and expense. |
| Business Information | Your company's name, address, phone number, and/or email. | Clearly identifies the party receiving the funds. |
| Payer/Client Details | The name of the person or company who made the payment. | Identifies the source of the funds for record-keeping. |
| Description of Items/Services | A clear, itemized list of what was purchased. | Justifies the total amount and clarifies the transaction purpose. |
| Subtotal, Tax, and Total | Detailed breakdown of the cost before and after any applicable taxes, discounts, or fees. | Required for calculating sales tax and ensuring accuracy. |
| Payment Method | How the customer paid (e.g., Cash, Credit Card, Check, Bank Transfer). | Proof of the manner of settlement. |
| Authorized Signature | The signature of the person who issued the receipt (optional but recommended). | Adds authenticity and proof of issuance. |
3. How to Edit a Receipt Book Template?
Customizing a template is necessary to align it with your brand and specific business needs.
- Select Your Format: Decide between a digital format (Word, Excel, or Google Docs) or a printable PDF. Digital formats offer more flexibility for editing, while PDFs are ideal for quick, consistent printing.
- Add Branding: Insert your company logo at the top and choose a brand color scheme (often within the header or borders).
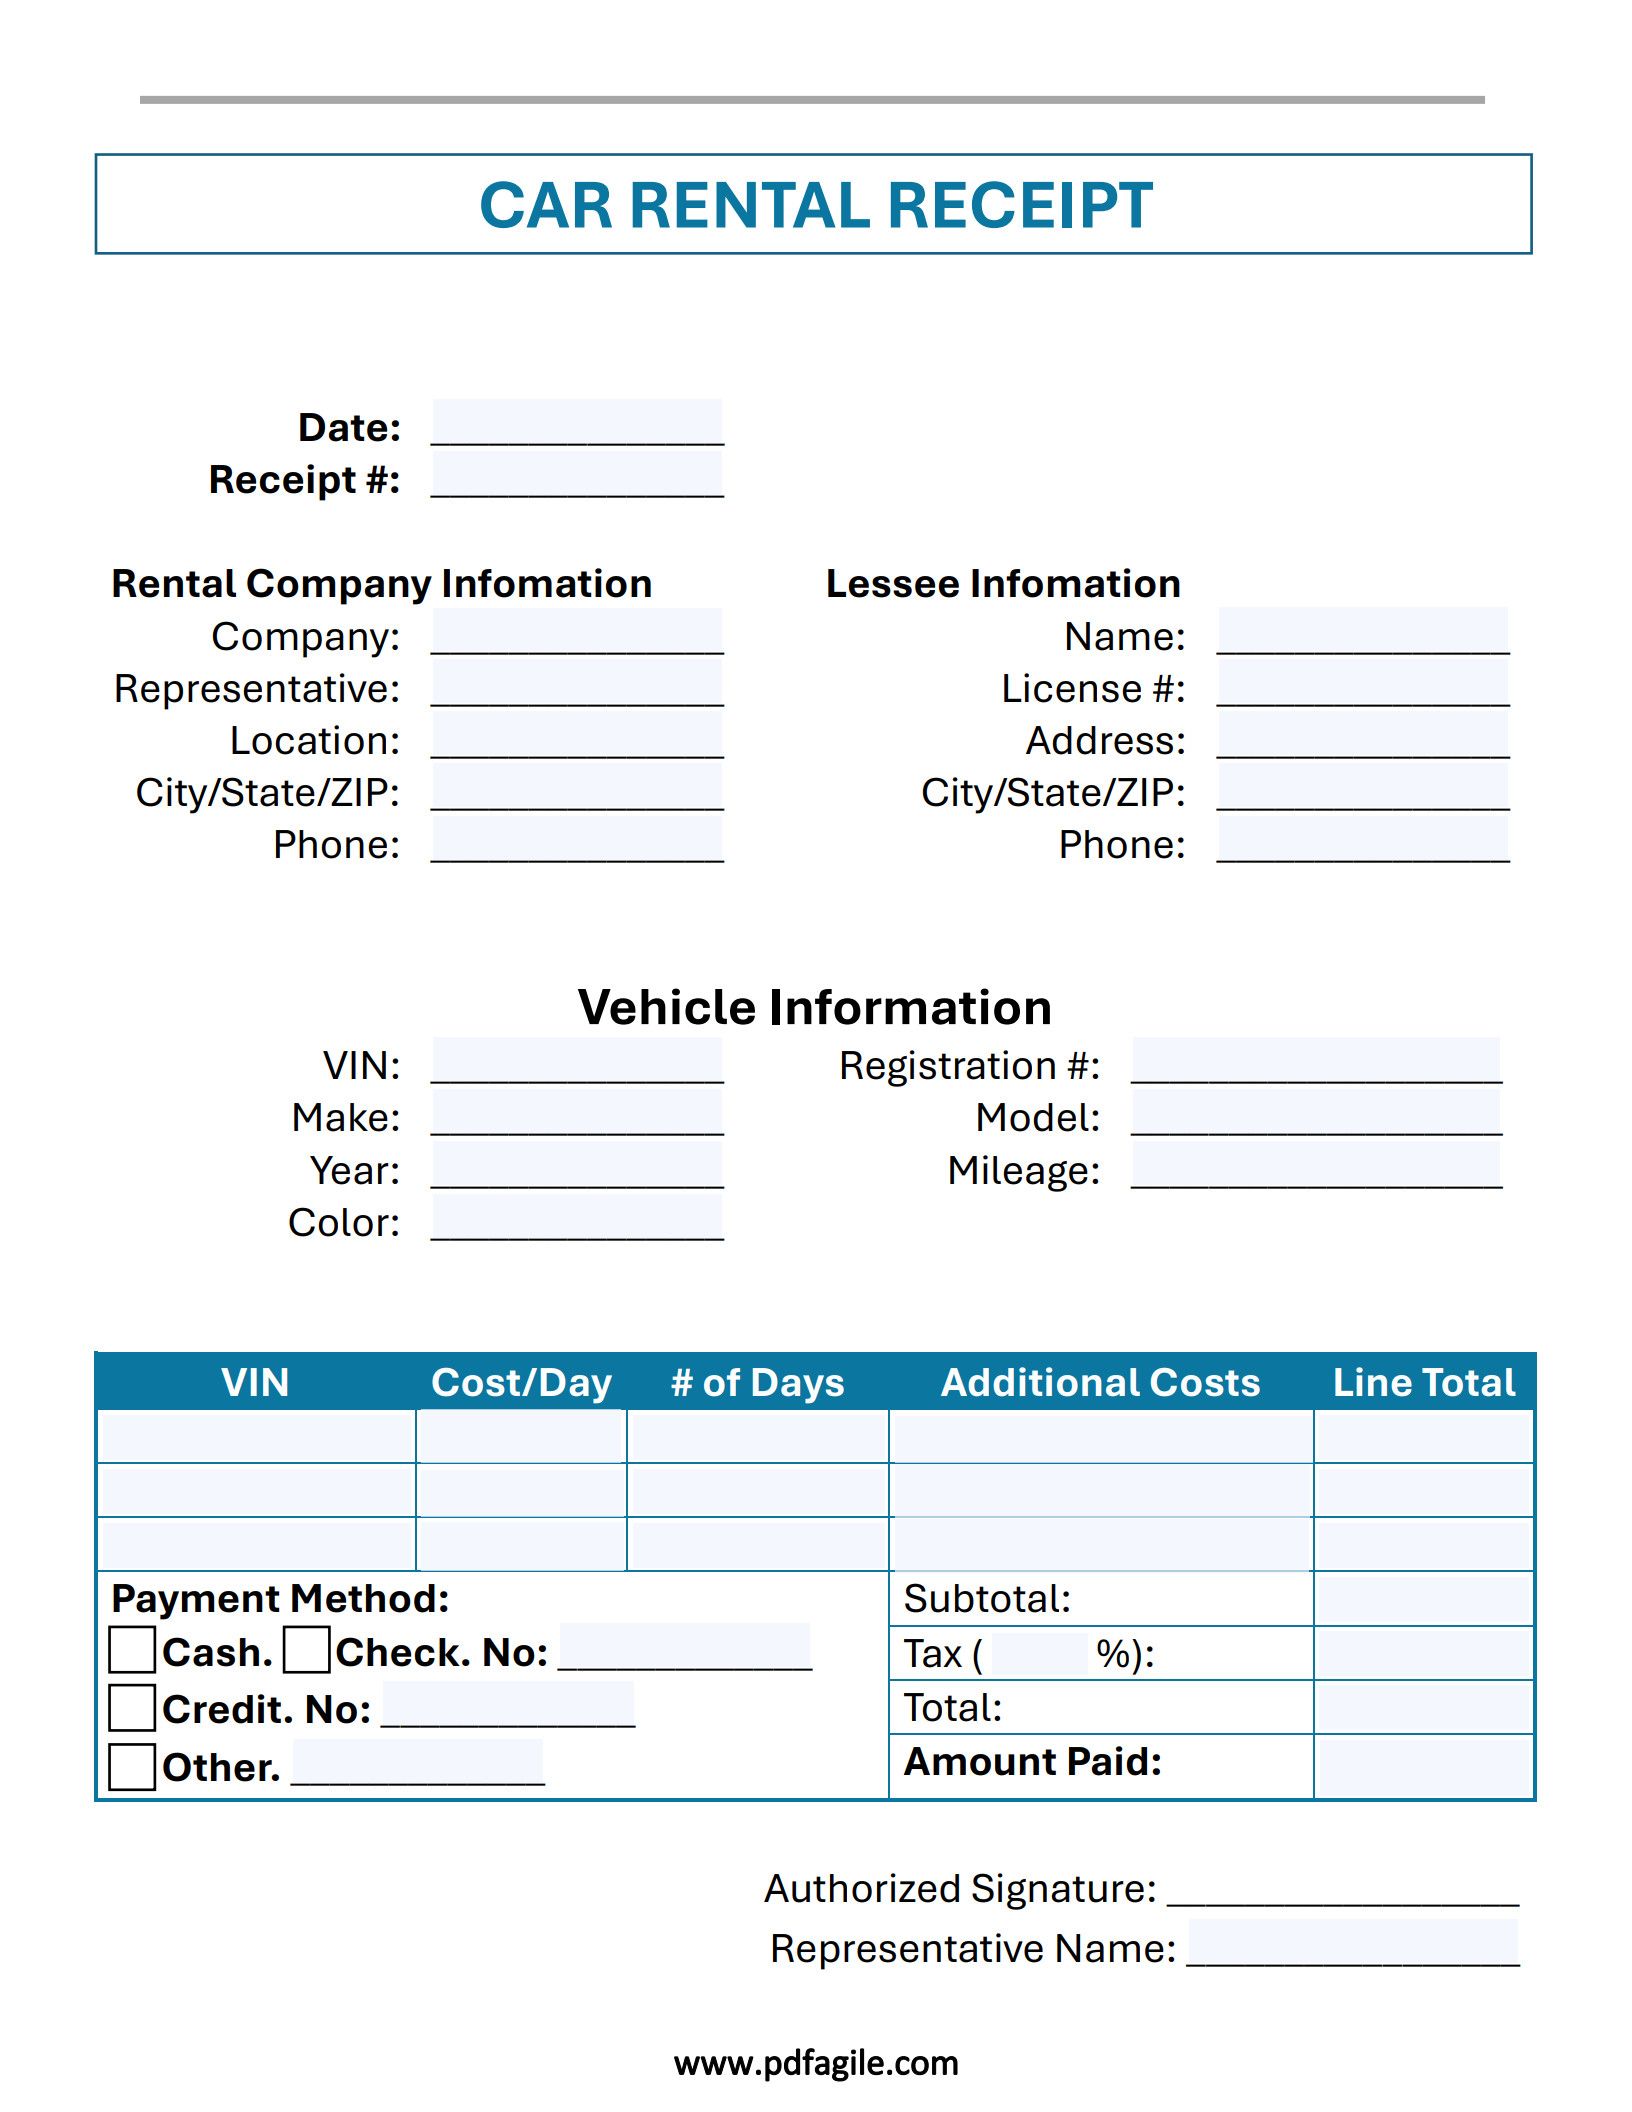
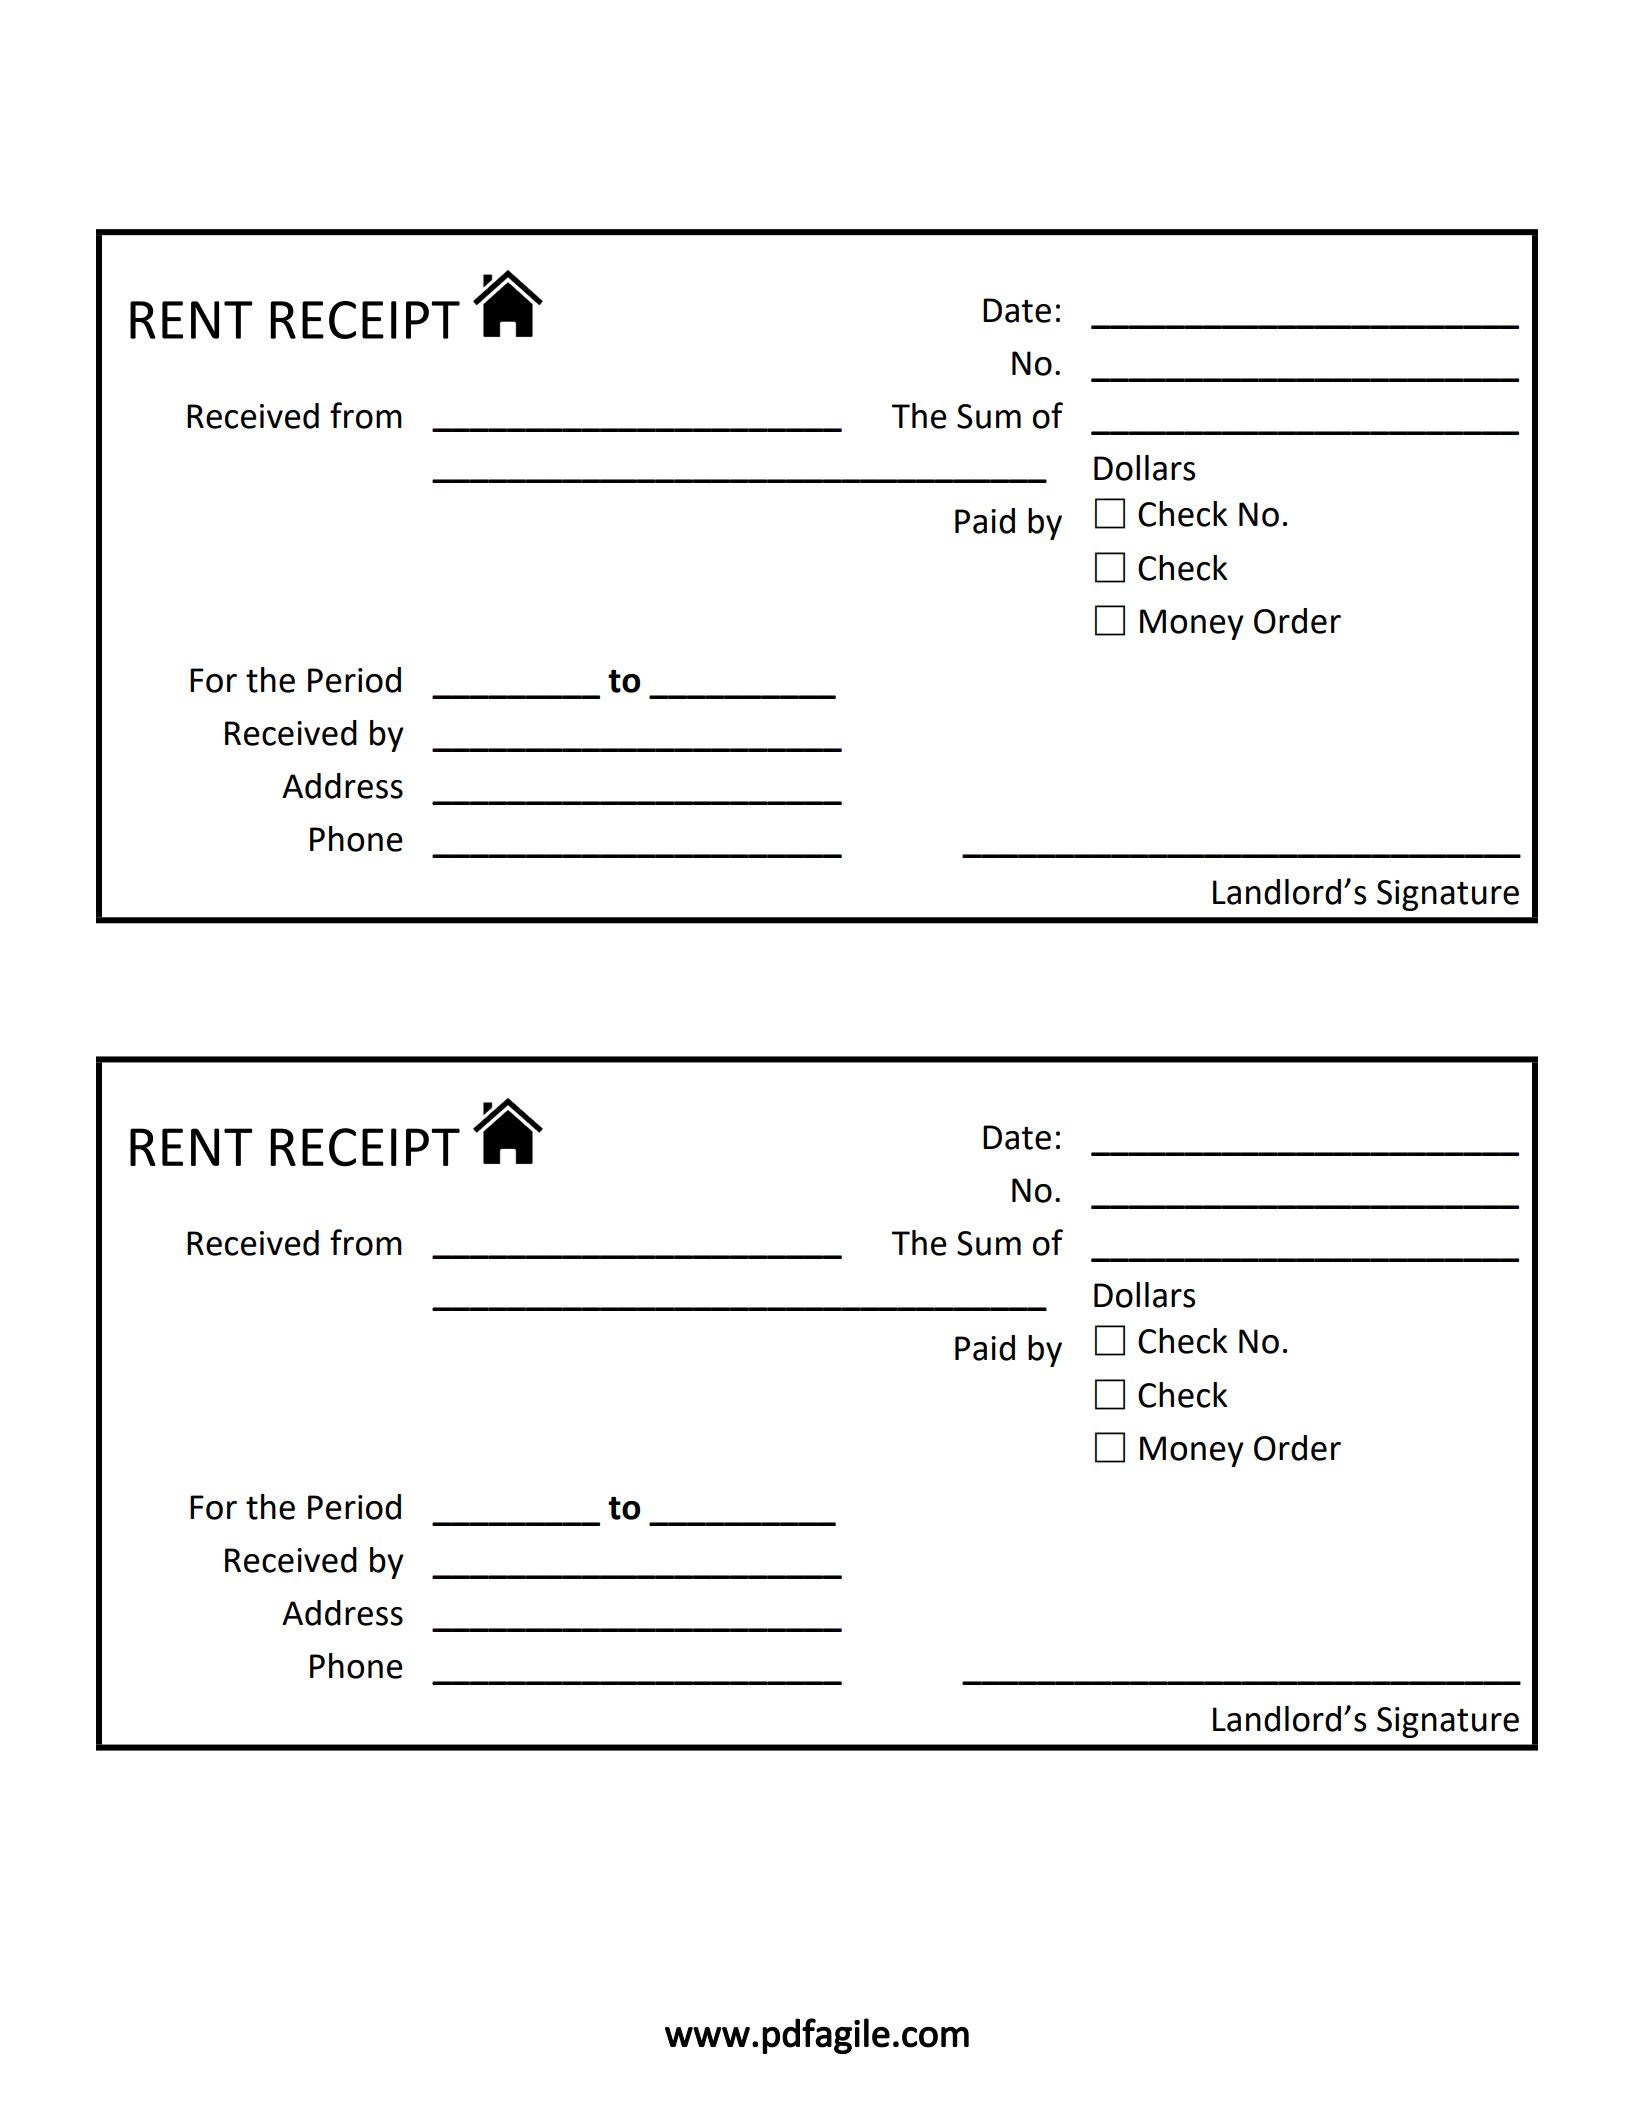
- Specify Fields: If you have unique business requirements (e.g., "Rental Unit Number" for property management receipts or "Warranty Information" for product sales), customize one of the descriptive fields.
- Set Up Auto-Numbering (Digital Only): If using an Excel or Google Sheets template, configure the receipt number field to automatically increment with each new entry to avoid manual errors.
- Proofread: Ensure all default text is removed and that the fields are clearly labeled before saving the master copy.
4. How Do I Create My Own Receipt Template?
While downloading a pre-made template is easier, creating your own offers maximum customization. You can use standard office software like Microsoft Word, Excel, or Google Docs.
Steps for Creating a Custom Template in a Spreadsheet Program (Recommended for Calculations):
- Set Up the Header: In the top rows, place your logo, business details, and the Receipt Number and Date fields.
- Create the Line Item Table: Design a clear table with four columns: Quantity, Description, Unit Price, and Total Price.
- Add Formulas (Excel/Google Sheets): Implement formulas to automatically calculate the Total Price (Quantity * Unit Price) for each line item, and then calculate the Subtotal (sum of all line totals) and the Final Total (Subtotal + Tax).
- Include Payment Details: Below the table, dedicate a section for Payment Method and Forwarding Address/Contact Information (if necessary).
- Save as Template: Save the final file as a template (.xltx for Excel or a master copy in the cloud) so that the original document remains protected and you can create new receipts from it.
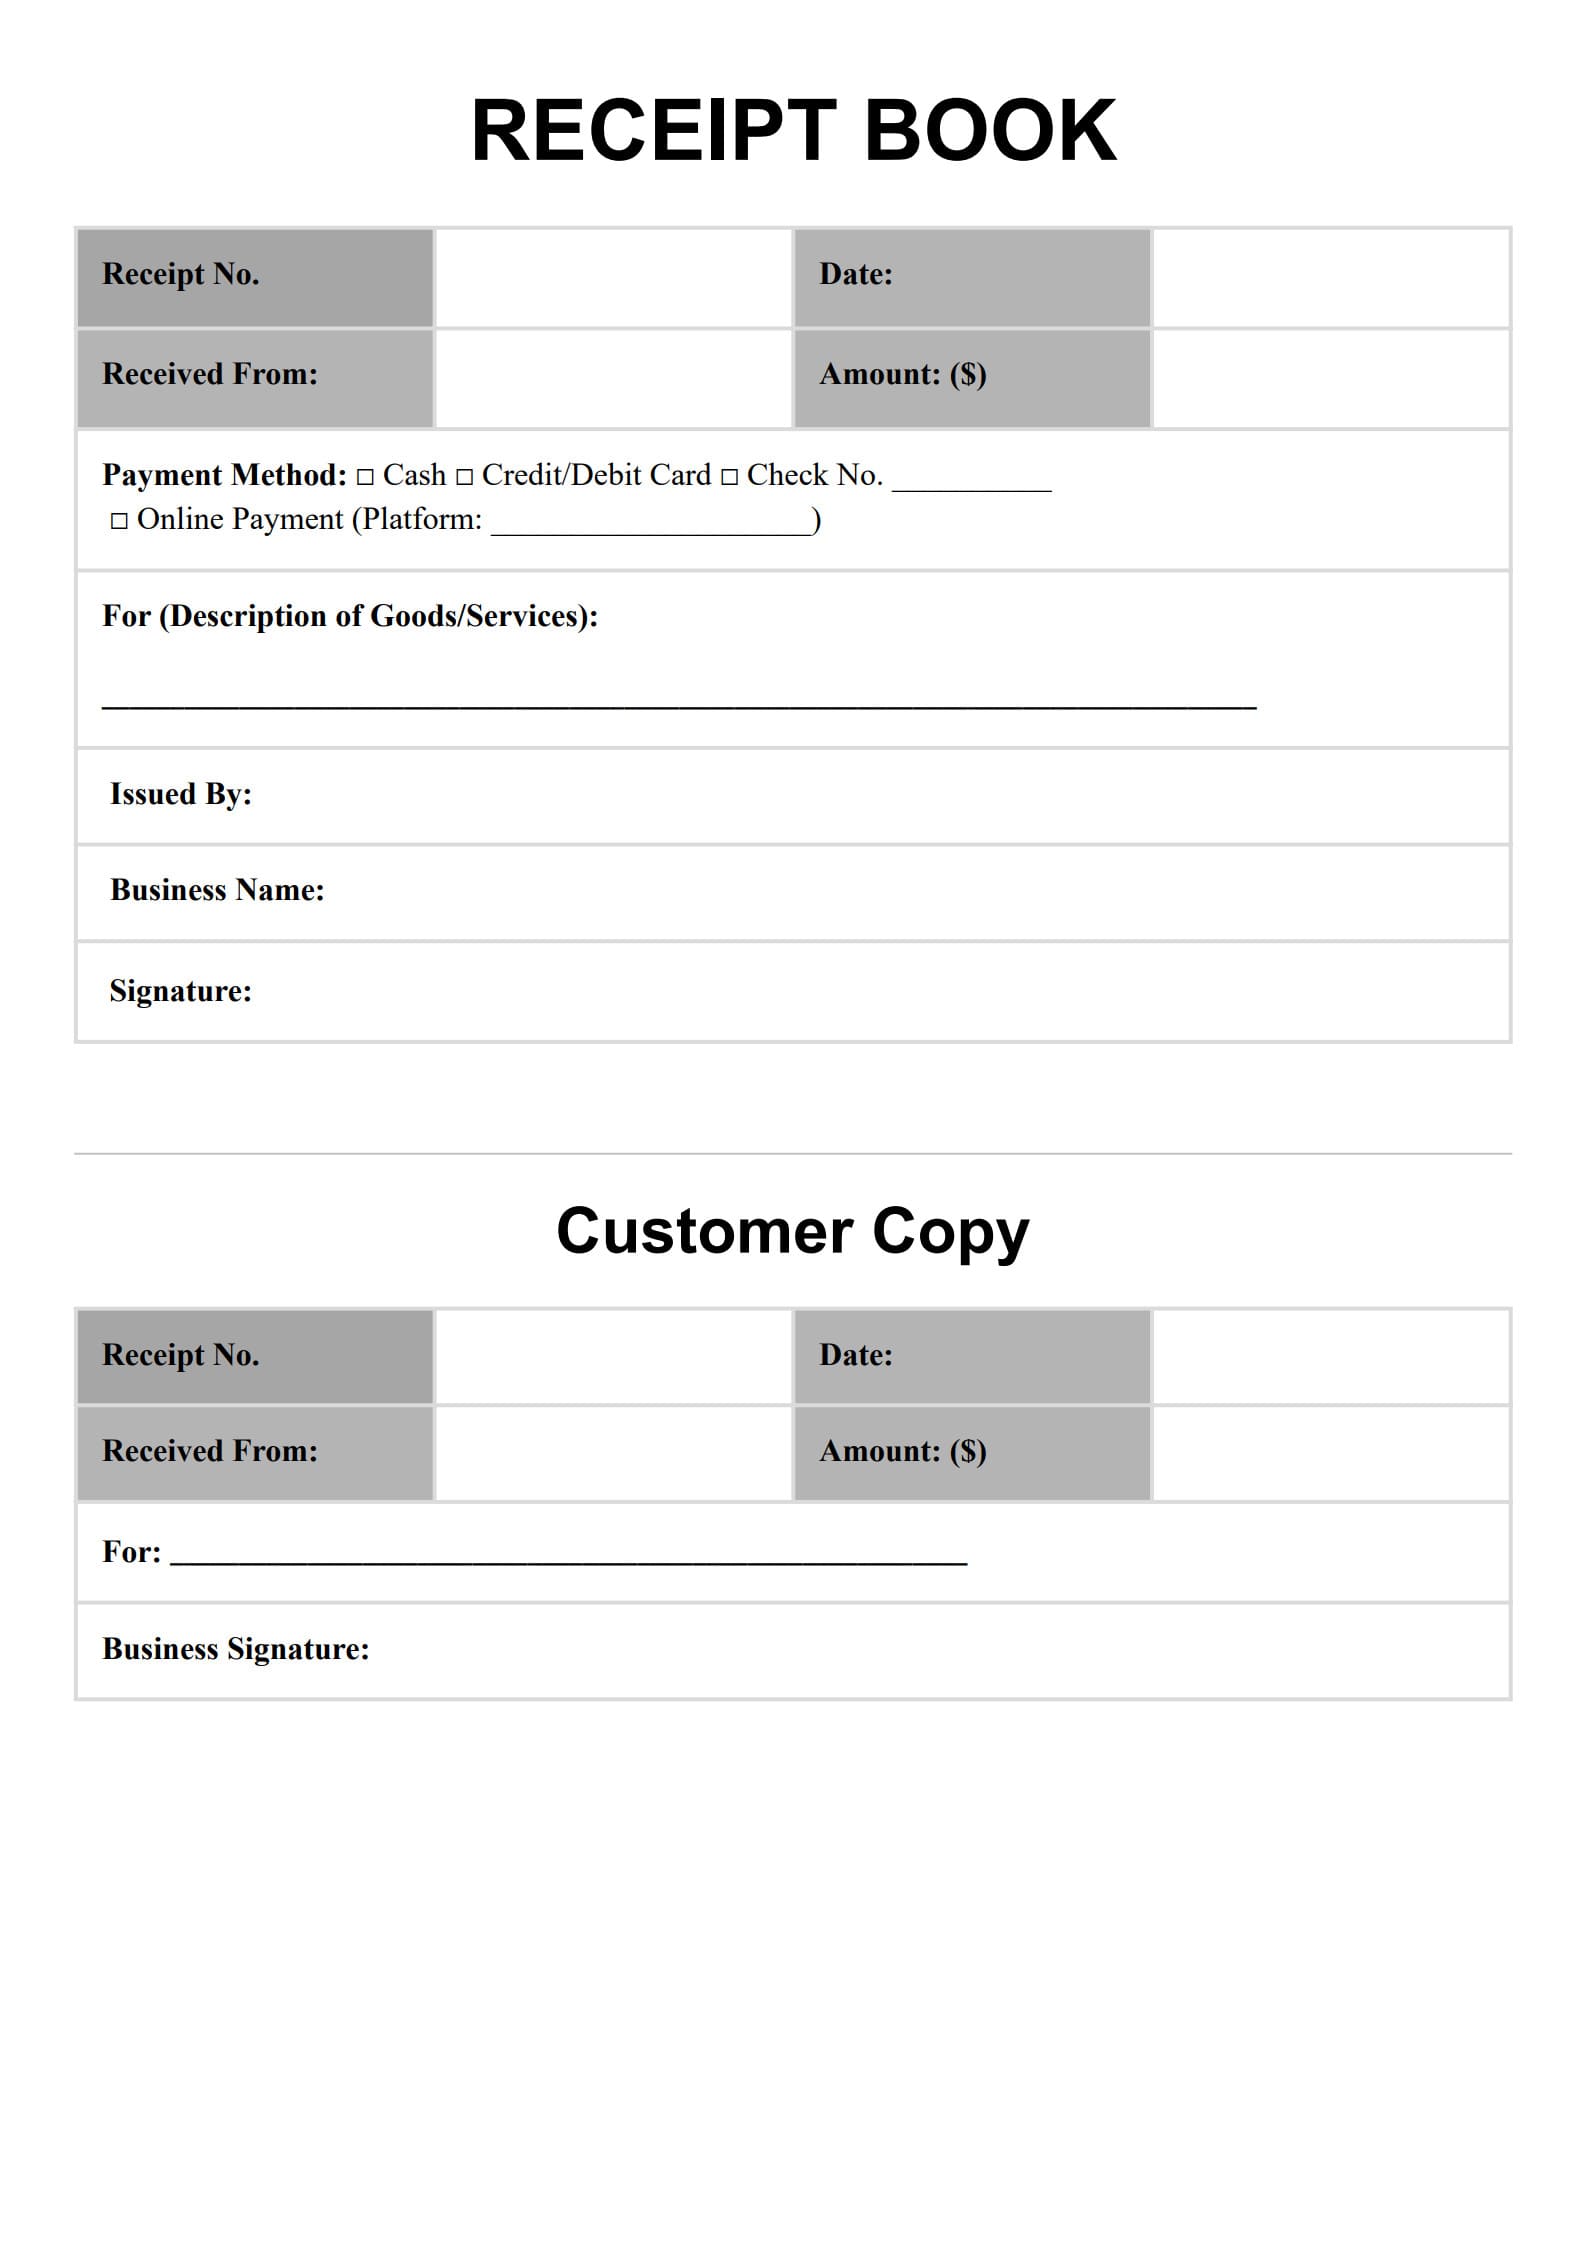
Free Download: Printable Receipt Book Template
You can download the receipt book template mentioned above by clicking Use Template button on this page. Customize it to fit your specific needs and preferences.
Conclusion
A comprehensive and well-organized receipt book template is more than just proof of purchase; it is a critical tool for maintaining accurate financial records, protecting your business, and providing a professional experience for your customers. By ensuring your template includes all the necessary components and is properly customized, you can simplify your accounting process and focus on running your business.
5. FAQs about Receipt Book Template
5.1 Can I download a receipt book template as a Word or PDF?
Yes. Most free, customizable templates are provided in common file formats.
- PDF (Portable Document Format): Ideal for printing out physical receipt books or for quickly filling out a non-editable, standardized form digitally.
- DOCX (Word): Best for initial heavy customization, such as resizing tables, adjusting font styles, and placing the logo precisely.
- XLSX (Excel/Google Sheets): The superior choice for managing transaction data, as it allows you to utilize formulas for automatic tax and subtotal calculation, dramatically reducing mathematical errors.
5.2 What's the difference between an invoice and a receipt?
The difference lies in the timing and purpose of the document:
- Invoice (Bill): A document sent before payment is made. Its purpose is to request and itemize the amount due for goods or services delivered. It shows the customer's outstanding balance.
- Receipt: A document issued after payment is made. Its purpose is to acknowledge and confirm that the full amount owed has been received and the transaction is complete. It shows a zero or settled balance.
5.3 How do I organize my receipts for tax purposes?
Effective receipt organization is key to a smooth tax filing process and preparing for a potential audit.
- Digitalization: Immediately scan or photograph paper receipts and save them digitally. Cloud-based storage (like Google Drive or Dropbox) is recommended for backup.
- Categorization: Organize both digital and physical receipts by Expense Category (e.g., Office Supplies, Travel, Meals & Entertainment) and Year.
- Use a Consistent File Naming Convention: For digital files, use a standard format like YYYY-MM-DD_VendorName_Category_Amount.pdf (e.g., 2025-07-26_Staples_OfficeSupplies_$45.00.pdf).
- Retention: The IRS generally requires you to keep records for at least three years after the date you filed your original return, but many accountants recommend keeping important business records for seven years.