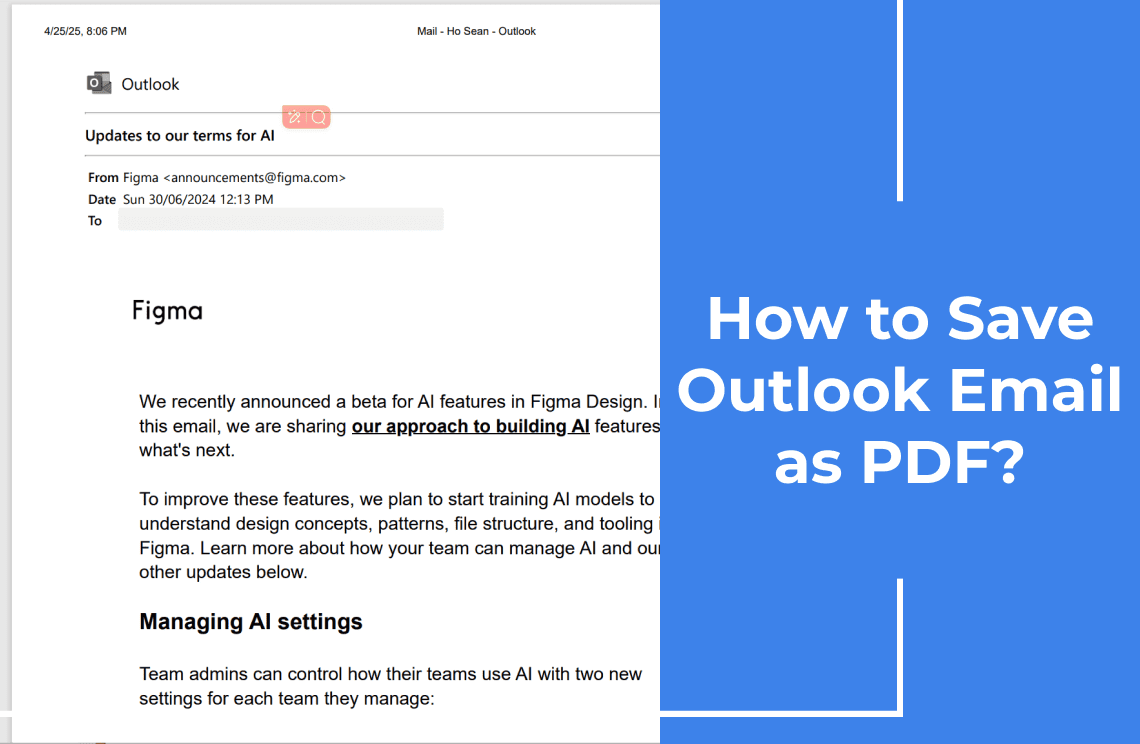
Tracking down important emails all the time from your email account is a hectic task. You want all your crucial emails to pile up in a file so that they can be accessed easily. This is only possible if you know how to save Outlook Emails as PDFs. If you don't, there is no need to worry. We offer a comprehensive set of methods and tips to convert Outlook email to PDF in a few minutes. Just hang around and read through to know how easily you can convert Outlook email to PDF with attachments.
Method 1: Save Outlook Email as PDF Using "Print to PDF"
Best for: Windows users needing quick, built-in conversion.
Outlook doesn't have a built-in 'Save as PDF' option, but you can convert emails to PDF using the 'Print to PDF' function.
Why Use This Method?
- No extra software – Uses Windows' native PDF printer.
- Preserves core formatting (text, headers, basic layout).
- Works offline – No internet or cloud dependency.
Step-by-Step Guide
1. Open Email: Open the specific email you want to save as a PDF in your Outlook desktop app (version 2010 or newer).
2. Open Print Menu: Press Ctrl+P or go to File and then click Print.
3. Select PDF Printer: In the printer dropdown menu, choose "Microsoft Print to PDF".
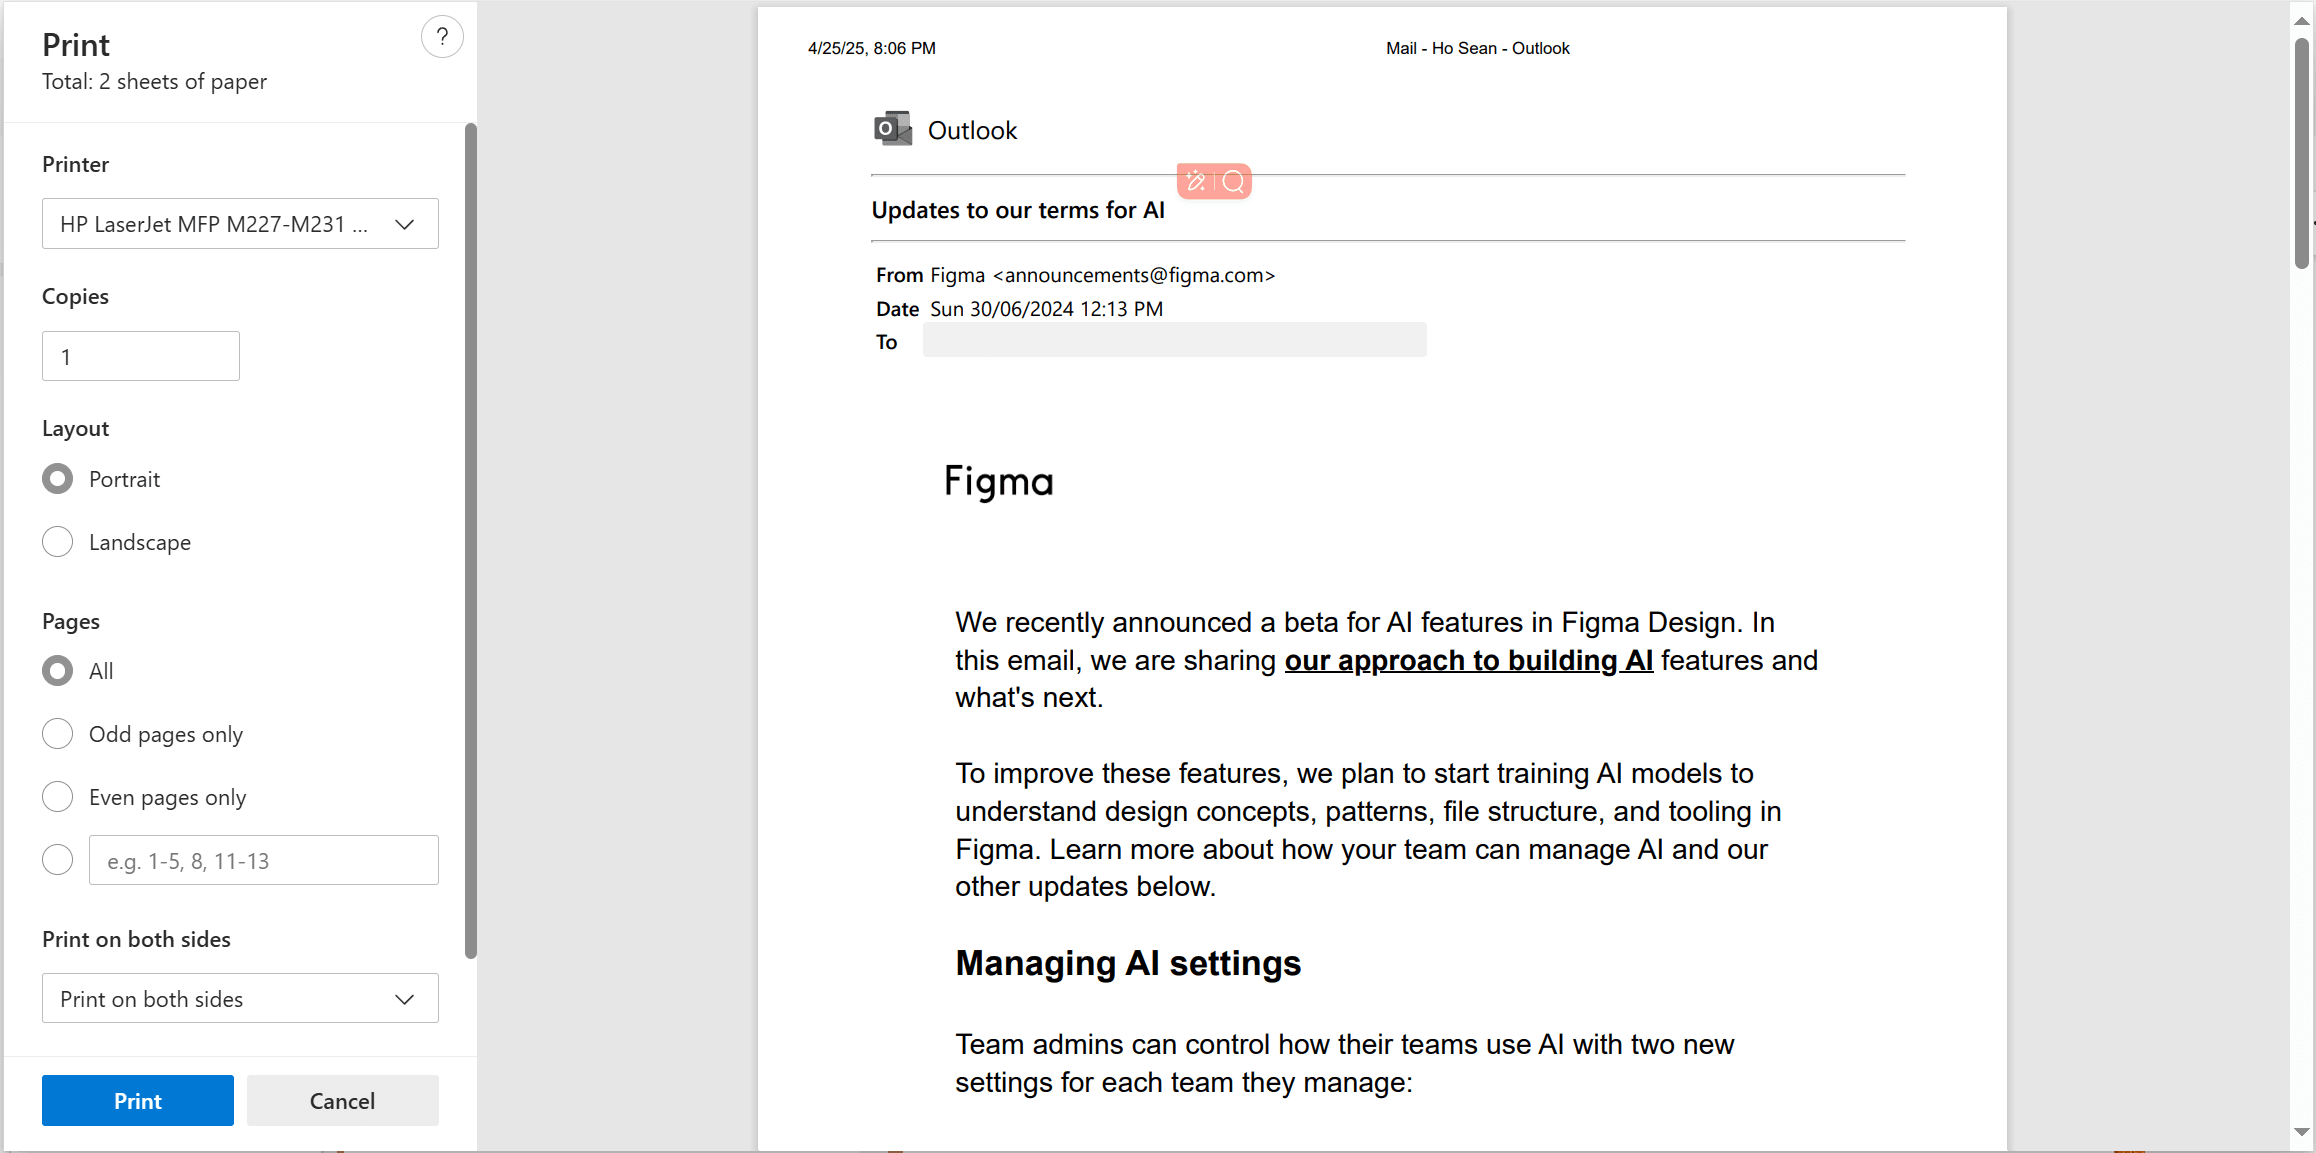
4. (Optional) Customize:
- Print Options: If needed, specify page ranges to exclude parts like quoted text.
- Page Setup: Adjust the page orientation (Portrait or Landscape) or add headers/footers (like "Confidential").
5. Save as PDF: Click the Print button. A window will appear asking you to name your file (e.g., "Invoice_2023.pdf") and choose where to save it (e.g., your "Documents" or a "PDFs" folder).
6. Verify PDF: Once saved, open the PDF file to ensure the text is clear and any attachments you needed are included.
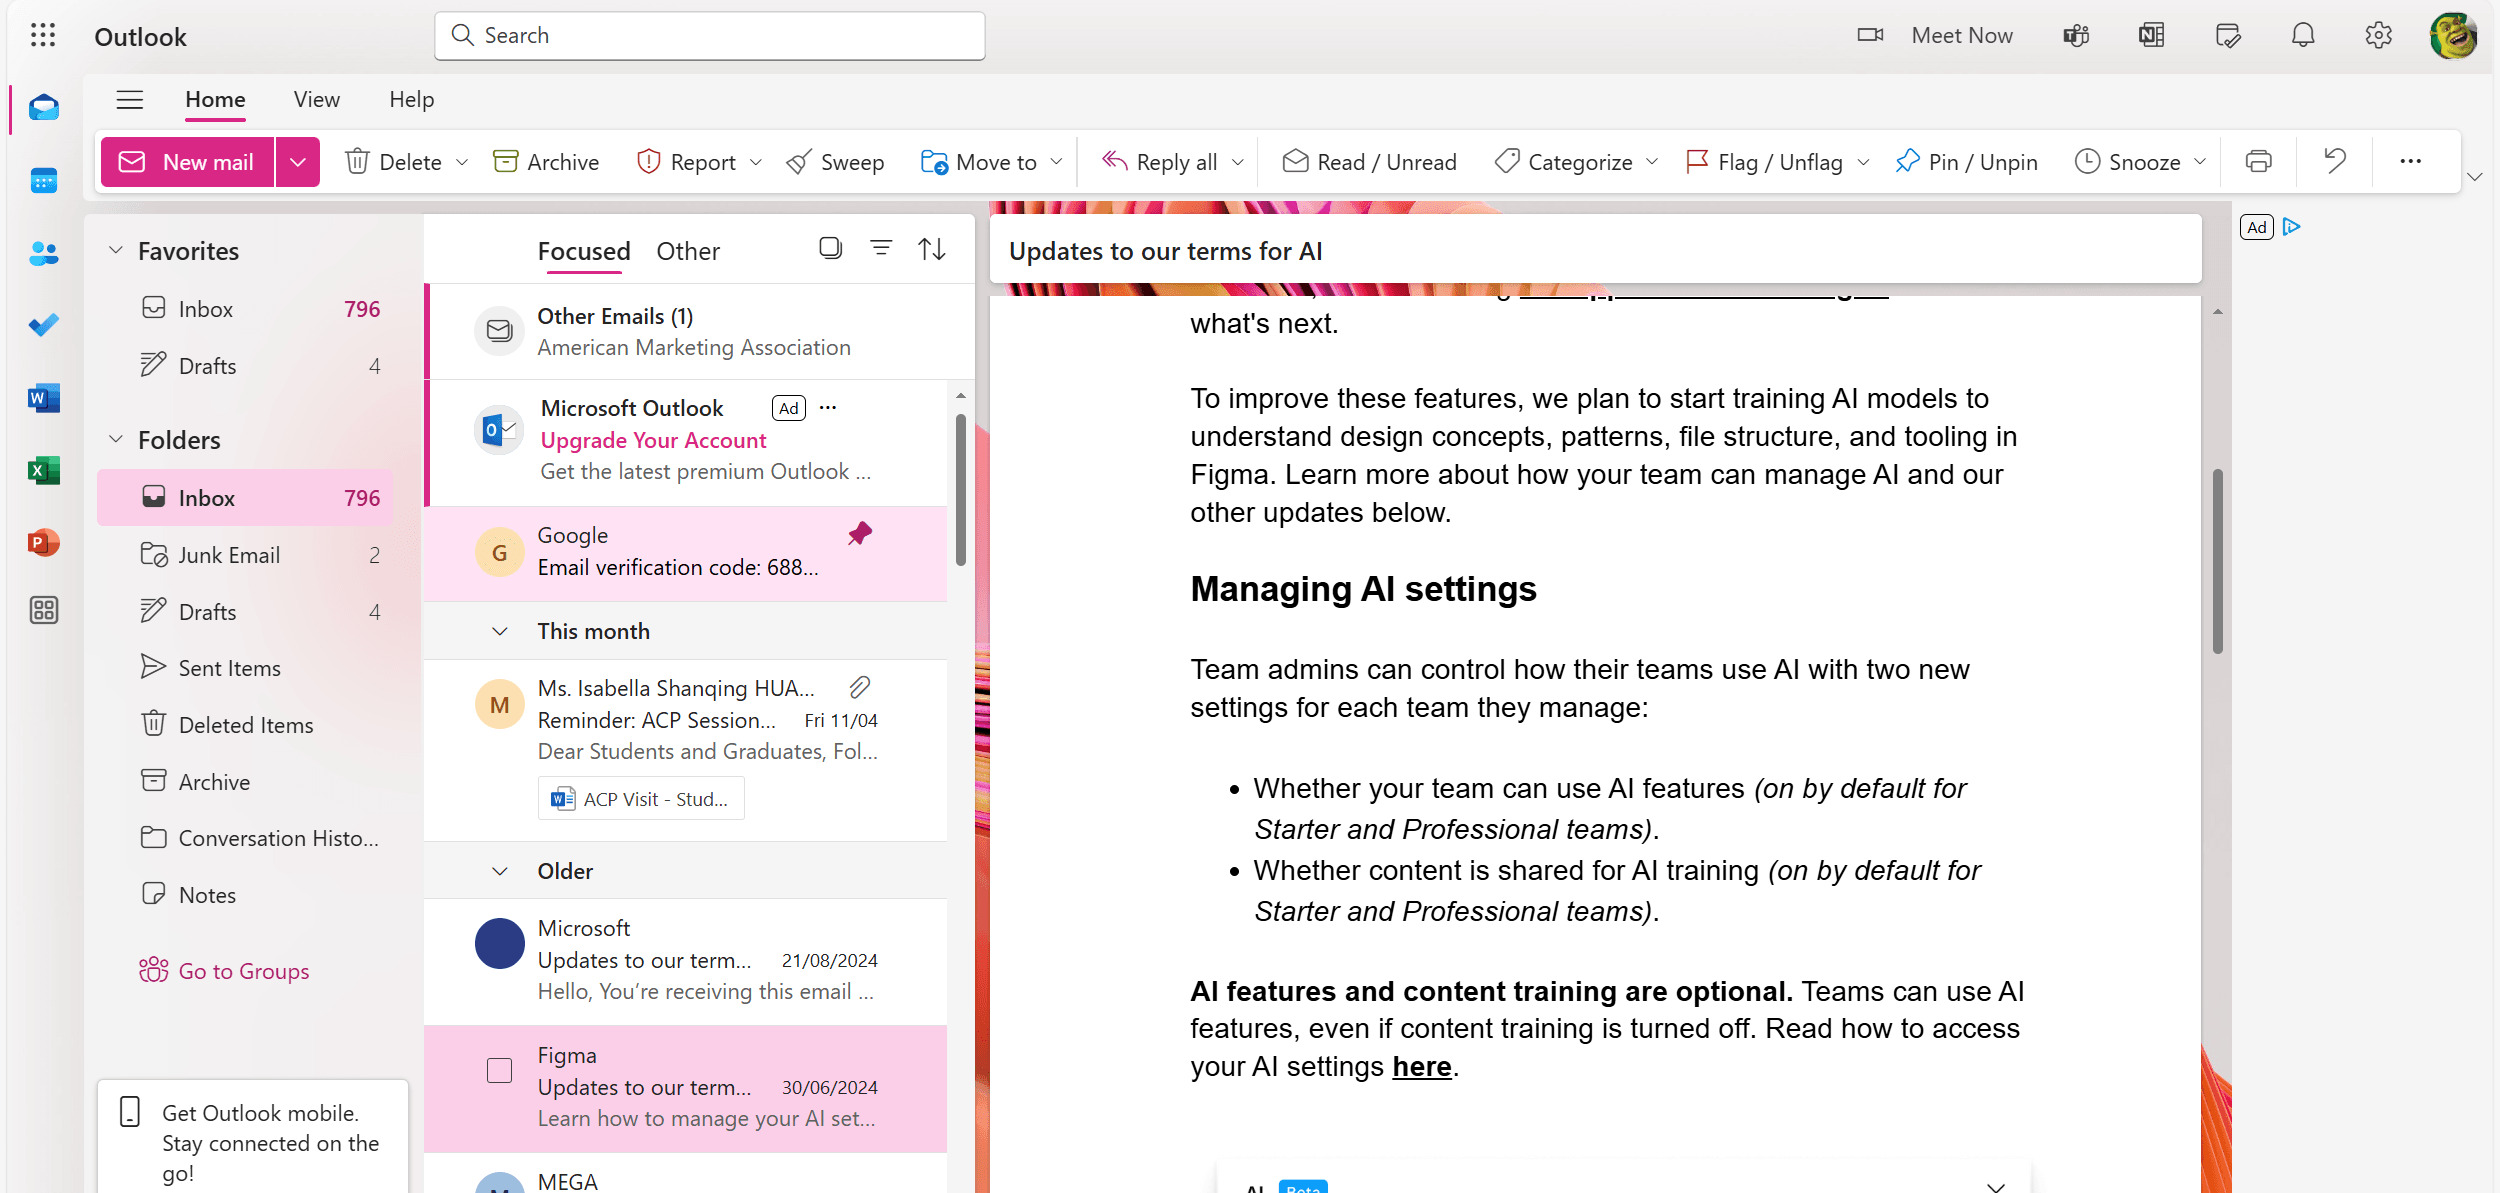
Method 2: Save as PDF in New Outlook & Web App (Direct Option)
Best for: Users who want a one-click solution without print settings.
The new Outlook app and the online version offer a direct 'Save to PDF' option, simplifying the conversion of emails to a universally readable format. Here's how to save your email as a PDF in the new Outlook and web versions
Why This Method Wins?
- Built-in "Save as PDF" – No printer simulation needed.
- Works everywhere – New Outlook (Windows/Mac) + Web App.
- Auto-file naming – Uses email subject for convenience.
Step-by-Step Guide
1. Open Email: Open the email you want to save.
2. Access Print/Save Options:
- New Outlook Desktop: Click the Print icon (printer). If you don't see it, click the More options icon (three dots) and then Print.
- Outlook Web: Click the More actions icon (three dots) and then Print.
3. Choose "Save as PDF": In the print preview, find the printer option and select "Save as PDF" (or possibly "Microsoft Print to PDF").
4. (Optional) Adjust Settings: If needed, you can usually change the layout (portrait/landscape) or choose specific pages. More advanced settings for margins or scaling might also be available.
5. Save: Click Save. Pick where you want to save the file (like your "Downloads" folder). The filename will usually be the email subject, which you can change.
6. Check PDF: Open the saved PDF to make sure any attachments are there and the text looks as expected.
Method 3: Convert Multiple Outlook Emails to a Single PDF
Best for: Archiving conversations or creating project reports.
The process of combining multiple emails into a single PDF file closely resembles converting a single message, differing only in the initial steps. This quick rundown explains how to export multiple emails from Outlook to PDF.
Why This Rocks
- Saves time – Merge threads/attachments into one searchable PDF.
- Organized output – Perfect for legal records or client communications.
Step-by-Step Guide
1. Open Email. And then, find the Save to PDF Option:
- New Outlook Desktop: Look for a Print icon. If not there, click the three dots (...), then Print.
- Outlook Web: Click the three dots (...), then Print.
2. Select "Save as PDF".
3. (Optional) Tweak the layout or page selection if you need to.
4. Click Save, choose a folder, and the filename (usually the subject) will be ready.
5. Open the PDF to quickly check that everything looks right.
Method 4: Save Outlook Emails + Attachments as PDF (Classic Outlook)
Best for: Preserving complete email threads with all attachments in PDF format
Outlook messages often include valuable attachments, such as work documents or photos. These attachments can be converted to PDF along with the message itself. Here's a step-by-step guide.
Why This Method?
- All-in-one PDF conversion (email + attachments)
- Preserves original formatting of Word/Excel/PPT files
- Works offline - No internet or cloud needed
Step-by-Step Guide
1. Set Default Printer to PDF:
- Press Win+I, go to Devices, then Printers & scanners.
- Click "Microsoft Print to PDF" and then "Set as default". (Remember to change it back later if needed!)
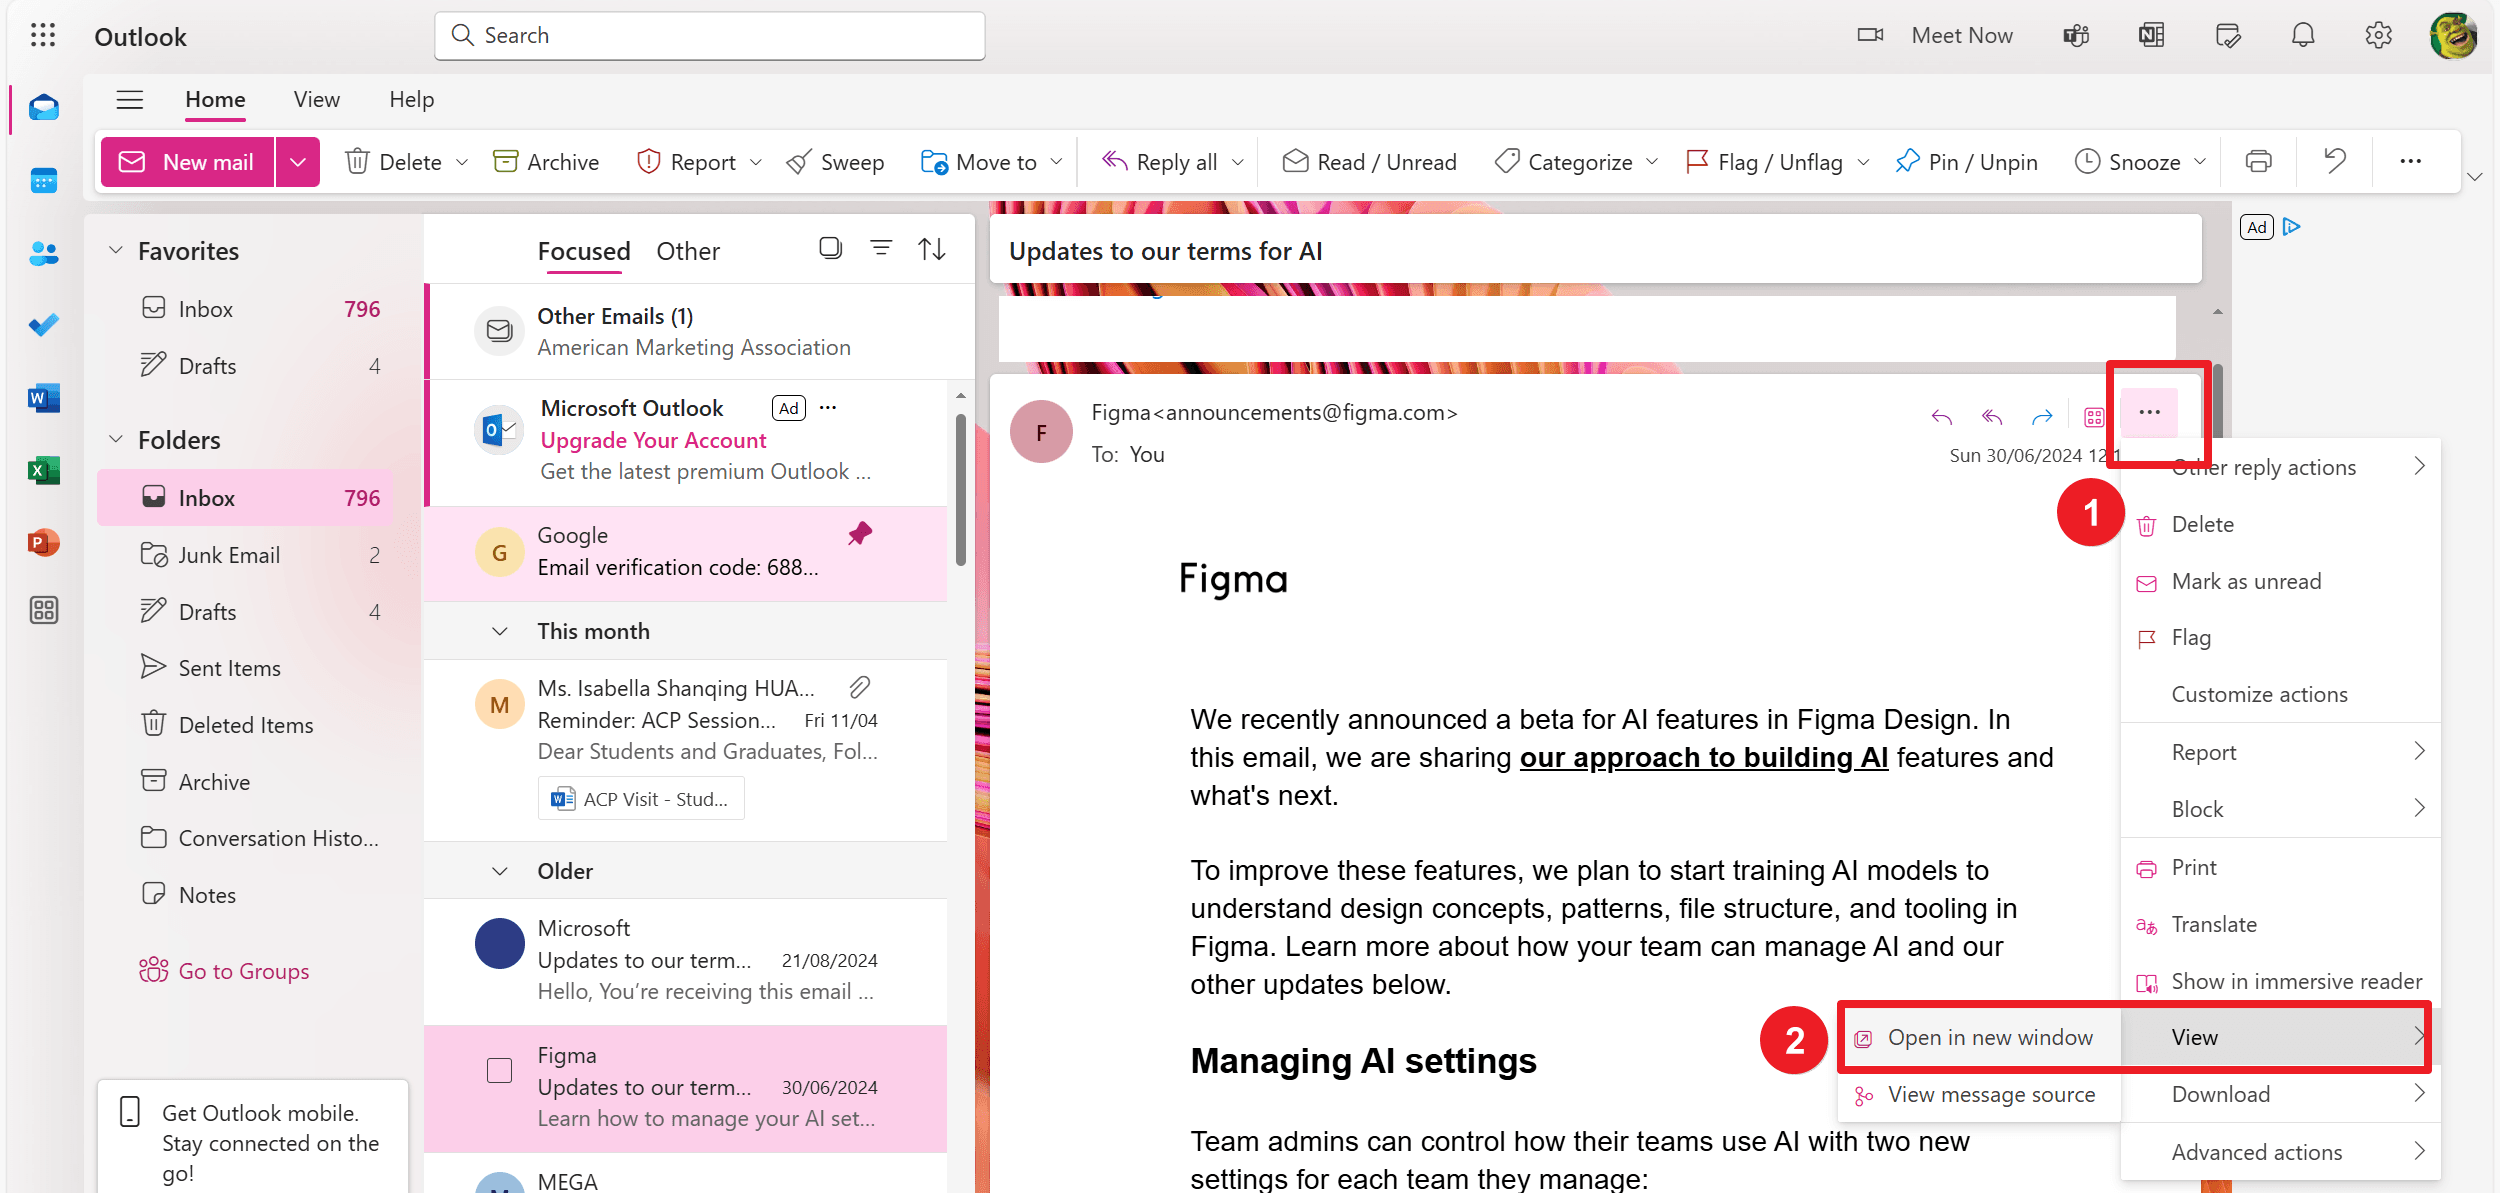
2. Select Email(s): Open the email you want, or select multiple emails by holding Ctrl or Shift and clicking.
3. Open Print: Press Ctrl+P or go to File > Print.
4. Choose PDF Printer: Make sure "Microsoft Print to PDF" is selected as your printer.
5. Include Attachments: Click "Print Options" and check the box for "Print attached files".
6. (Optional) Adjust Print Settings: In "Page Setup," you can add headers/footers or change margins. You can also uncheck specific attachments if you don't need them as PDFs.
7. Print Email to PDF: Click Print. Choose where to save the PDF and give it a name (e.g., "Email_and_Attachments.pdf"). Click Save. This saves only the email body as a PDF.
8. Process Attachments (One by One):
- Outlook will now open each attachment. Crucially, click "Open" when prompted.
- For each opened attachment (Word, Excel, etc.), press Ctrl+P to open the print dialog.
- Ensure "Microsoft Print to PDF" is selected and click Print.
- Save each attachment PDF to the same folder as your email PDF. They will likely be named "Attachment1.pdf," "Attachment2.pdf," etc.
Method 5: Save Outlook Email as PDF in Older Versions (Pre-2010)
For: Legacy Outlook (2007/2003) or Windows 7/XP systems
If you're using an Outlook version older than 2010 or a system before Windows 10, you won't have the direct 'Print to PDF' utility. However, you can still export Outlook messages to PDFs using a simple workaround.
Why This Works
• Bypasses lack of "Print to PDF" in old systems
• Preserves basic formatting (tables, fonts, hyperlinks)
Step-by-Step Workaround
Part 1: Save Email as a Webpage (HTML)
1. Open Email: Double-click the email to open it in its own window.
2. Save as HTML: Go to File > Save As.
3. Choose Save Type: In the "Save As" window, name your file (e.g., "Old_Invoice.html") and select HTML (*.htm, *.html) as the "Save as type."
4. Pick a Location: Choose where you want to save the HTML file (like your Desktop or a temporary folder).
5. Check in Browser: Open the saved HTML file in your web browser to quickly see if it looks okay.
Part 2: Convert HTML to PDF using Microsoft Word
1. Open HTML in Word: Start Microsoft Word, then go to File > Open and find the HTML file you just saved.
2. (Optional) Clean Up: If there's extra stuff you don't want (like ads or extra headers), use Word to delete it. You can also adjust the page layout in Word's "Layout" tab (like margins).
3. Save as PDF: Go to File > Save As > Browse. Choose a name for your PDF file and, in the "Save as type" dropdown, select PDF (*.pdf). Then click Save.
Final Verdict: Which Outlook-to-PDF Method Works for You?
You’ve now got 5 proven ways to save Outlook emails as PDFs—each perfect for different needs. Here’s how to choose:
| When You Need... | Best Method | Pro Tip |
| One-click simplicity | New Outlook’s "Save as PDF" | Use for clean, attachment-free emails |
| Batch processing | Classic Outlook Print to PDF | Combine with PDF Agile to merge outputs |
| Emails + attachments | Method 4 (Default printer trick) | Compress large files afterward |
| Legacy system support | HTML → Word workaround | OCR scans with PDF Agile for searchable text |