Welcome to Notion, the versatile tool transforming how we organize our lives. From taking notes to managing projects, Notion offers many features to enhance productivity and streamline tasks. But did you know it's also a fantastic resource for book lovers?
In this blog post, we'll explore how to manage books in Notion, highlighting their importance and utility to your reading habits. Whether managing a growing library or keeping track of your reading progress, Notion's customizable templates and databases can cater to your needs.
How to Create a Reading List in Notion?
Creating a reading list in Notion is both easy and efficient. Here's a step-by-step guide to get you started:
Section 1. Getting Started with Notion
Step 1: Signing up and Creating a New Account
First, visit Notion's website and sign up for an account. For convenience, you can use an email address or sign in via your Google account. Once registered, you'll be guided through the initial setup, including creating your workspace.
Step 2: Navigating the Notion Interface
Notion's interface might initially seem overwhelming, but it's intuitive once you get the hang of it. Here's a brief overview:
- Pages: Pages are like digital notebooks or folders. You can create pages for different topics or projects.
- Databases: Databases are incredibly versatile and can be used to organize information in a structured way. For example, you can create a database specifically for your reading list.
- Blocks: Everything in Notion is a block – from text paragraphs to images, to-do lists, and embedded files. This modular approach lets you customize your content to suit your needs.
Creating Your Reading List
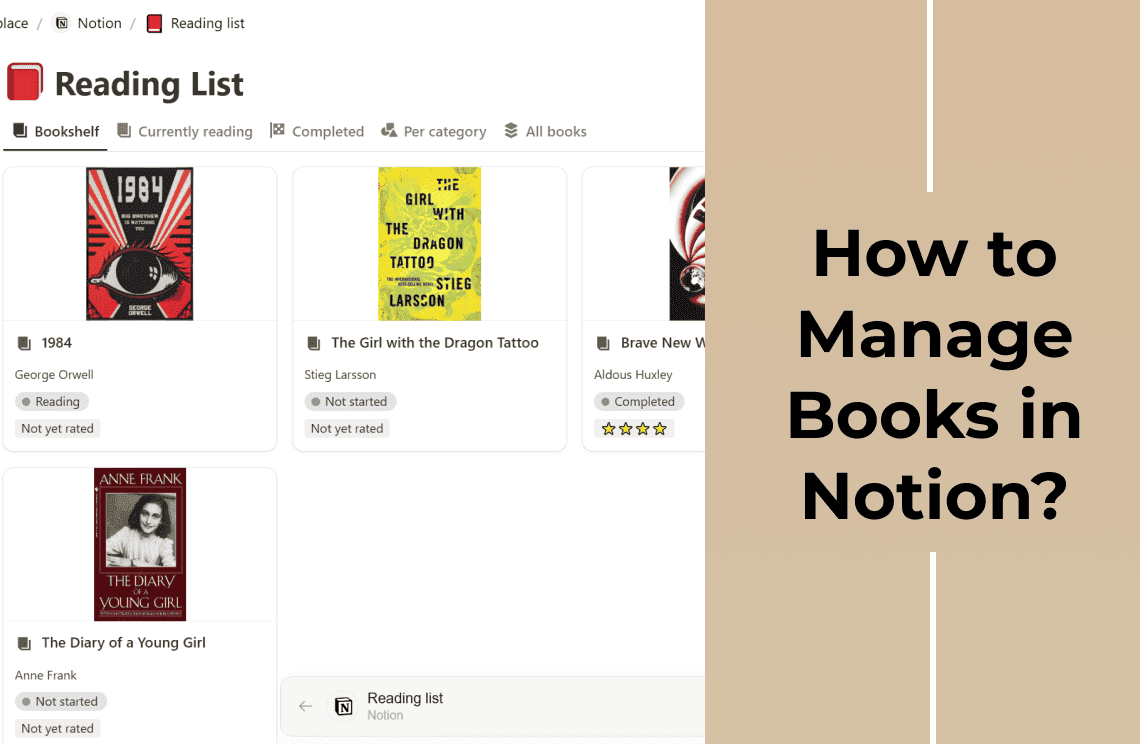
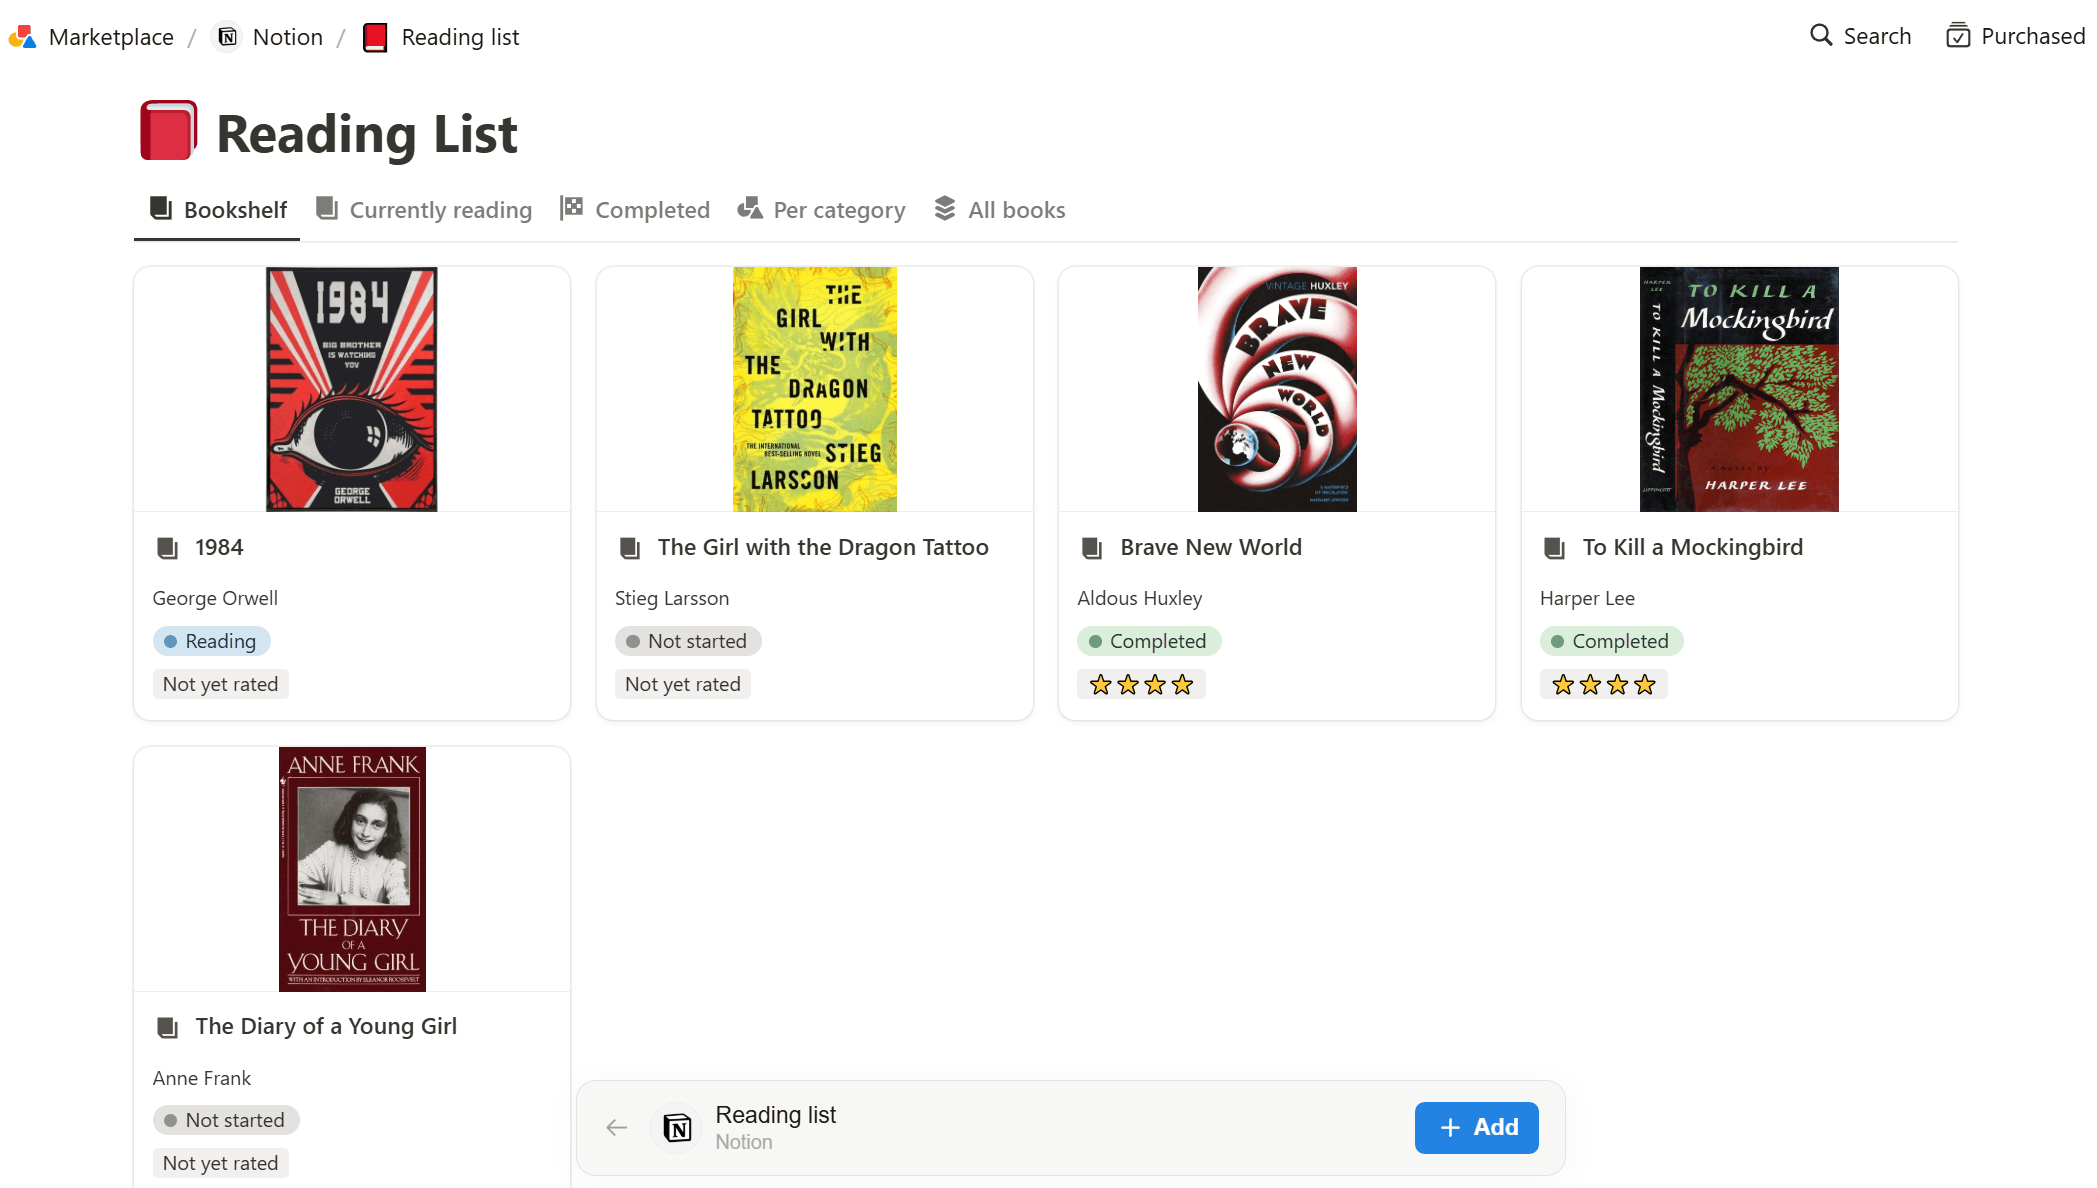
- Create a new page titled "Reading List."
- Add a database to this page. You can choose between a table, board, list, calendar, or gallery view.
- Add properties like 'Title,' 'Author,' 'Genre,' 'Status,' and 'Notes' to your database. It allows you to include detailed information about each book.
- Start adding your books! Fill in the details for each book and update the status property as you read.
By organizing your books in Notion, you can easily track your reading progress, upcoming reads, and more.
Section 2. Creating a Book Database in Notion
A book database in Notion is a great way to keep track of the books you want to read, are currently reading, and have finished. Let's walk through the process of setting one up.
Step 1: Choosing the Right Database Type
Notion offers various types of databases, each with its unique advantages. For a book database, you might consider:
- Table: Ideal for a straightforward, spreadsheet-like view where you can easily see and sort information.
- Kanban: Perfect for visualizing your reading workflow. Columns can represent different statuses like "To Read," "Reading," and "Completed."
- Gallery: Great for a visually appealing display, where each book can be represented by its cover image.
- List: A simple, streamlined way to list and manage your books.
- Calendar: Useful if you want to track reading deadlines or set goals.
To start, the Table view is highly recommended due to its ease of use and simplicity.
Step 2: Setting Up Your Book Database
Once you create a new page in Notion, choose the table database type for your book database. It will give you a clear and organized view to start with.
- Click "Add a Page" in your workspace.
- Choose "Table" and name it "Book Database" or any title you prefer.
Step 3: Adding Properties to Your Database
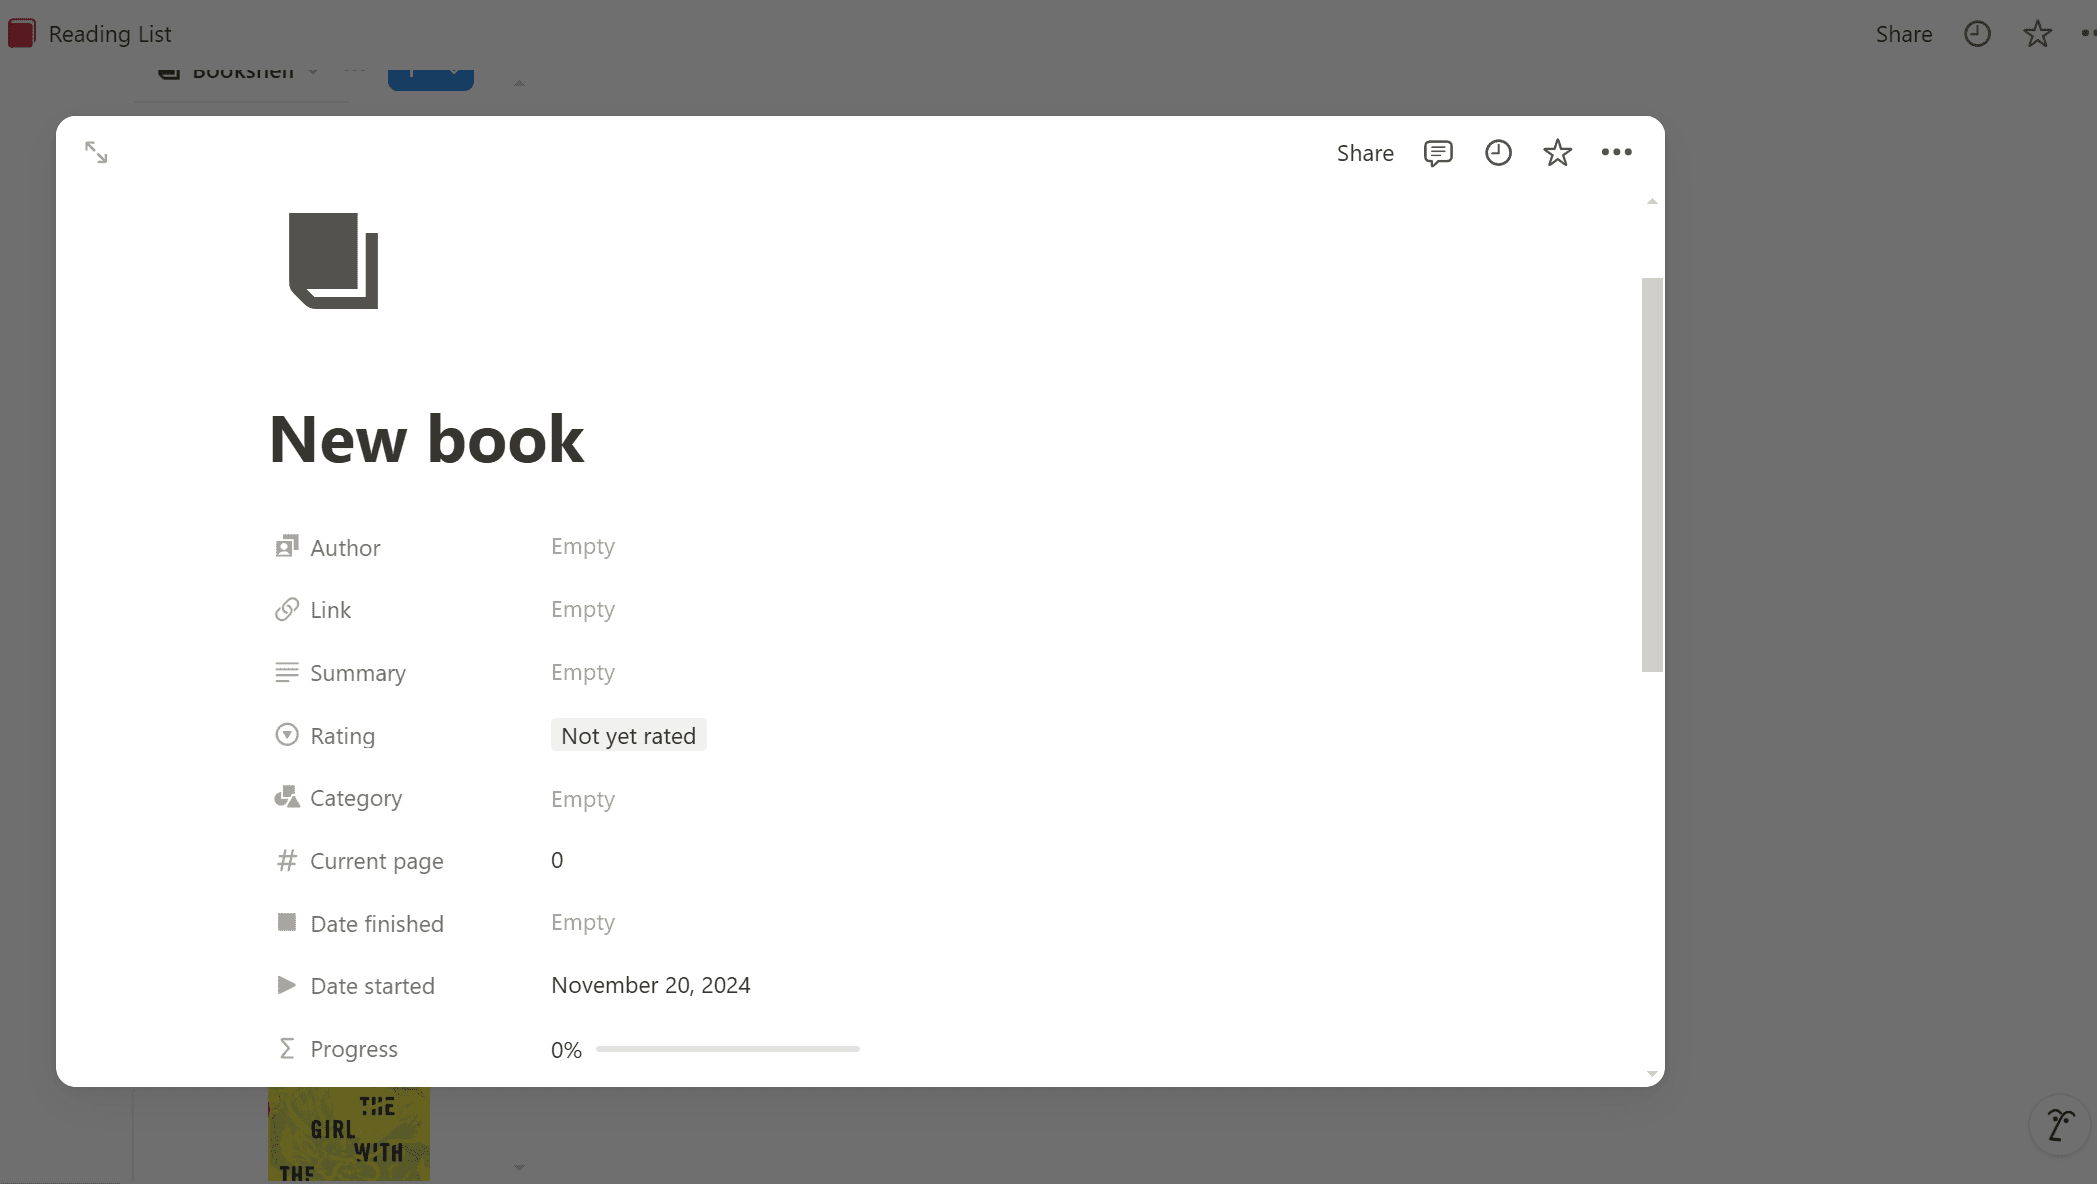
Now that your table is set up, it's time to add properties. Properties allow you to include detailed information about each book. Some essential properties include:
- Title: Use the default Title property for the book name.
- Author: Add a Text property for the author's name.
- Genre: Add a Multi-select property for genres/categories.
- Status: Add a Select property to indicate whether the book is "To Read," "Reading," or "Completed."
- Rating: Add several properties to rate the book after reading.
- Notes: Add a Text or Multi-line text property for additional notes or reviews.
- Cover: Add a File property to upload the book cover image.
Populate your database with the relevant information for each book. With these settings in place, your book database in Notion will be a powerful tool for managing your reading habits and maintaining an organized collection.
Section 3. Adding Books to Your Database
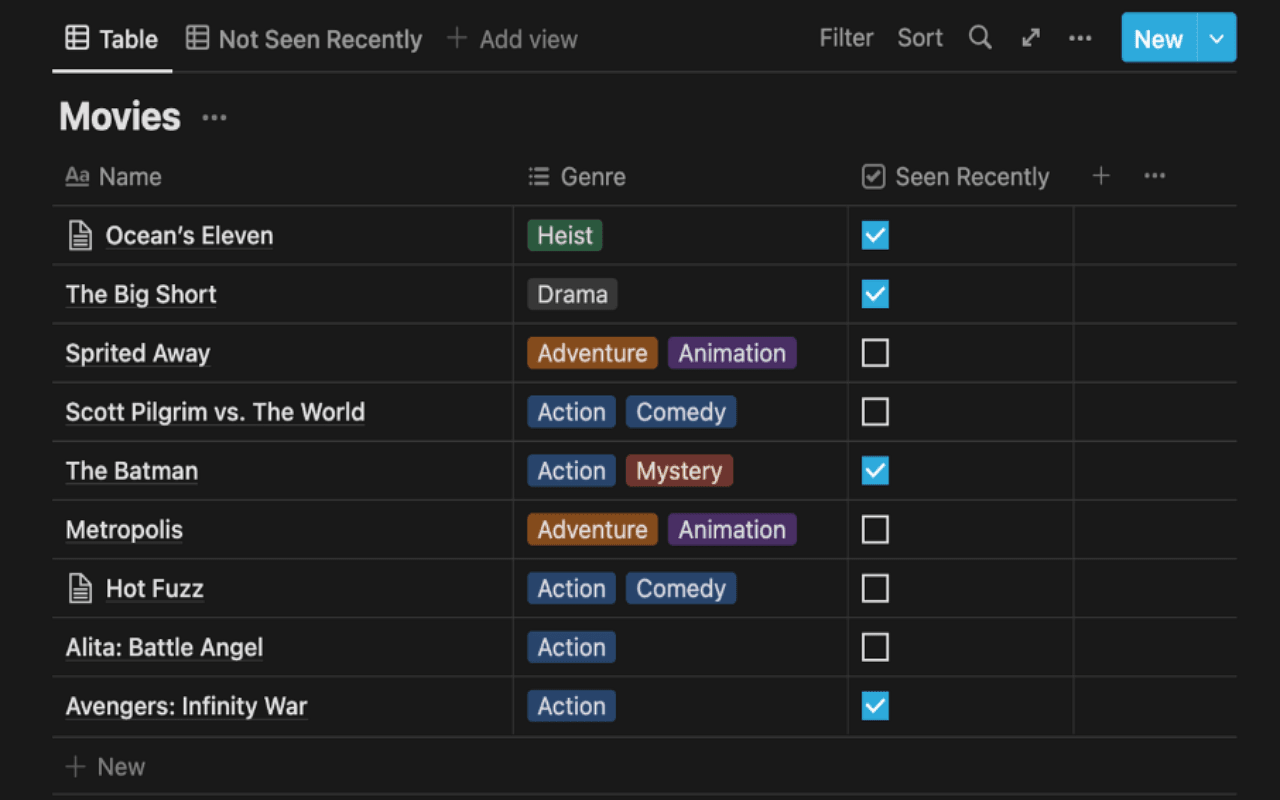
You can start adding books once your book database is set up in Notion. The two main ways to add books are manually or by importing data.
1. Manually Adding Books
To manually add a book, simply click on the "New" button in your table. Fill in the details for each property, such as Title, Author, Genre, Status, Rating, and Notes.
2. Importing Books from a CSV or Excel File
If you have an existing list of books in a CSV or Excel file, import it into Notion to save time. Click on the three dots at the top right of your database page, select "Import," and choose your file. Notion will automatically map the columns to your database properties.
Optional Tip: Using Templates
To streamline the process further, consider creating a template. Templates can pre-fill common properties, making data entry faster and more consistent. Click the arrow next to "New" and select "New Template," then set up your most-used properties.
How to Manage Your Book Collection?
Effectively managing your book collection in Notion ensures you can easily access, organize, and update your reading list.
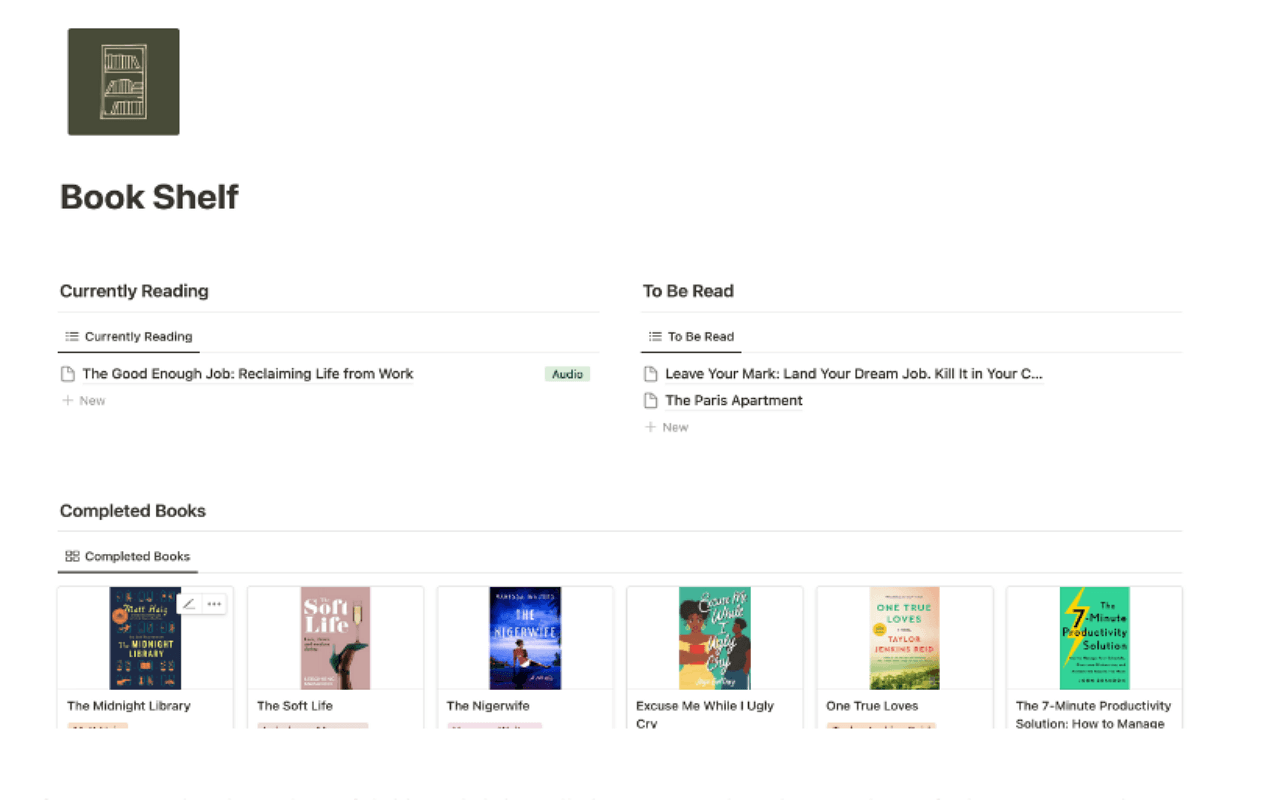
Section 3. Managing Your Book Collection
Step 1: Sorting and Filtering Your Book Database
To manage your book database efficiently, utilize Notion's sorting and filtering features.
- Sorting: Click on the column headers to sort your books alphabetically by Title, Author, or custom properties like Genre or Status. You can also sort by numerical properties such as Rating.
- Filtering: Apply filters to view specific subsets of your collection. For instance, create a filter only to show "Reading" status books or books within a particular genre. Click on the "Filter" button above your table to set conditions.
Step 2: Creating Different Views for Various Purposes
Custom views help segment your book collection for different needs. Notion allows you to create multiple views within a single database.
- Reading List: Create a view to see books you are reading or plan to read next. Apply a filter for the Status property set to "Reading" or "To Read."
- Finished Books: Set up a view showing only your completed books. Filter the Status property to "Completed."
- Genre-specific Views: If you often switch genres, create separate views for each genre using filters.
- Rating View: Develop a view to display top-rated books. Sort by the Rating property in descending order.
To create a new view:
- Click on "+ Add a View" above your database.
- Choose the view type (Table, Board, List, etc.) and customize it with filters and sorts per your requirements.
By leveraging sorting, filtering, and custom views, you manage your book collection in Notion with clarity and ease.
Section 4. Tracking Your Reading Progress
Keeping track of your reading progress in Notion can help you stay motivated and organized.
Step 1: Adding Progress Properties
To effectively monitor your reading, add specific progress properties to your book database:
- Start Date: Add a date property to record when you started reading a book.
- End Date: Add another date property for when you finish a book.
- Current Page: Use a number property to track the page you are currently reading.
- Status: Include a select property to update the status (e.g., To Read, Reading, Completed).
- Notes: Add a text property to jot down your thoughts, quotes, or other relevant information.
Step 2: Visualizing Your Reading Progress with Charts and Graphs
Visual representations can provide a clear overview of your progress.
- Book Completion Timeline: Use the timeline view in Notion to visualize your start and end dates for each book. It will show how long it took to complete each book and help plan future reading.
- Current Reading Status: Create a board view segregated by status (To Read, Reading, Completed). Moving a book card across these columns will give you an easy visual of your reading status.
- Progress Charts: Though Notion doesn't have built-in charts, you can use integrations like Google Sheets or external tools to create progress charts. Export your data to Google Sheets to create graphs showing completed books per month, average rating over time, etc.
Step 3: Updating Book Status and Adding Notes
Regularly update the status of your books as you read and finish them. Add detailed notes to capture your reflections, which can be helpful for reviews or recommendations later.
To update:
- Book Status: Change the status property as you move from "To Read" to "Reading" and then "Completed."
- Notes: Continuously add notes in the text property to document quotes, themes, or personal thoughts as you read.
By implementing these steps, you can effectively track and visualize your reading progress in Notion.
Section 5. Sharing and Collaborating on Your Book Database
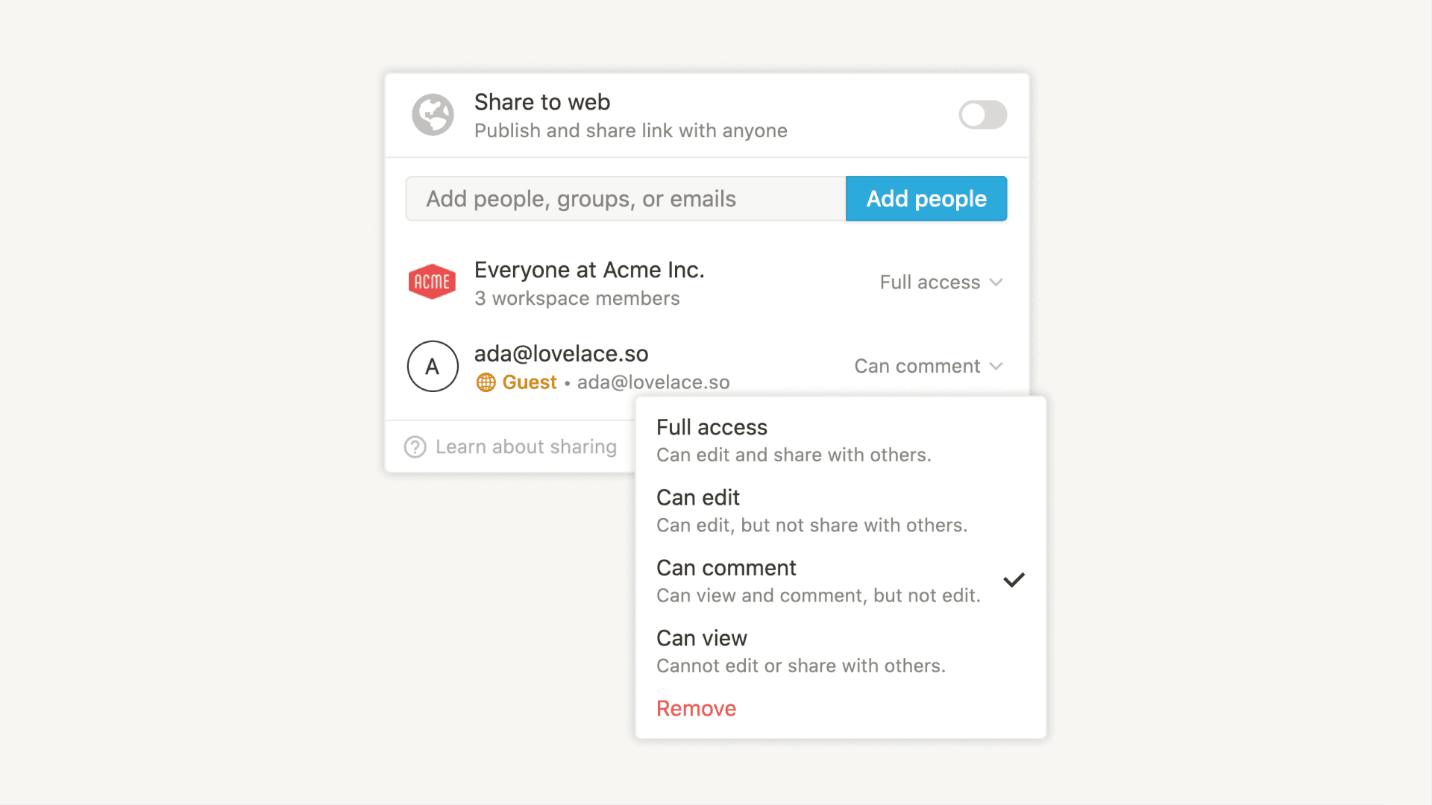
Collaboration and sharing your book database in Notion can enhance your reading experience by engaging with others or safeguarding your data.
Step 1: Sharing Your Book Database with Others
- Invite Collaborators: Share your Notion database by inviting friends, family, or reading groups. Click on "Share" at the top-right corner of the database and enter the email addresses of those you want to share with. You can set permissions to view, comment, or edit.
- Public Share Link: Generate a public shareable link to share your book database on social media, blogs, or with a wider audience. Click "Share" and toggle "Share to web" to get the link. You can also set permissions to allow others to duplicate the page in their workspace.
Step 2: Exporting Your Book Data for Backup or Analysis
- Exporting to Markdown, CSV, or PDF: Notion allows you to export your database in various formats, such as Markdown, CSV, or PDF. Go to the "⋮" menu at the top right of your database, select "Export," and choose the desired format.
- Markdown & CSV are ideal for backing up or transferring data to other tools, such as Google Sheets or Excel, for advanced analysis.
- PDF: Useful for sharing a static version of your book database.
- Using Integrations for Backup or Analysis: Integrate Notion with third-party services like Zapier to automate Google Drive or Dropbox backups. You can also sync your database with data analysis tools.
FAQS
Q: I'm new to Notion. Is it difficult to set up a library?
A: Not at all! Notion has a user-friendly interface, and this guide provides step-by-step instructions to help you easily create your library. Start with the basics, and as you become more comfortable, you can explore advanced features and customization options…
Q: Can I import my existing book list from another platform?
A: Yes, you can import your book list from other platforms. Notion supports importing data from CSV files, a standard export format for many services. Additionally, you can use integration tools like Zapier or Make to connect with platforms like Goodreads or Amazon and automatically add books to your Notion library…
Q: How can I track my reading progress in Notion?
A: You can track your reading progress by adding properties such as "Current Page," "Percentage Read," or "Status" to your book entries. Create views and filters to see your progress quickly, and consider making a reading tracker dashboard to visualize your statistics and achievements…….
Q: Can I share my Notion library with friends or publicize it?
A: Yes, Notion allows you to share your library with others. You can invite friends to collaborate on your library by granting them access, or you can make it public by sharing the page link. To do this, click the "Share" button at the top right of your Notion page and toggle the "Share to Web" option…
Conclusion
Managing your book collection in Notion is more than just organizing titles and authors; it's about creating a personalized, efficient, and enjoyable reading experience. With the tools and techniques discussed in this guide, you can track your progress, engage with others, and visualize your reading habits. The flexibility and customization options in Notion ensure that your library reflects your unique preferences and goals.
Whether you're an avid reader or just starting, a well-maintained book database can enhance your reading journey. We encourage you to dive in, customize your library, and make it your own. Share your setups, tips, and discoveries with the Notion community, and let's inspire each other to read more, learn more, and enjoy the world of books even more.
Recap
- Importance of Notion for Book Management: Efficiently organize your reading list, track progress, and add personalized notes and insights.
- Personalization and Customization: Tailor your book database to fit your unique reading habits and goals.
- Community Engagement: Share your experiences and strategies with others to create a vibrant, supportive reading community.
Now that you have the tools and knowledge, it's time to take action. Start by creating your book database in Notion. Experiment with different setups, track your progress and enjoy a more structured and enjoyable reading experience. Happy reading!

